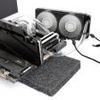
Product Showcase CPU cooling
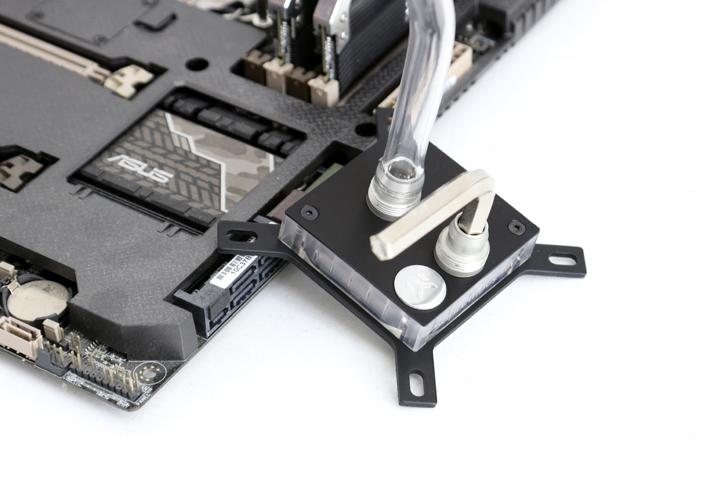
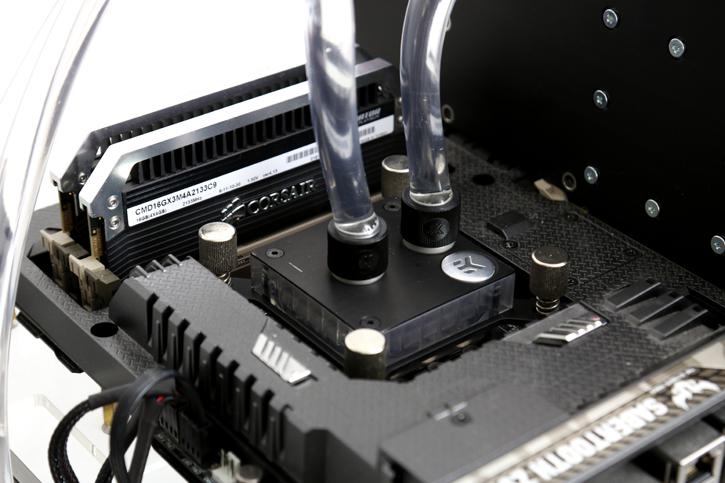
We've got our back-plate installed, we greased up our CPU heat-spreader with the included thermal grease (TIM), we can now put the CPU cooling block in place. We install the two fittings first. BTW installing the tubing will force pressure. If you are uncomfortable with that, seat the fittings and already mount the tubing prior to seating the cooling block onto the processor. Tighten them with the supplied hex-key.
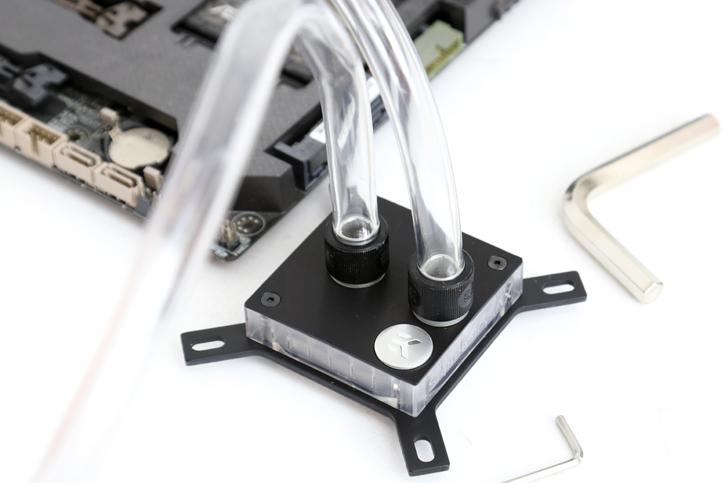
Positioning - if your motherboard hang vertically (whcih 99.9% do) keep your coolant intake flow at the top side and the flow outtake to the bottom (don't go against mother nature / gravity is a bitch).
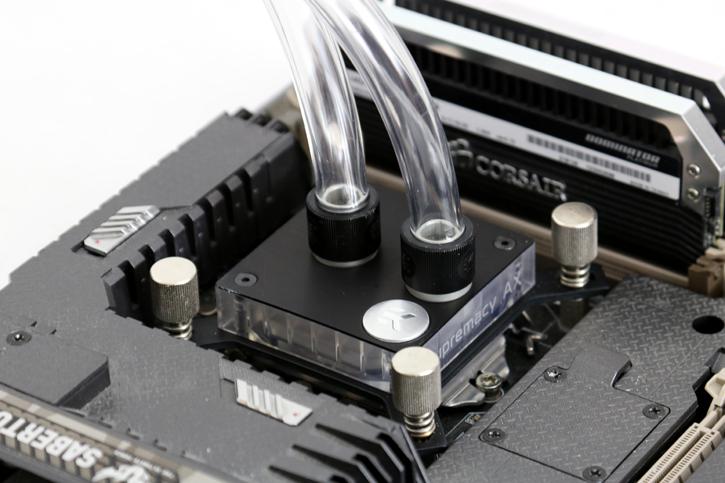
Installing the CPU block itself involves nothing more then lining it up with the mounts and securing four springs and four thumbnails screws. The springs give tension. Simply turn them until you feel they cannot go any further. This can be a little heavy, you could make use of some tweezers for a couple of turns but that would probably damage the metal - but do make sure they can't turn any further.
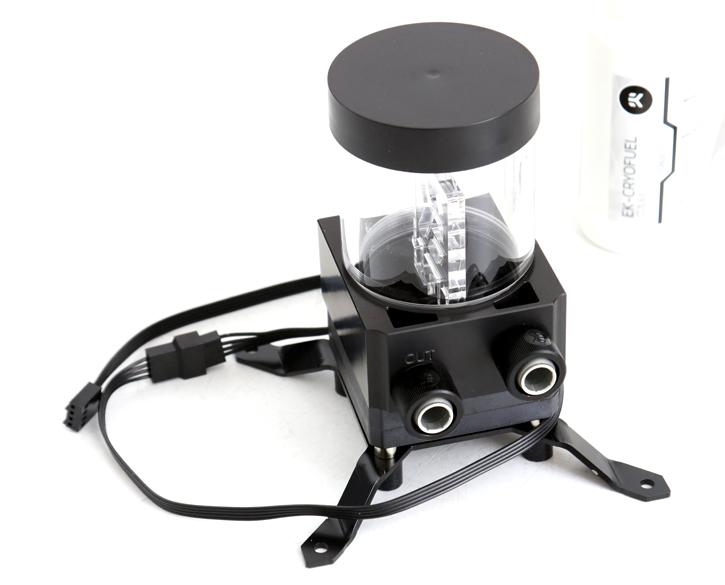
Next: prepping the water reservoir / pump. With the included bracket you could mount the pump towards the bottom of the chassis, or in the rear or front. You might be required to drill some holes to be able to secure it though. And yeah of course please install the fittings prior to mounting the pump in the chassis, that's basically it installation wise in terms of prep work for the pump and reservoir. Good to see is that EK switched the wiring to all black. Something their D5 series pump did not have.
So the first stage has been completed, we now need to have a look at the cooling-block install for the graphics card.
