Product Showcase
Product Showcase
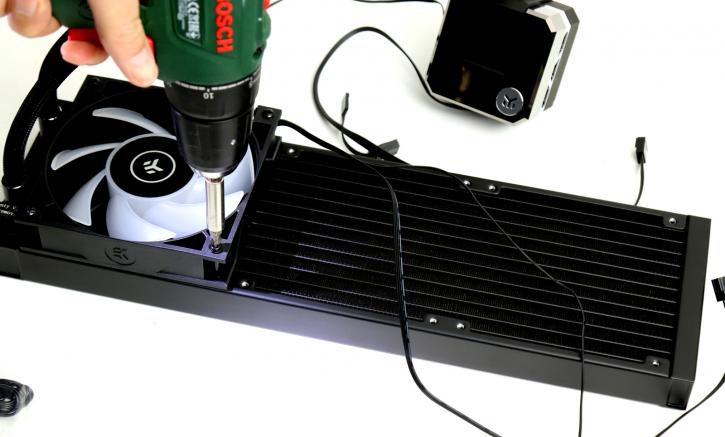
So here is the phase where we slowly start assembling a test setup. First, we mount the fans to the radiator, four screws each. I cannot make that sound any simpler than it is. Logo side pointing down into the chassis.
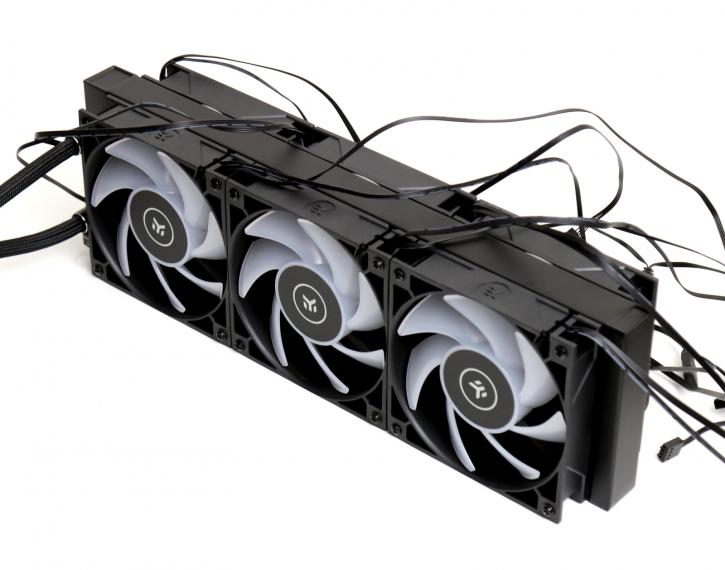
You need to realize that fan and RGB management is handled through your motherboard or an external controller. That also means there's a great number of wires to deal with. We combine the fan connectors with the SATA3 powered FAN HUB and connect this to a fan RPM header on the motherboard. We join the RGB connectors up and connect them again to a compatible RGB connector, whether that's on your mobo or extra controller.
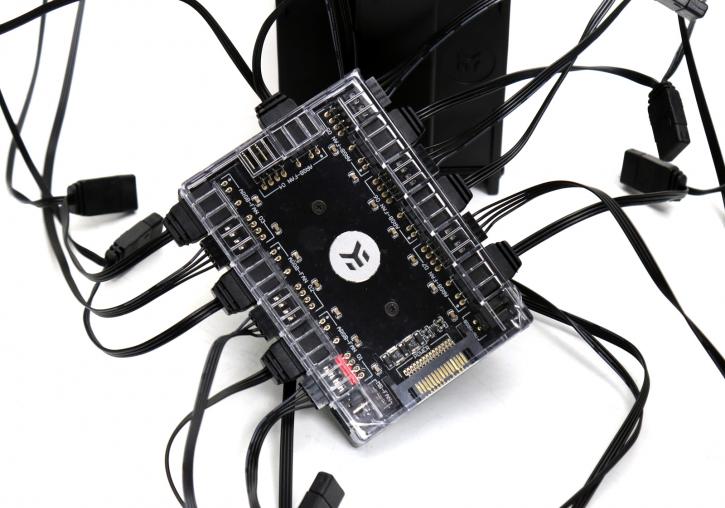
This is the downside anno 2020 with aRGB; the spaghetti of wires can be a clusterfrack to hide properly. Kudos to EK for making the wires nice and long btw.
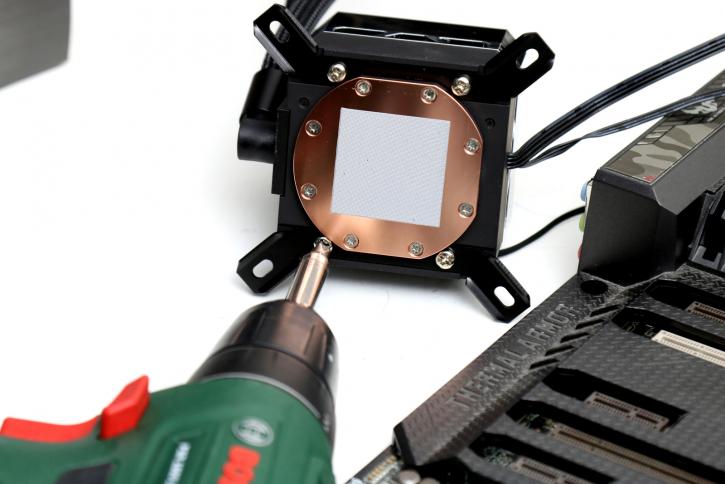
We need to mount two retention clips; these are fastened with two screws each. TIM is already applied. You'll also get a mini-syringe with TIM from EK.
