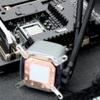
Product Installation
Product Installation
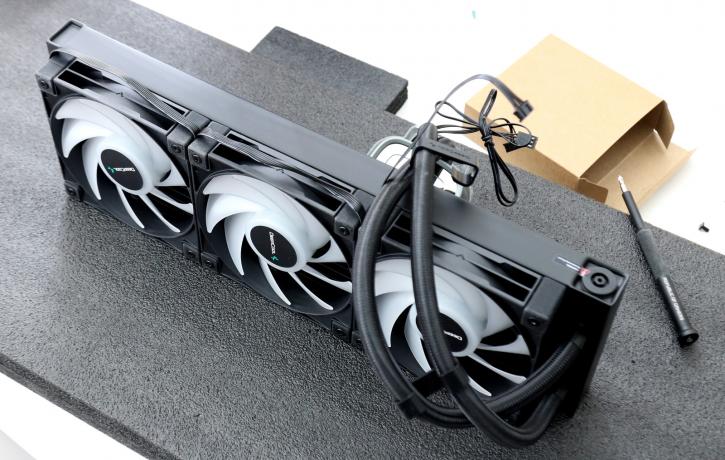
Initially, we'll attach the fans to the radiator and subsequently to the case, which will take a while. The tubing is ~40 cm in length, which is sufficient for the majority of applications.
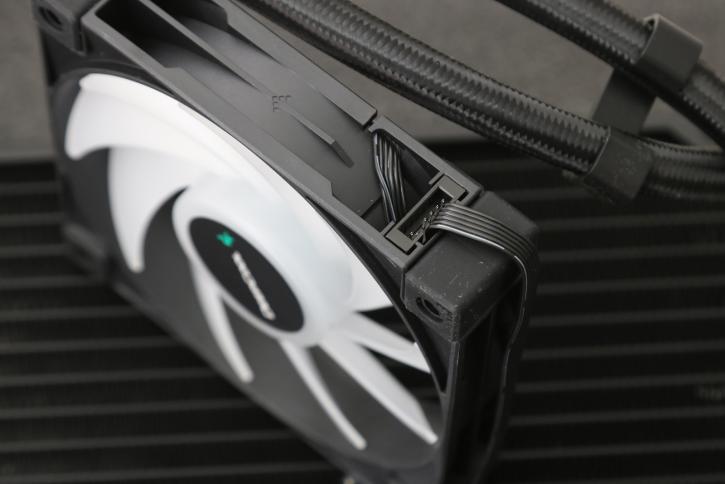
Above is a photo of her fan daisy chain connector. Here you insert the connector from another fan and so on. In this manner, you prevent a lot of cable clutter at the radiator side of things.
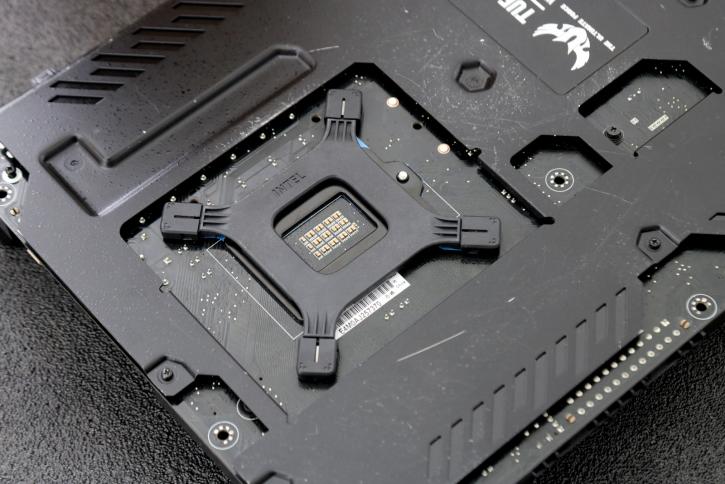
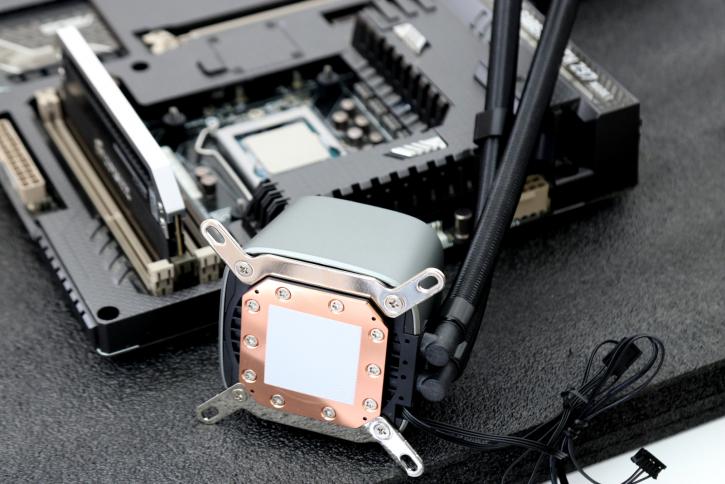
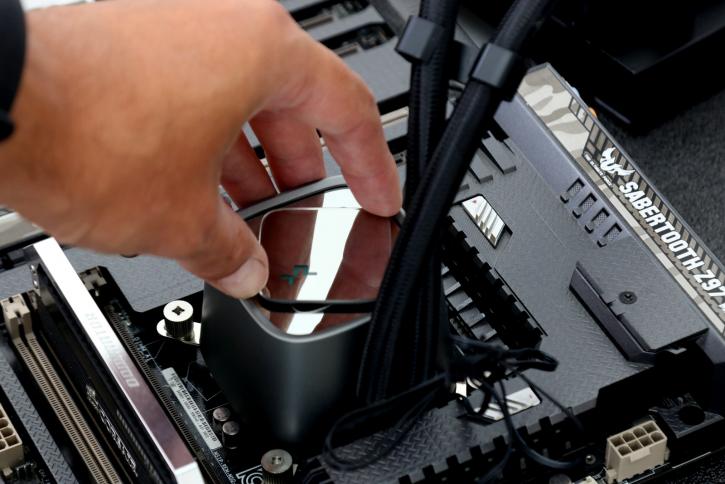
The backplate is attached to the frame with the help of the provided screws and rubber rings, which we will do in the next phase. The latter also helps to prevent slippage while the installation is being done. We place the cooler block on top and tighten the screws to secure it in the final stage.
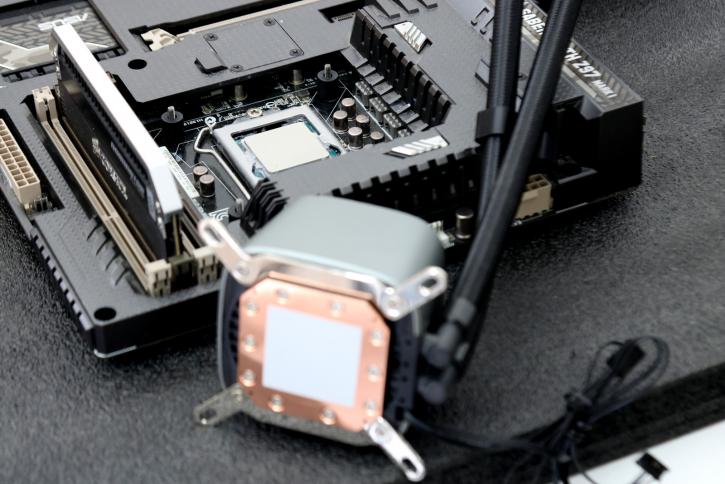
DeepCool suggests putting the pump in the 6-o'clock orientation for best performance. At the motherboard socket we've just placed the risers/washers on which the CPU block will site.
You need to connect the pump wire to a secondary or dedicated pump FAN header and the fans towards a FAN header and the loop aRGB. Deepcool provides a pair of connectors to extend the cabling as all three components require power via a SATA connector and the option to daisy chain the pump and fans. Although it appears cluttered at first glance, this wiring, in the end, can be hidden beneath the motherboard tray and also supplies an additional 5v RGB.
RGB lighting can be controlled via the RGB software on the motherboard. Again, the BIOS or software can be used to control the speed of the pump and fans. In our scenario, we use the BIOS to guarantee that all devices are set to use "PWM."
