Product Showcase - Interior
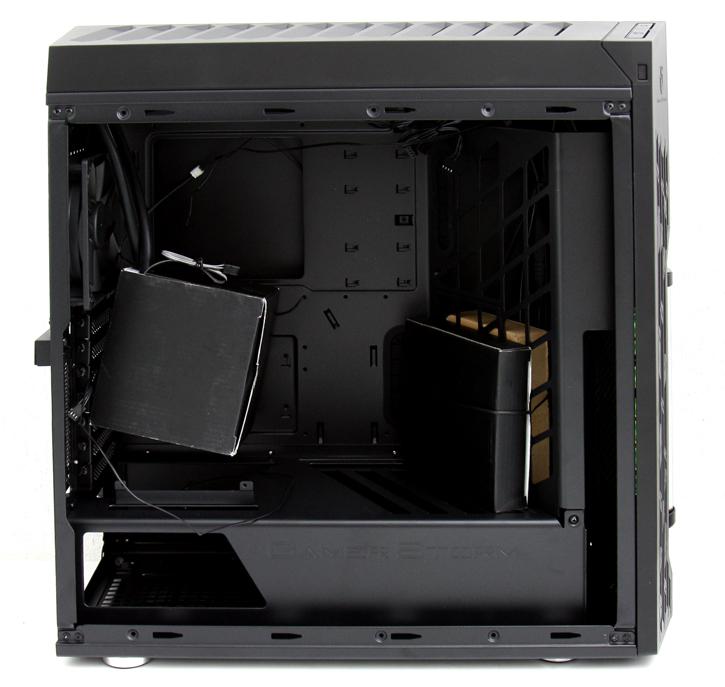
Once we strip away the side panels with thumbscrews, we can have a look at the interior. You will notice that the design is a bit different from what we are used to with that bottom compartment and see through design. You can install/ access SSD/HDDs in the backside. There is enough reach and space to access the motherboard and you can fit pretty big components. The chassis supports graphic cards up to 330 mm. The box to the right holds accessories and the one to the left is covering / protecting the water-block. It did come loose during transportation (around the globe) but was without damage.
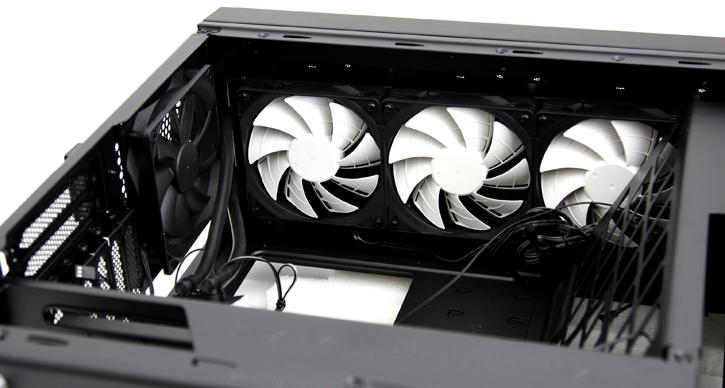
When we move the camera top side we can see the triple 360mm radiator and its three fans. Again, this is already installed for you. The fans connect to a supplied fan HUB, and from that HUB one wire leads towards a motherboard FAN controller, preferably the one labeled CPUFAN so you can actively control PWM control from the system BIOS and thus regulate RPM relative to noise levels. The setup is very silent btw.
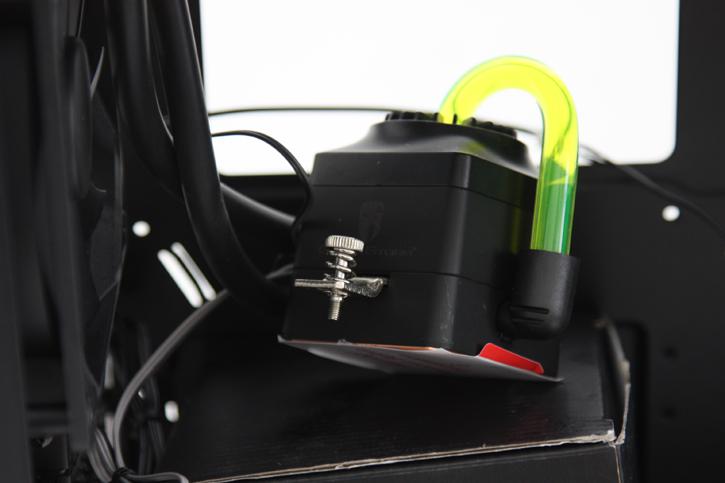
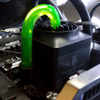
Once we remove the water-block from its protective packaging we'll see that very recognizable Captain series waterblock with the pump embedded in it. We'll need to mount a back-plate and some screws to the motherboard to keep this puppy in place. It just is a terrific block to watch (once mounted).
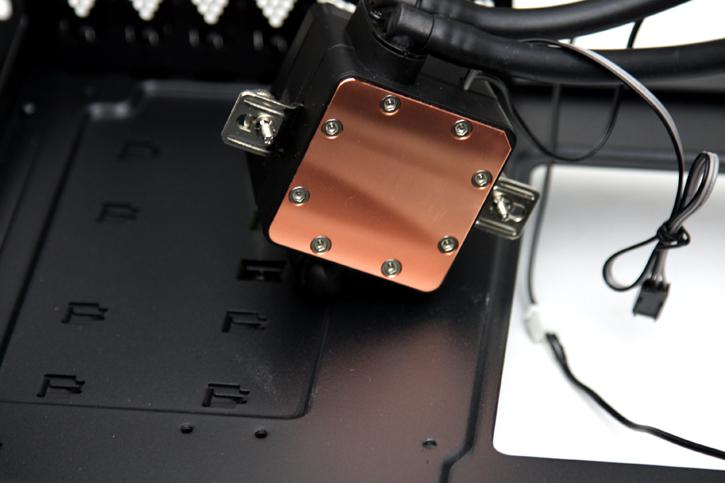
It is a proper block as well, we see a nice flat copper finish, sure not exactly a mirror wash finish but that will definitely get the job done with that 360mm rad. We'll obviously test this setup at several overclocked stages and voltages as well. More on that later in the article though.

In the rear we spot an extra 120 mm fan, this will function as extra airflow exhaust that draws heat from your motherboard VRM area. Airflow is rather optimal with this chassis. Cable routing, (though not perfect) should not a problem with this chassis either. Mind you that the front-panel USB 3.0 connectors must be connected to the proprietary Intel USB 3.0 header on the motherboard.
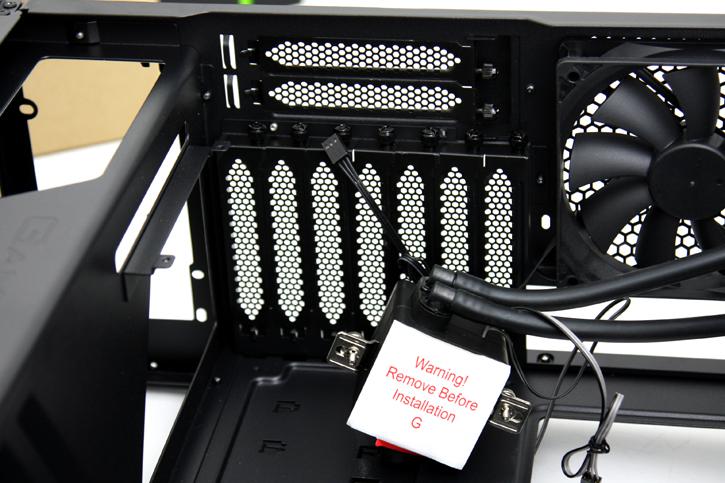
Located just under the rear fan we spot 7 PCI card slots and all the way at the bottom space for a PSU. The two extra PCI card slots (top side of photo) can be used to mount your gfx-card horizontally in a 90 degree angle, e.g. the cooler would be pointing towards you. This requires and extra kit with PCI-Express riser cable, and is unfortunately not included yet sold as optional. A bit of a miss if you ask me as that would probably would have been a huge plus in purchasing decisions for many.
