
Product Installation
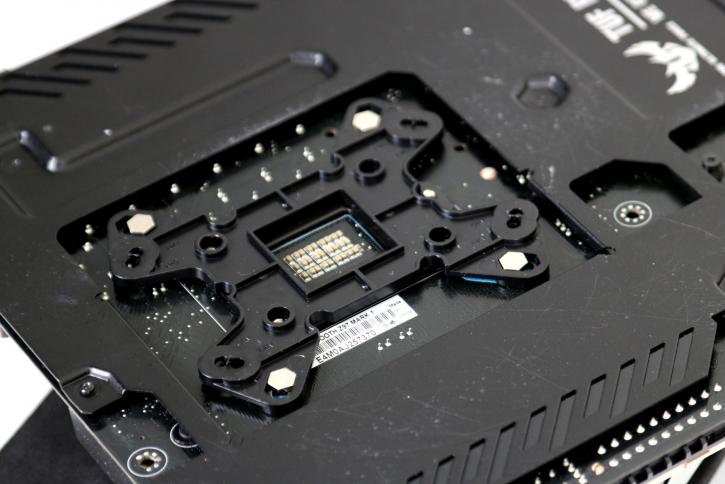
Mounting the cooler is a relatively easy thing to do, though the motherboard needs to come out of the chassis unless you have a chassis with a mainboard cutout for CPU cooling. First, prepare the backplate. We first apply four long retention screws to the backplate which we then line up and install at the backside of the motherboard. Just push is through there.
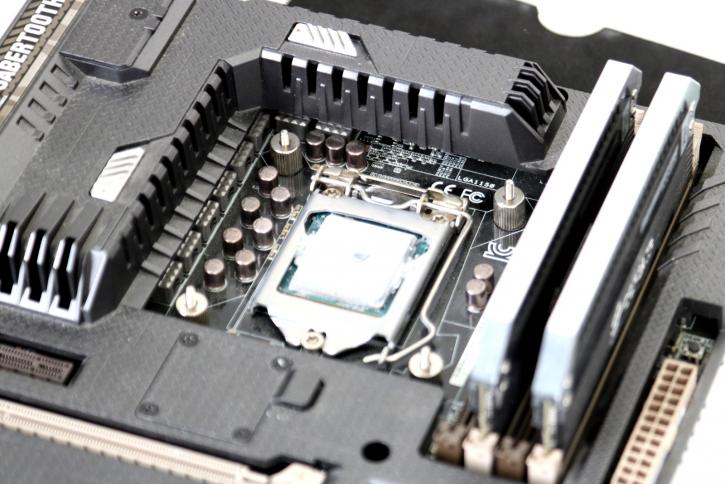
Once done you need to mount two horizontal metal brackets which you secure with again four thumbscrews.
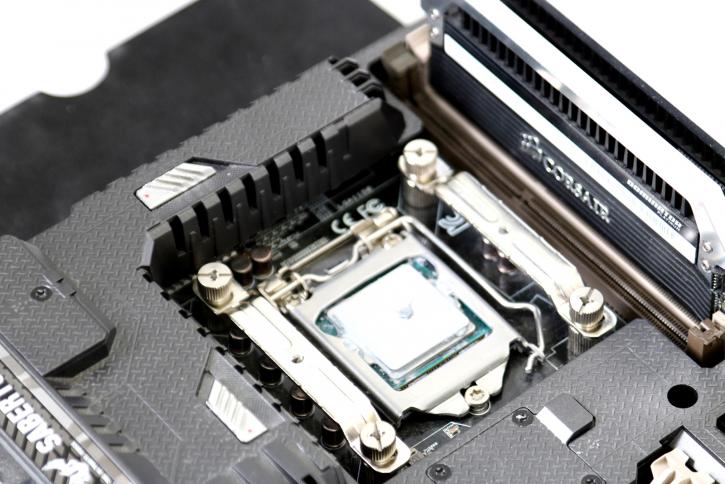
You are now almost there as the one thing left to do will be mounting the CPU block and the wiring.
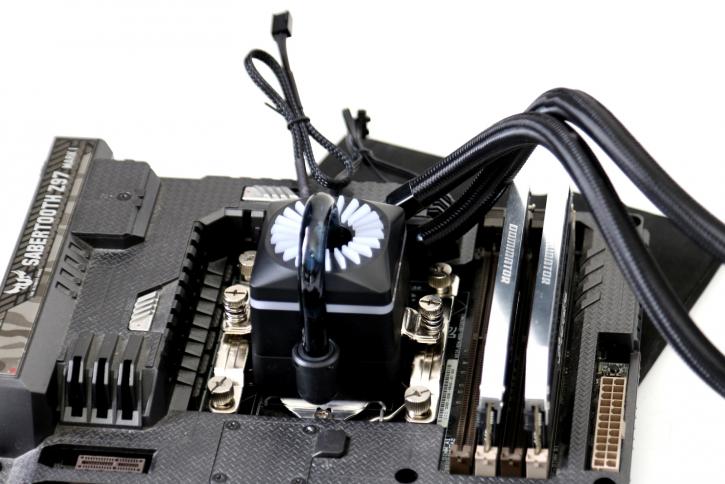
Once you seated the block you screw it secure with the two spring based screws to the left and right. Turn the screw driver until it's tight and you are done. You need to connect the pump wires towards a FAN header.
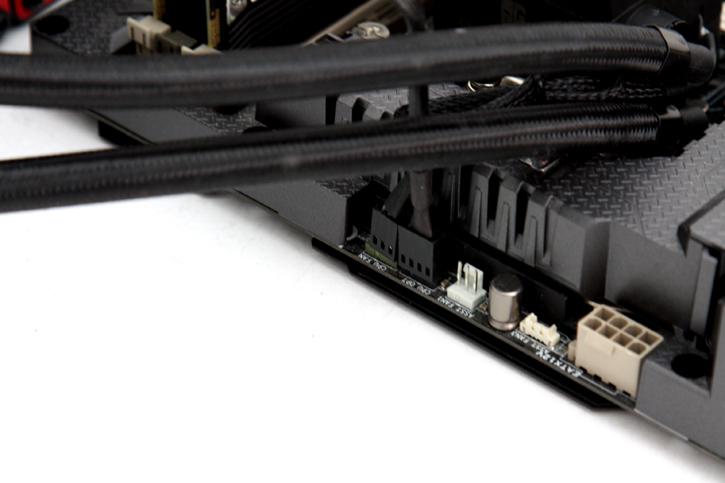
Once seated you can now connect the pump lead to a motherboard FAN header, make sure it will get enough power. Of course, connect the RGB setup as well. Once the motherboard is out this all takes like 15 minutes of work tops, we positioned the cooler and are ready for the first test run.
