Product Installation
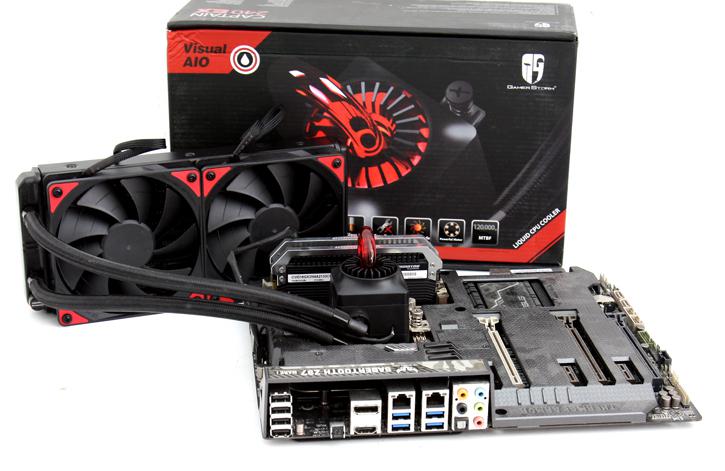
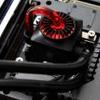
We are testing externally but you get the idea here. As mentioned there is a bit of wiring to manage, so I wanted to show you that a little better on this page.
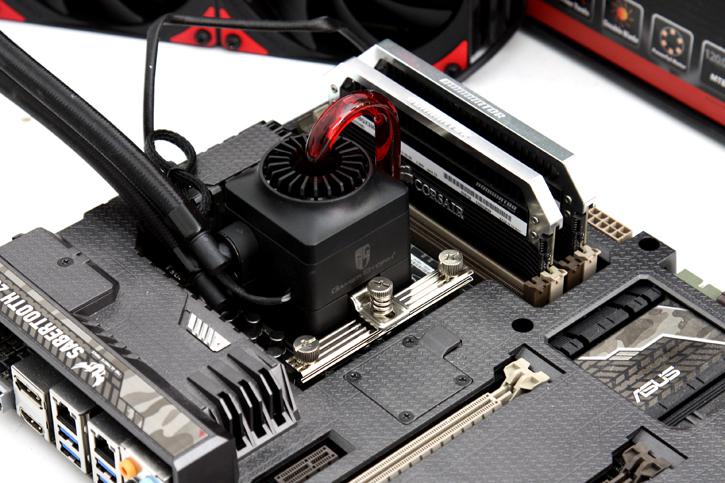
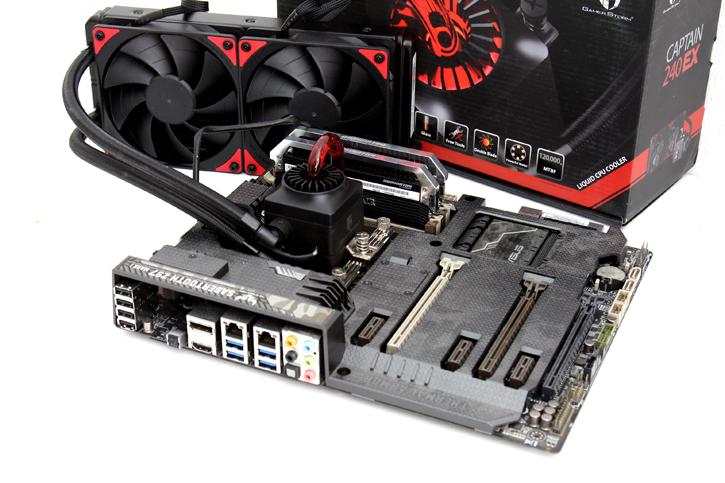
Here you can see that to the left there is one cable connected to the CPU FAN header, these are the two fans combined with the Y-splitter HUB. Then we feed the pump with our optional CPU FAN header or ASST FAN1.
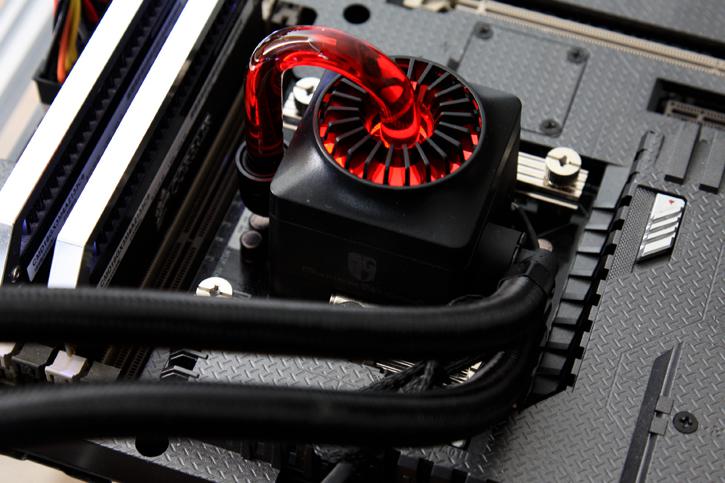
Once powered on you'll notice one LED at the water-pump, it fades in and out slowly. This is done so that you can see the pump is active and working. And yeah, installation wise that is all there is to it. A very simple and clean installation overall.