Product Showcase
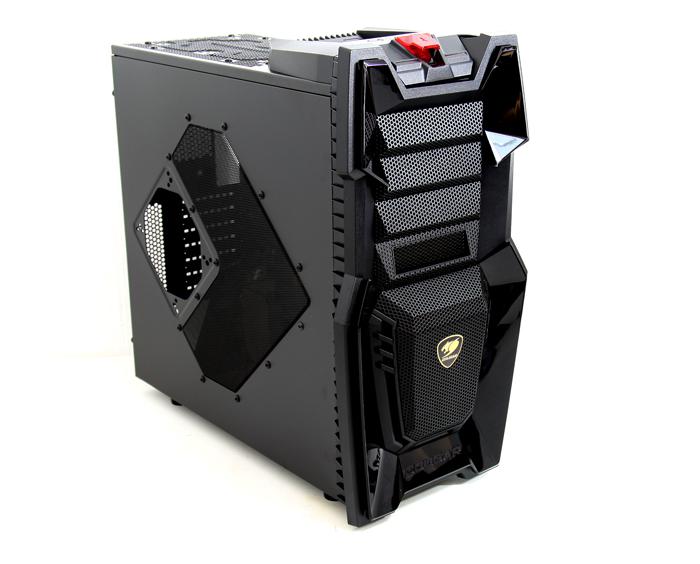
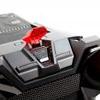
When we flip around the unit we can see the product a little better. Now it is simple, you either love or hate the design. I'm honestly not a fan of the looks, but looks are personal, and thus taste is individual. The chassis has a jet design, the power button on top which we'll show in detail later on will tell that story much better.
As stated the chassis comes with one Front COUGAR 200mm red LED fan and one rear COUGAR Turbine 120mm fan. However there is support for 7 fans:
- front 120mm fans x 2 / 140mm fans x 2 / 200mm fan x 1;
- top 120mm fans x 2 / 140mm fans x 2 / 180mm fan x 1 / 200mm fan x 1;
- bottom 120mm fan x 1 / 140mm fan x 1;
- rear 120mm fan x 1;
- side 120mm fan x 1 / 140mm fan x 1
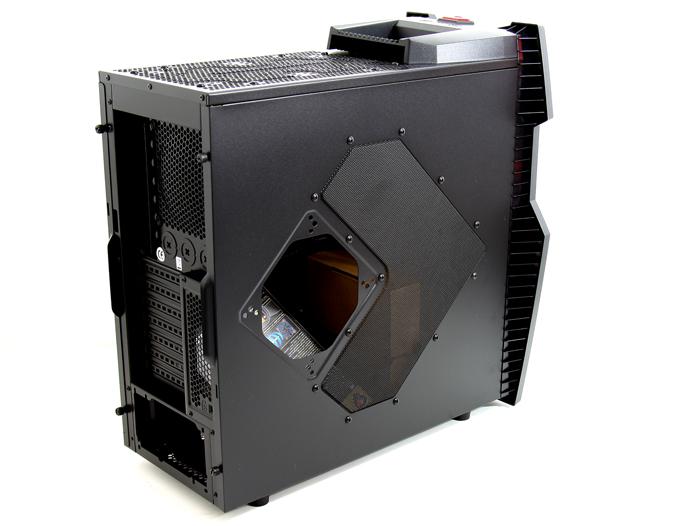
The backside then. Next to the rear IO we spot a 120/140mm fan. At the side we see a large mesh and then a gaping hole .. don't get scared now.
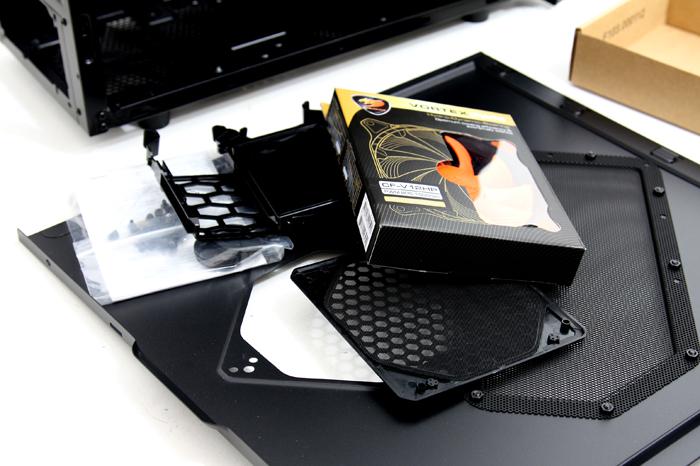
In the bundle a air filter has been included. It is magnetic and you can simply pop that on there. There is an air filter on the bottom cover & side cover to prevent dust from entering the enclosure (magnet filters are easy to uninstall and clean).
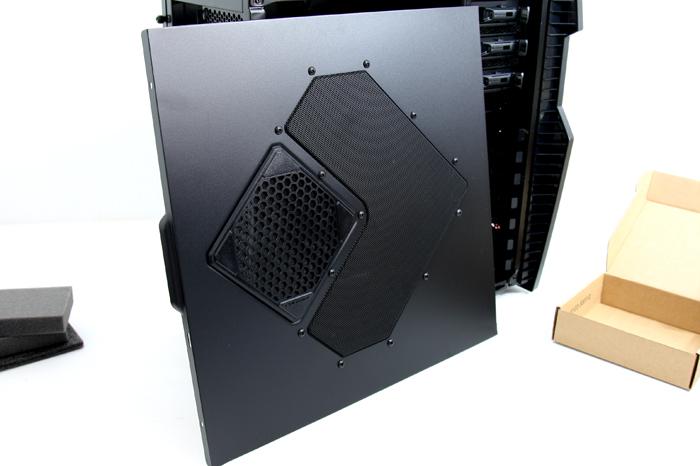
Here you can see that side air filter mounted into place. Now obviously you could place a fan there as well (with the air filter in place of course).
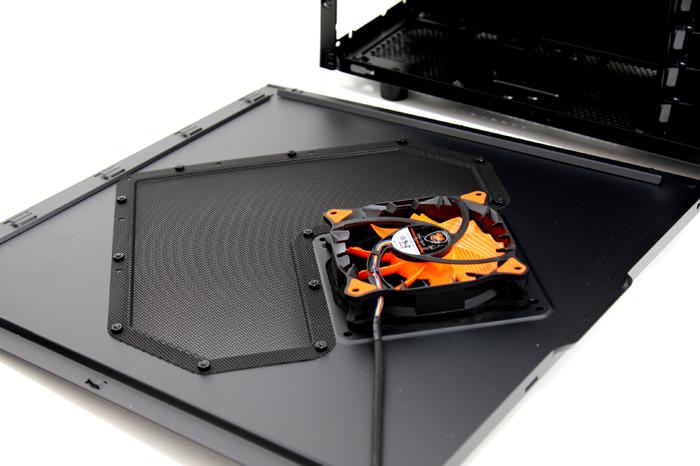
Cougar added an extra Vortex fan. Some SKUs I have seen have this fan included, some do not. So keep your eyes out for that. All fans in this chassis can be PWM controlled, so you can go really silent, normal or choose for maximum performance at the cost of noise.
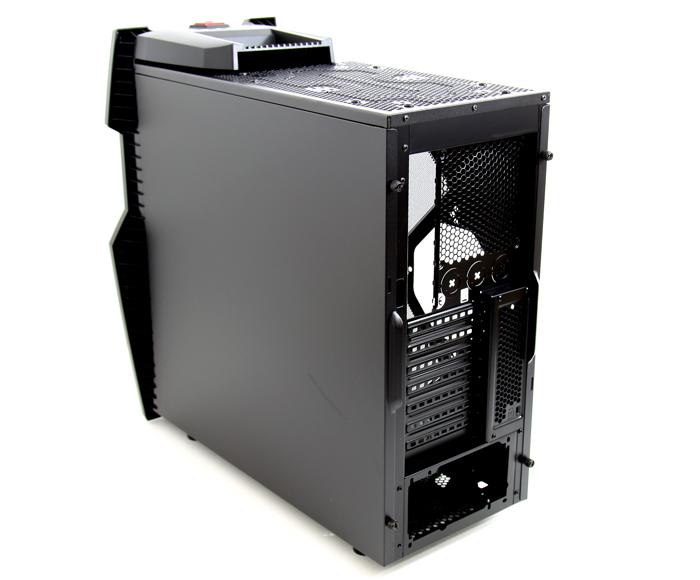
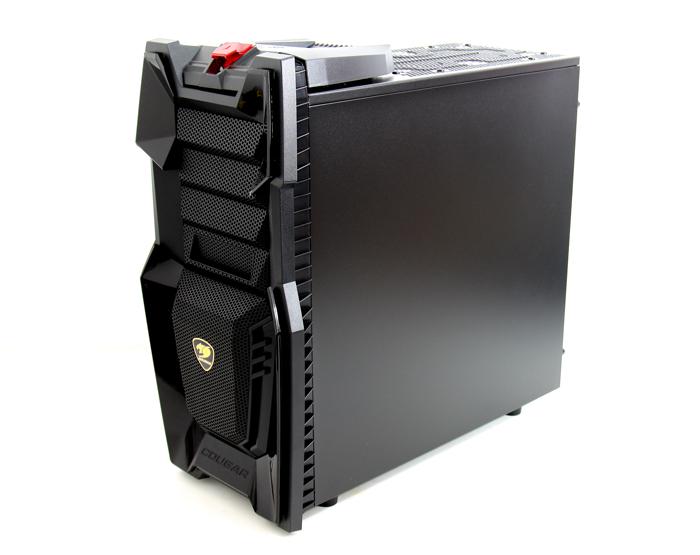
The matte black paint job is terrific and you can't complain about it really. The chassis is made out of steel except for the plastic Bezel. You'll notice 3 grommet holes on the backside of the rear panel for water cooling solutions.
