Installation and Initial Performance tests
Installation
Wifi
Nothing is required other than the fact that you need a working host of some kind. So let's look at WIFI first:

By enabling WIFI with the button located at the front-side of the Voyager AIR the product will basically function as an access-point. So over WIFI it doesn't actually mount into your existing network, it creates one which you need to connect to. Please do realize that once you enable WIFI pretty much anyone or everyone can access the Voyager Air 2. With the help of the Voyager Air APP you assign password protection though, but the basics are simple... this is open communication up-to the point that you decide to secure it.
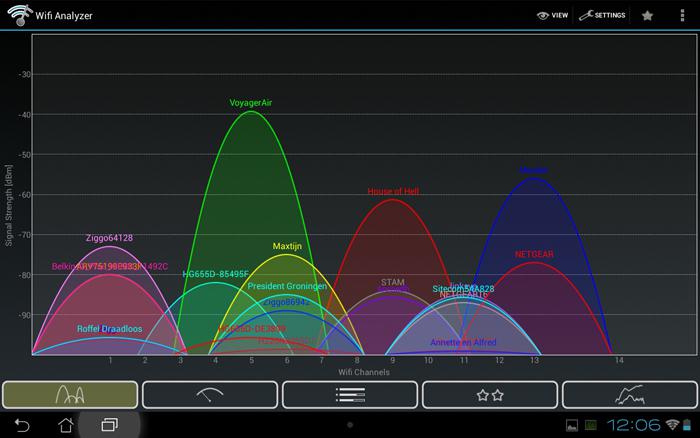
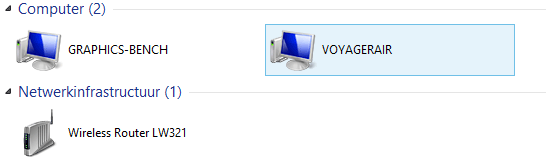
My tablet detects and connects to the Voyager Air at this stage. We have good signal, this is in the same room though. And good gosh man, there certainly are a lot of signals here in my office. Once connected you can use the APP to browse the product. You can also connect to the device with your PC or Laptop, simply point the WIFI adapter towards the Voyager Air and once connected you can access the device through network options and copy files from and to it.
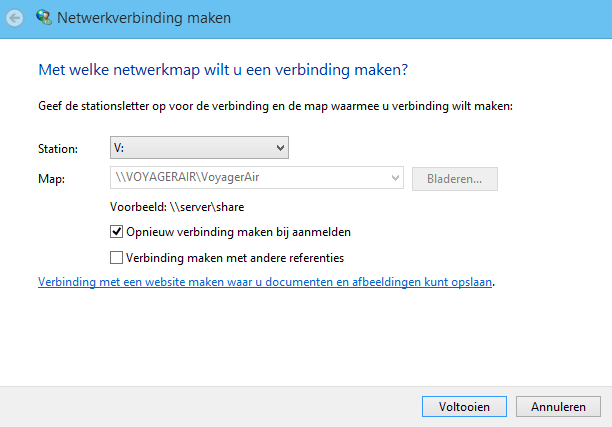
Small tip, you can assign a drive letter as the unit is seen as a network share.
Using USB 3.0 (or 2.0)
If WIFI is not your thang, with the help of the USB 3.0 cable we can connect to the device as well, and if you need better performance we can seriously recommend that:
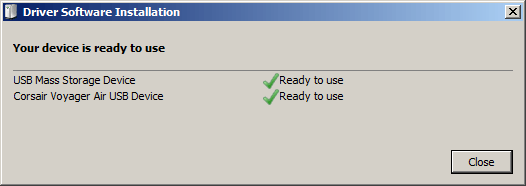
Simply plug it in and you'll start seeing a new storage unit called Voyager Air USB as shown above.
Once the USB 3.0 connection has been made you'll notice a new storage unit, in our case the E: drive. It is already formatted and ready to use.
