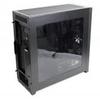
Product Gallery
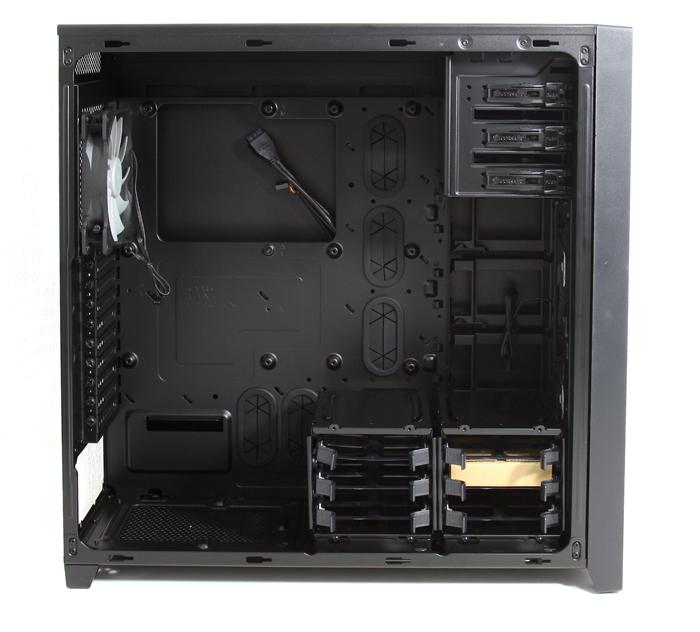
With the top side panel removed we can now look from top to bottom. Lower left is the PSU area, to the right the two 3.5" drive cages. We'll look more in-depth at that in a minute though. So you'll notice a CPU back-plate cutout for simple CPU cooler installation, 3x tool-free 5.25in drive bays for easy drive installation, many cable-routing holes that have rubber inserts.
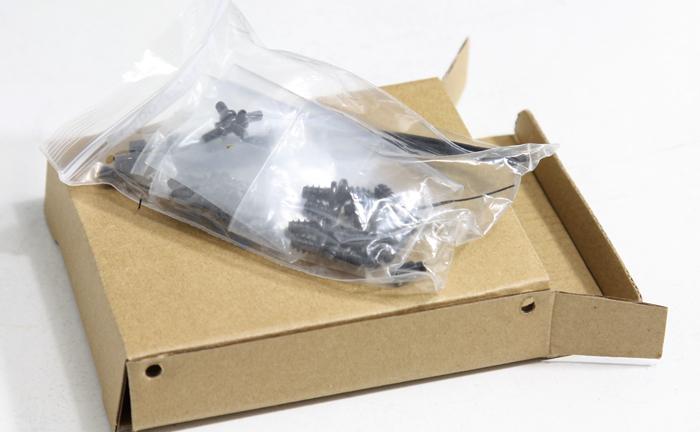
Inside the chassis you'll spot a small carton box. Bundled items are screws mostly for all the fans you can optionally mount.
The top side radiator space plethora. And it reveals a vent cover/filter on top that can be easily removed and cleaned and the 140mm rear exhaust fan.
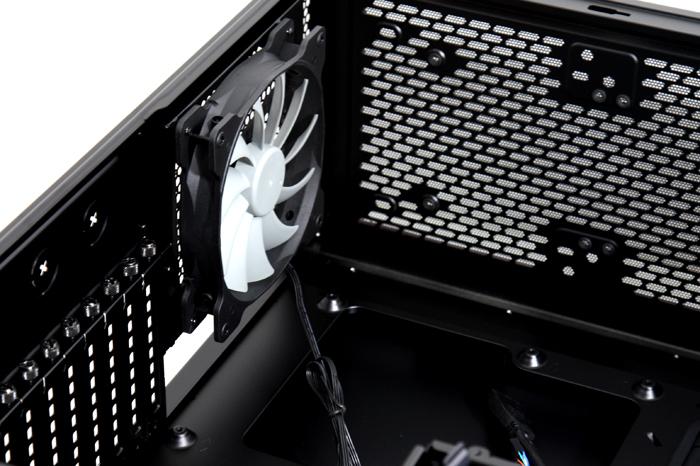
These are PWM controlled fans. Connect them to a controller or your motherboard to regulate them. The 750D itself does not have a fan controller though. The interior overall is extremely well designed and there's just so much room to work with, all the larger components will fit easily.
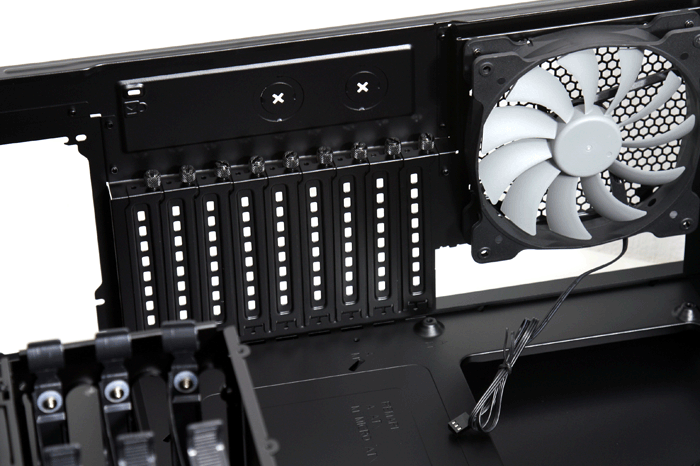
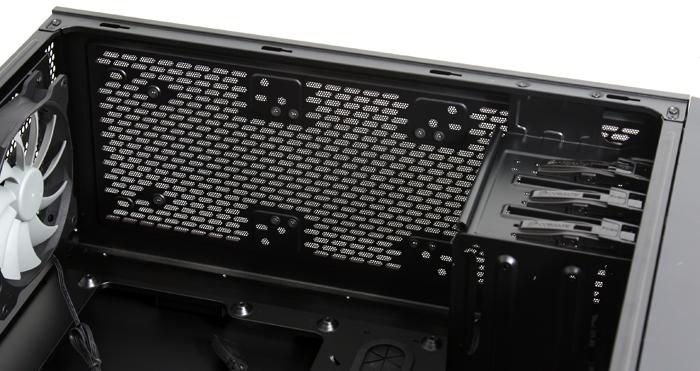
That's nine PCI card slots for ya, above it you could remove the covers for the two holes, which you then could use to route cables or liquid cooling tubes to the exterior of the chassis.
