Product Gallery
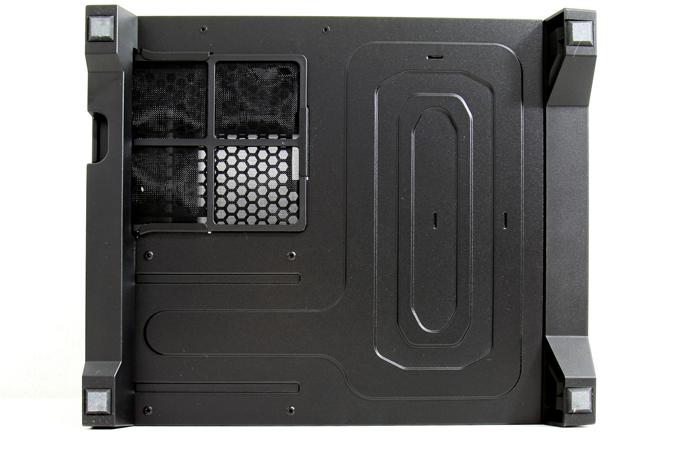
From up top we move to the bottom, the chassis rests on four rubber feet to prevent it from resonating and giving it a good mount on any surface. The chassis is heavy enough and weighs almost 10 pounds, there's just no way it would resonate whatsoever. The Obsidian 250D has several removable dust filters in front of the intake fan and underneath the PSU in the bottom rear of the case. Removing and cleaning the filters is an easy task.
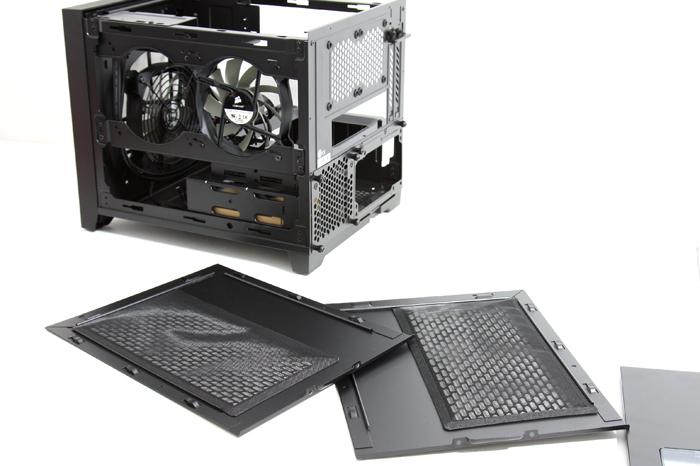
With the top and side panels removed we can now look from top to bottom what the inside of the chassis looks like. The panels all are secured with two thumbscrews, then you pull the panel to the back and gently lift it out.
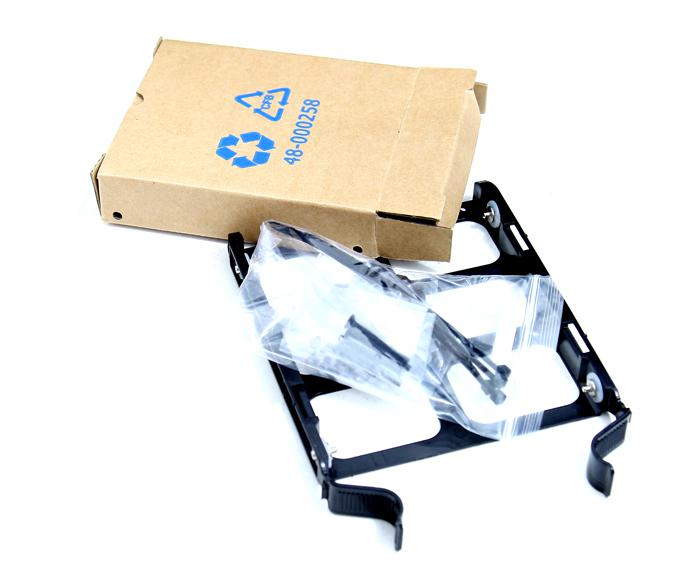
Inside the chassis you'll spot a small carton box. Bundled items are screws, tie-wraps etc.
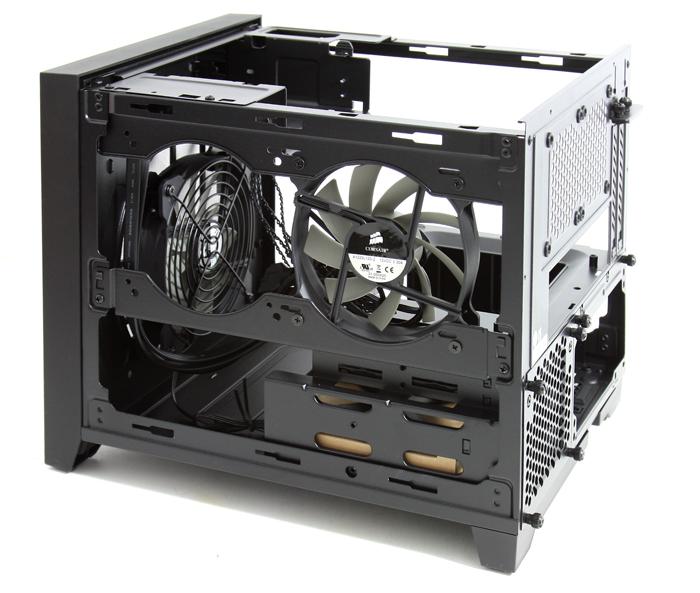
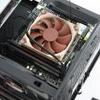
Here we see the left side opened up, a 120mm fan is already mounted for you. These are PWM controlled fans. Connect them to a controller or your motherboard to regulate them. The 250D itself does not have a fan controller. The matte dark interior overall is well designed and there's not ample, but enough room to work with, all the larger components will fit including even the longest graphics cards. You'll get 2 PCI expansion ports at your disposal. You can also see that this is the spot where you could mount a 120 or 240mm radiator for you liquid cooling preference..
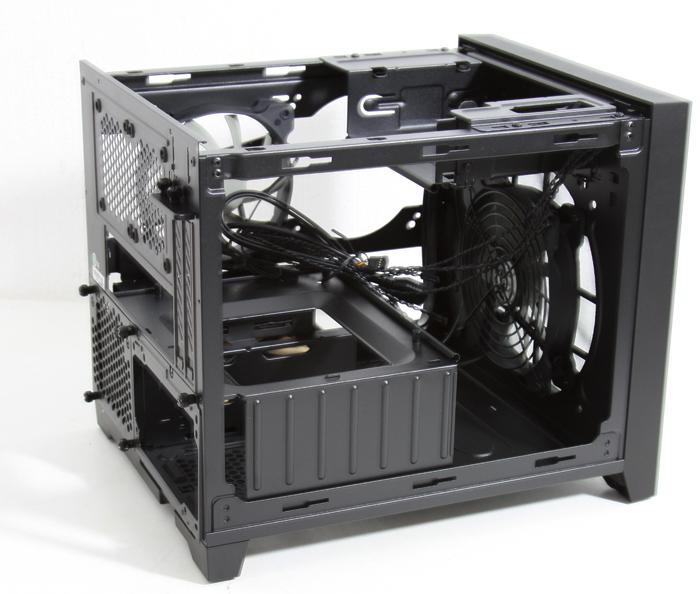
At the opposing side we can see where we can mount the PSU, that would be the left bottom side. All standard ATX power supplies can be installed. At the top of the PSU mount you'll find the motherboard tray where we can install the cute Mini ITX motherboard.
