Page 4
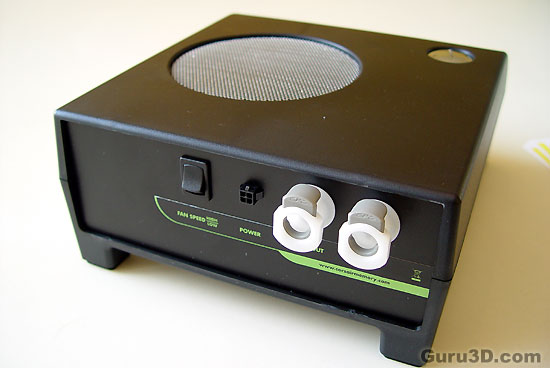
The Nautilus 500 feeds from your PSU. An included power cable runs from the four-pin connector to the PCI slot cover plate, which on its end connects to a Molex connector coming from the system's power supply. There is no power switch on the Nautilus 500. It draws power directly from the system's PSU and turns on automatically when the system is powered up which is simply great.
On the lower part of the box we see the actual radiator. Which is another concern .. no protection whatsoever. That maze of small water pipelines is unprotected, if you damage it it'll leak. Also over time dust will clog up in there. Some sort of mesh or grill in front of the radiator would have been the better way to go.
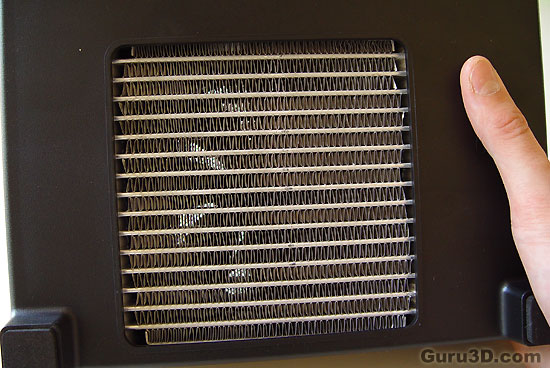
On the top of the unit is an integrated 120mm fan. The fan, which can operate at two different speeds, is controlled by a button on the backside of the unit (switches between 7 and 12 volts). The fan pulls air in through the radiator at the bottom of the unit and exhausts it from the top. Regardless of whether using high or low speed though, the Nautilus 500 is very quiet. I prefer the 7 volts (LOW) setting though as I hate noise at any level.
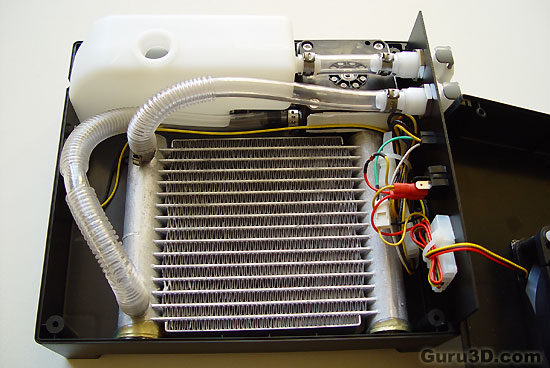
Once we open up the Nautilus we get a more clear picture of this all-in-one solution. On the top of the photo we see (left) the reservoir, top-right the pump and below it the radiator. But wait let's zoom in a little ...
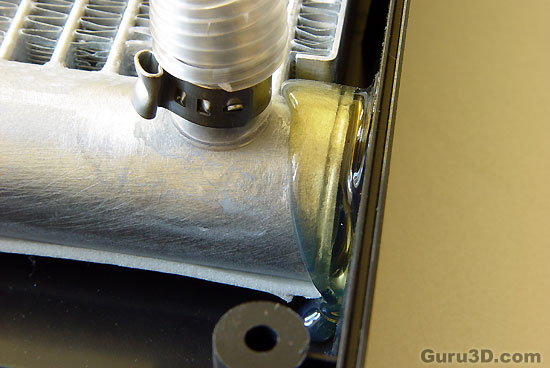
Hey, the radiator has been glued in the casing. A very "economical" solution. It secures the radiator well, but this kind if glue does not stick metal well. This was a choice made based on cost control. No big deal though as it does the job sufficiently.
