Product Showcase
Product Gallery
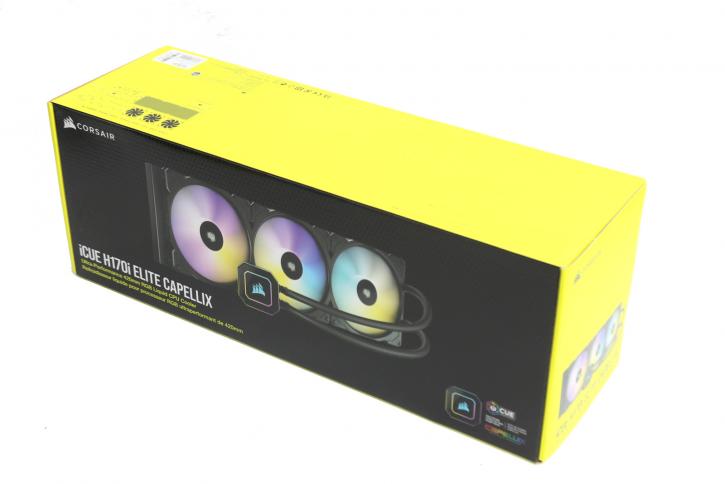
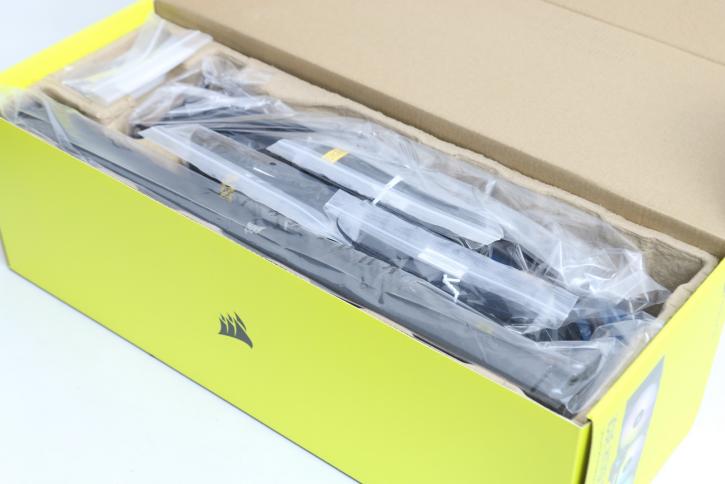
As always, the kit bundle everything is packaged, cushioned, and bundled safely in the box. So let's open it up to see what we'll find inside and to what degree we need to assemble this kit.
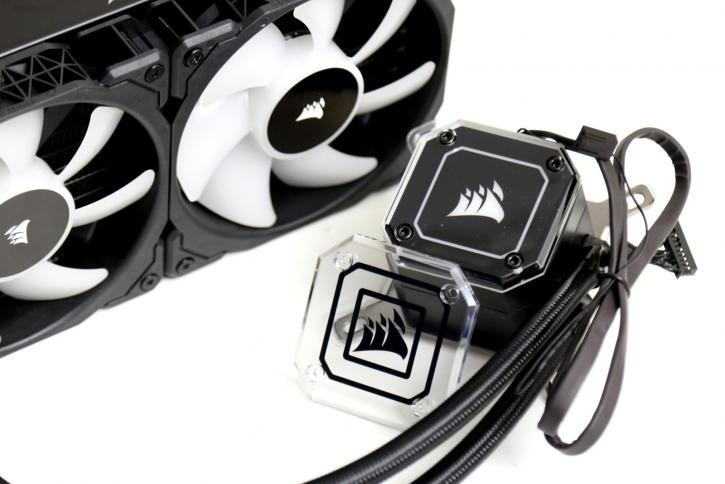
Once unboxed, you'll spot the liquid cooling unit consisting of the radiator, fan, tubing, and pump/cooling block. Most pre-fitted and ready to use, of course. Basically, you will need to install/mount the fans and a bracket to secure the unit. But you know what, you are visiting Guru3D.com, so as always, we will be taking you through the entire installation process over the next few pages.
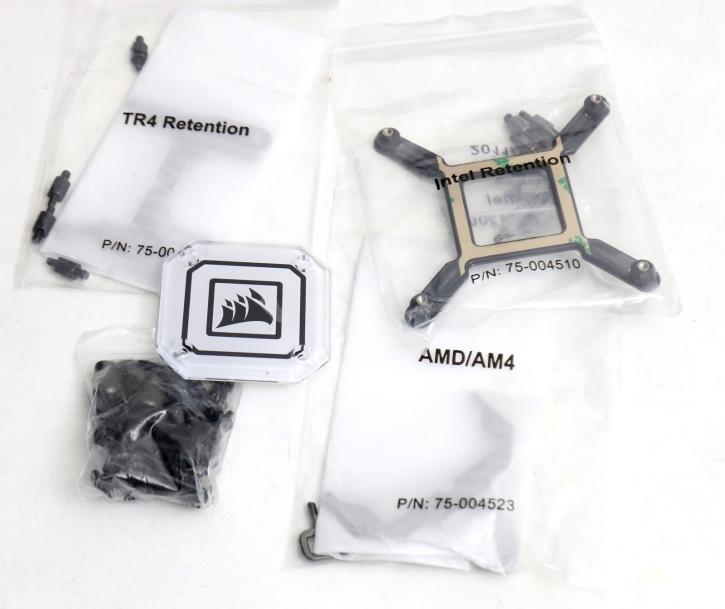
You'll spot a backplate that supports a wide variety of CPU sockets. Intel LGA 115x, 1366, 2011, 2066, and AMD AM2, AM3, AM4, FM1, FM2 based processors can be used in combination with this cooler. Lovely to see is support for Threadripper (SP3). Included are:
- CORSAIR Elite Capellix RGB Liquid CPU Cooler
- Mounting kit for all modern CPU sockets
- ML Series PWM 140mm RGB high-performance fans (2000rpm)
- iCUE Node commanded
- Fan and radiator mounting screws
- Thermal compound (pre-applied)
- Quick Start Guide
- Extra faceplate
You'll spot the cooling unit consisting of the radiator assembly, fan, and brackets + backplate that support an extensive range of AMD and Intel processors. A little thermal paste is pre-applied on the cooler for you. I do wish that manufacturers would add a little extra for reserve in a syringe.

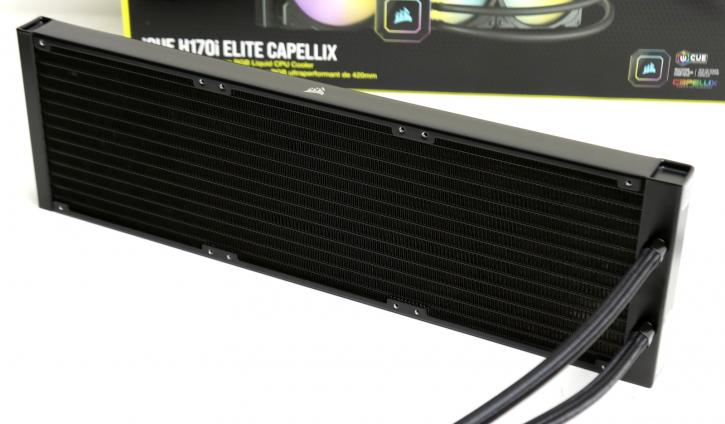
Here we have the package showing the radiator unit and block/pump; we'll need to mount the variable PWM ML series fans (3x 140mm). The fans are re-wired onto the included core commander controller. With Corsair's iCUE software, you may regulate it and set up your RPM preferences and, of course, RGB preferences. We'll show that later on in the article.
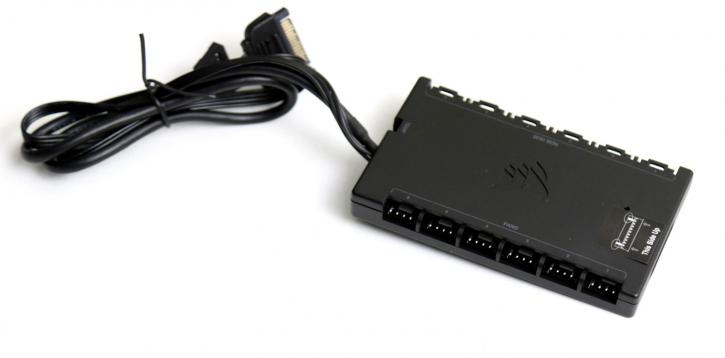
Here we have the Commander Core RGB/fan hub connected to a USB header on the motherboard and powered by a SATA cable. Here you can hook up to six fans (PWM) and your compatible RGB products, also six. The USB header is needed to communicate with iCUE, of course.
Here we can see the base unit. The cooling block faceplate can be exchanged with a transparent plate (included).