Product Showcase
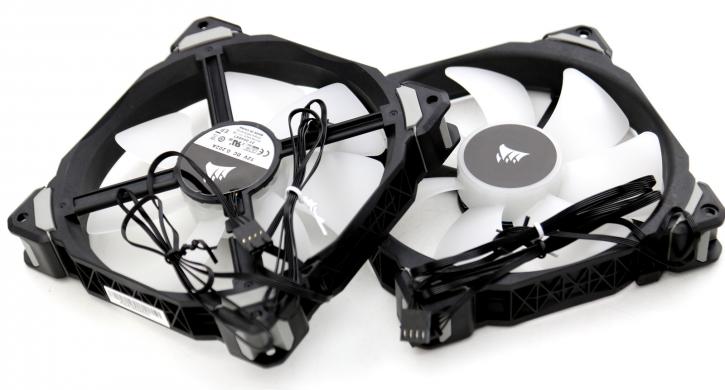
Here we have the ML 140mm high static pressure fans. You obviously get two of these, all PWM based as stated. The ML series is short for magnetic levitation, at low RPM these fans offer quite a bit of airflow while that low RPM offers low noise. Once they pass ~1300 RPM it's quite the opposite though. These RGB fans have 24 LEDs each, individually programmable.
At 12v the Ml fans are noisy as heck, but the rating on these fans is insane as they can move so much air, even at low RPM, and that is what we are after; low noise levels offering good cooling performance. You can select multiple preset modes ranging from silent to performance in the software as well as a zero RPM mode which deactivates the fans up-to a coolant temperature of 40 Degrees C. The default (balanced) configuration keeps things rather silent. We'll show you all that in the software overview though.
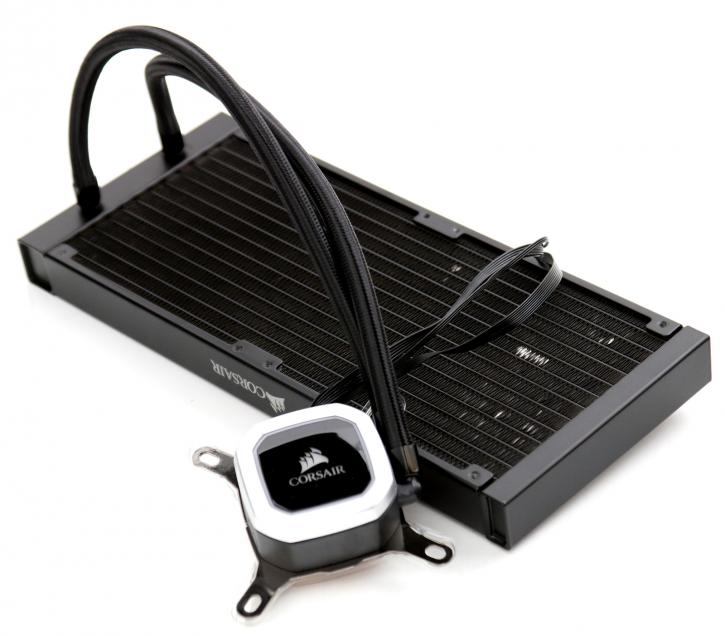
When we flip it around we see the radiator a little better. Easy to mount, most big-tower chassis have pre-fitted holes and space for 280mm rads these days. The unit measures 322mm x 137mm x 27mm.
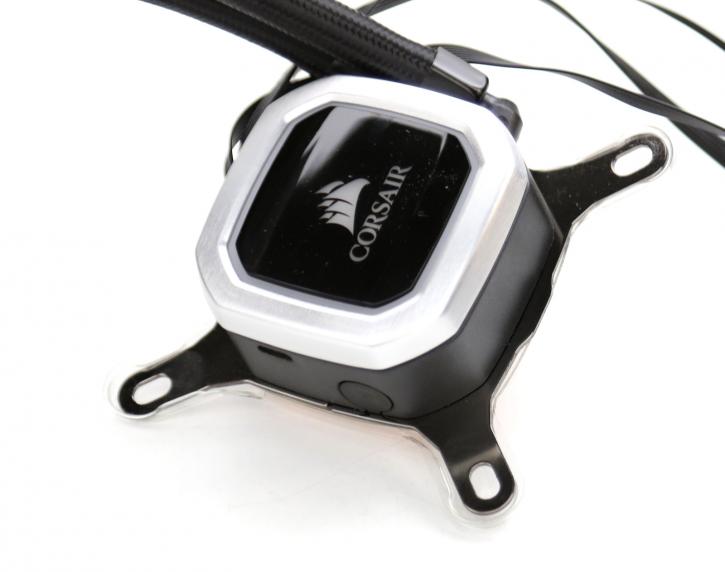
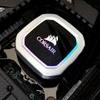
Here we have the cooling block. Inside is the pump as well 1+1 is a patent, ergo this unit is licensed from Asetek. Being an I series (iCUE compatible) cooler, there is quite a bit of cabling tied to the unit though. A USB connector, the power cable for fans and a fan PWM cable that leads to the motherboard as well as a SATA power connector to feed it all. New for this platinum model is a dynamic Multi-zone RGB Backlit Pump: 16 Individually controlled RGB LEDs light up the pump head to produce stunning, customizable lighting effects to match your build.
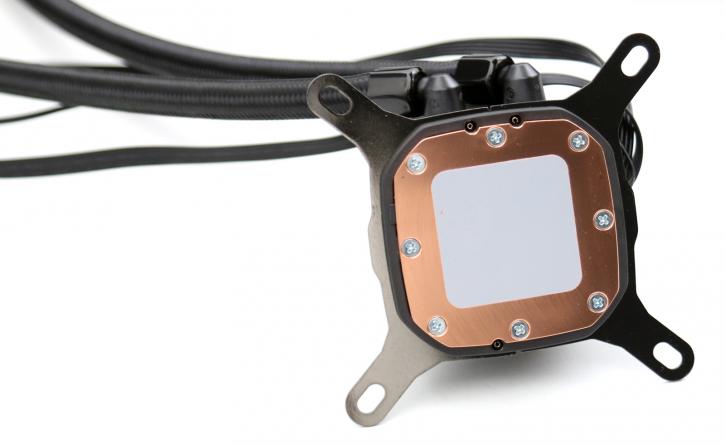
When we flip the CPU cooling block/pump around we see an all copper base, with TIM (thermal grease) already applied for you. Not exactly a mirror / lapped finish through the performance is good as you'll find out soon enough.
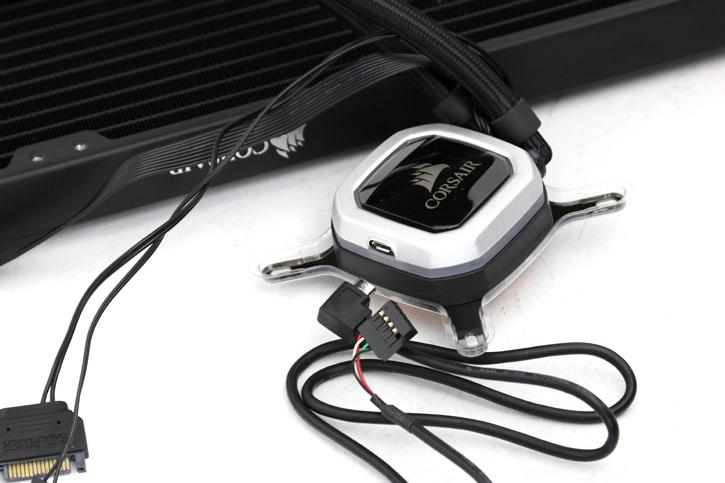
So one cable needs to go towards your motherboard, there is one power cable, one cable for the fans and then that USB connector leads towards your USB port for software control.
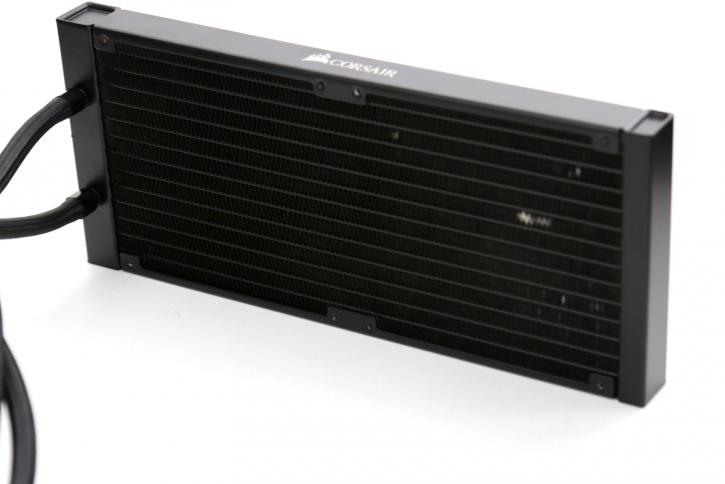
We're loving the braided wiring on the tubing, it brings in that nice premium feel to the overall looks, the rad btw is 27mm thick (excluding fans).
