Product Installation
Product Installation

Mounting the cooler is straightforward, however, the motherboard must be removed from the chassis unless you have a chassis with a cutout for CPU cooling. Now, prepare the backplate by aligning the nuts with the holes by moving them into place. You must place the backplate exactly as seen above; there is no other correct method. It's a design bracket that is robust and very simple to install.
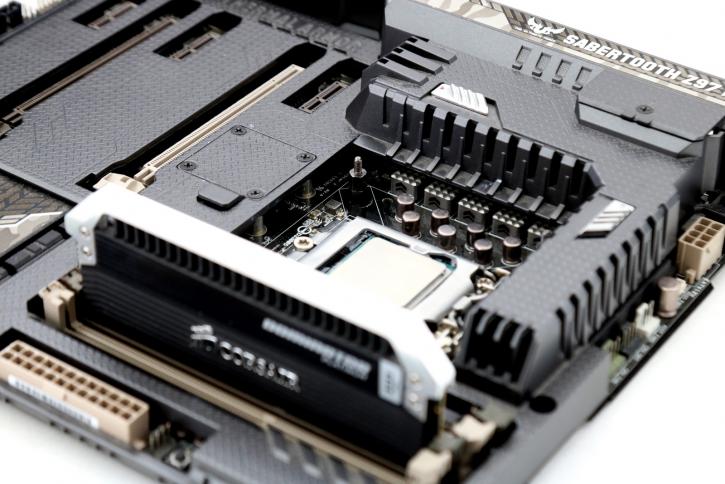
You should have previously installed your CPU; thermal paste is already applied to the cooling block as part of the package. With the backplate in place, the four standoff screws seen above are now installed. The next step is to install the mounting bracket on top of the pump and tighten everything together.
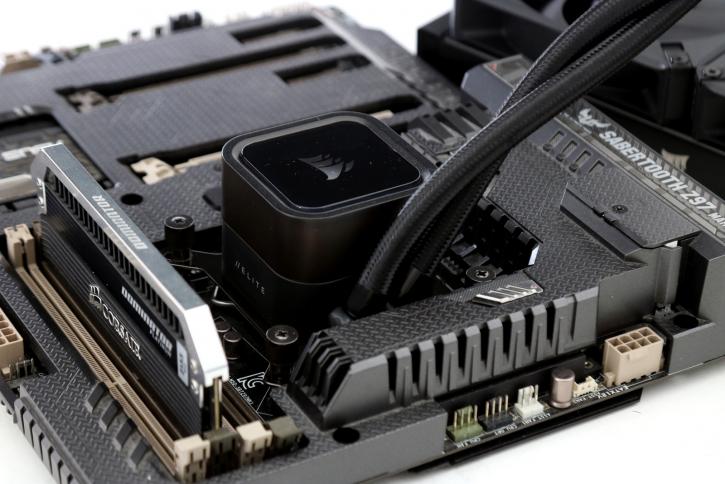
Once the cooler has been positioned, four standoff screws are aligned. Four thumbscrews may be tightened with the use of a screwdriver. Turn them until they cannot be tightened anymore.
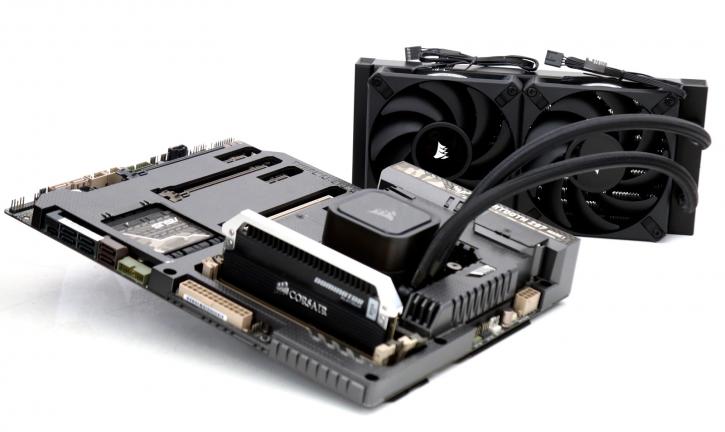
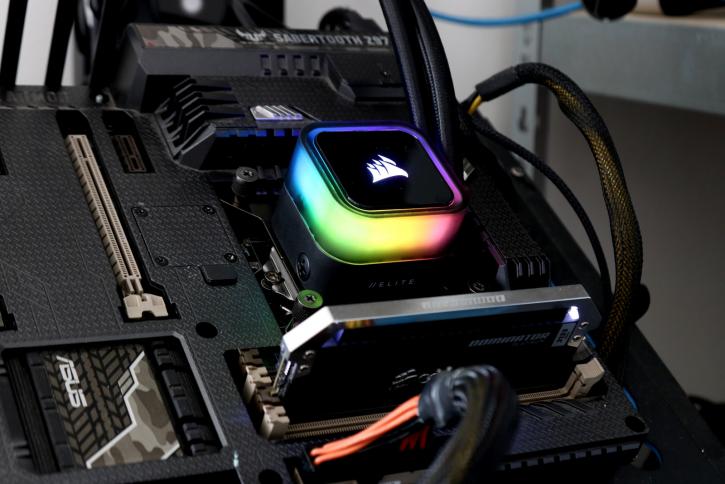
Now that you are seated, you may connect the cord. Remember that you must connect the USB cable to a USB port on your motherboard. Once the motherboard is removed, this whole process takes no more than ten minutes; the cooler has been installed and the system is ready for its first test run. The embedded Commander fan/RGB controller makes cables routing so much nicer.