Product Showcase

We will now start the phase where we will be assembling the kit for installation. First, we mount the fans towards the radiator, four screws each, and remember the corsair sticker points downwards in your PC case.
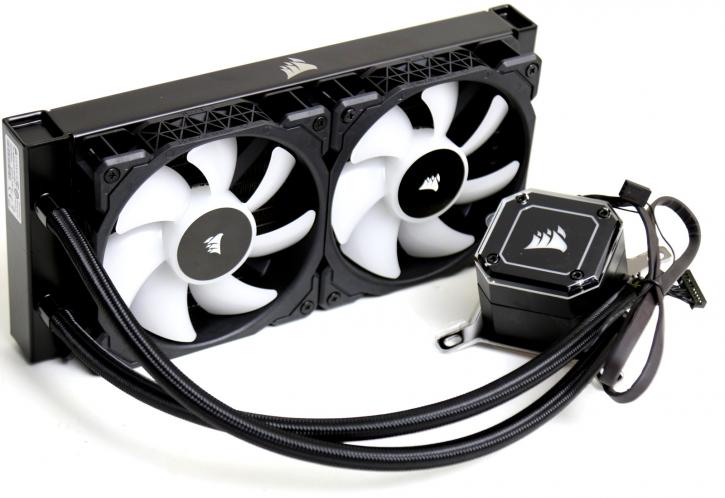
Once done, you need to decide where you'll be positioning your radiator and how the tubing and wiring will be managed. The two fans have connectors connected to the included HUB—the same for the RGB connectors, leading to the HUB. The included commander is crucial here because it now provides much nicer cable routing as you can tuck the commander (communication and power HUB) away.

So here we can see that happening. Basically, from the CPU block, one wire leads towards the Commander unit, which you plug ion. All FAN PWM and RGB cables you hook in here as well. Then one SATA cable powers it up. The advantage is that you can now tuck away the HUIB and cables out of eye-sight. That and you can control up-to six RGB and/or FANs with the unit as well. Noice!
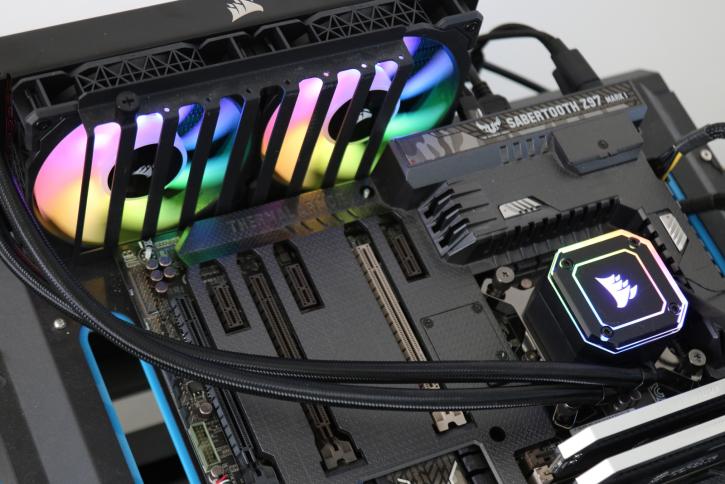
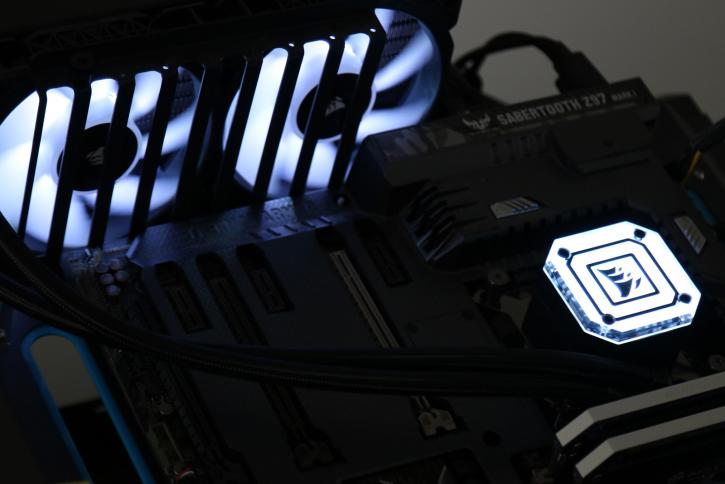
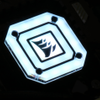
I am going to take a quick detour here on the faceplate, look at the photo above please, dark themed right?
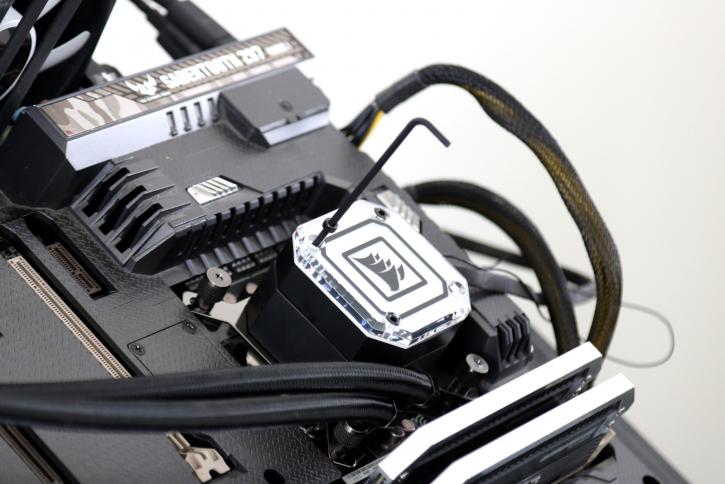
You'll have the option to swap it out for a transparent one. Under the faceplate sits a snow-white piece of Plexi, light bounces of white the best ergo for a bit more RGB effect you can install that Transparant faceplate.
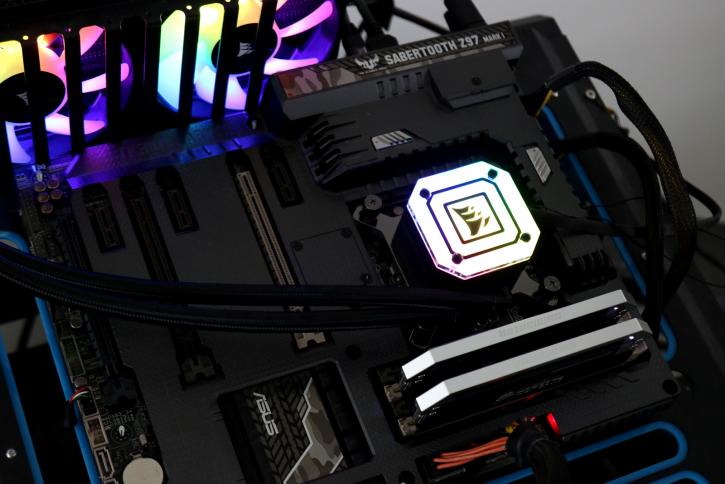
The effect will be a completely different looking cooler, and the good news is that the faceplate is included to you have this as an optional choice. It's just the removal of the four screws and but on the new one. Done.