ASUS ROG Radeon RX 6750 XT STRIX review
AMD FidelityFX Super Resolution 2.0 - preview
Sapphire Radeon RX 6650 XT Nitro+ review
Sapphire Radeon RX 6950 XT Sapphire Nitro+ Pure review
Sapphire Radeon RX 6750 XT Nitro+ review
MSI Radeon RX 6950 XT Gaming X TRIO review
MSI Radeon RX 6750 XT Gaming X TRIO review
MSI Radeon RX 6650 XT Gaming X review
Deepcool AS500 PLUS CPU Cooler Review
Kioxia Exceria Pro 2 TB M.2 NVMe SSD Review
CoolIT FreeZone CPU cooler review -
Page 6 (Installation)
Tweet
Related Articles
The first thing you'll need to do is remove your mainboard from your PC. The CPU cooler requires you to mount four stand-offs to the back of the motherboard.
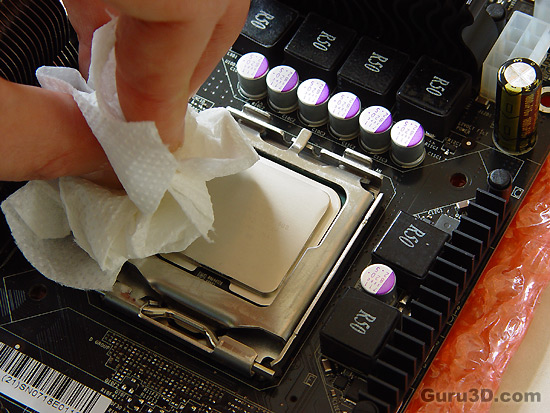
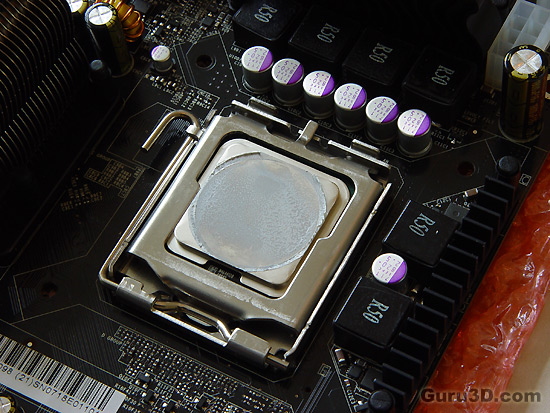
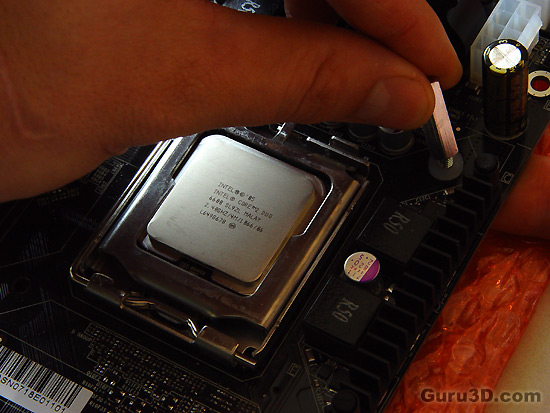
Oh and clean that residual thermal paste from the CPU would you !
Once the stand-off's have been seated, align screws at the front of the mainboard, do not forget to use the washers here as well.
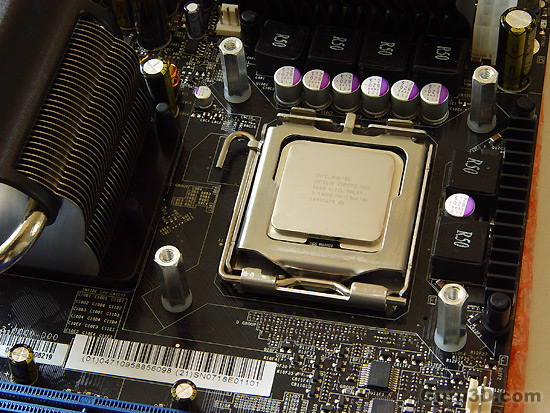
We have now installed the mounting gear, make sure it's firmly secured. No need to apply thermal paste, coolit did that for you as it's already on the water-block.
CoolIT FreeZone CPU cooler review
So the CoolIT FreeZone is not a 100% water-cooling system as you and I know. Unlike most similar products, the Freezone doesn't use a radiator. Instead, it uses its proprietary Chiller module which simply are the TECs or peltiers elements to chill the liquid coolant. By doing so it provides far greater thermal efficiency.
© 2022