Installation and preperation
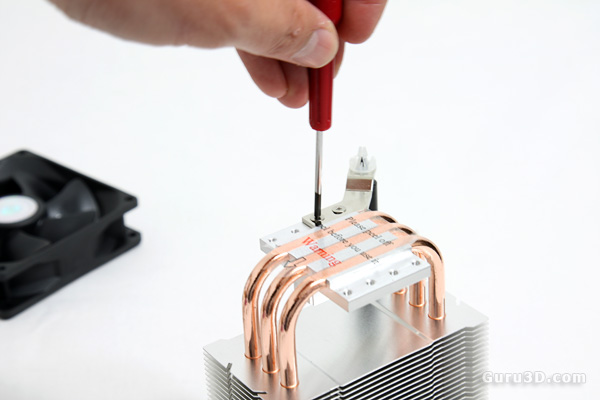
Mounting the cooler requires a few minutes work. We'll be installing on LGA 775 (Core 2 Quad QX9770). Basically you mount four retention clips in the right position for LGA 775 with the supplied screws.

After you've secured all screws you now have a push-pin design mount. This works out really well, there's no need to remove the motherboard and you can clip on the cooler really easily. It's a big improvement over previous designs from Cooler Master. For AMD CPUs you can skip the push pin installation and use a retention spring clip.
All popular processors except Core i7 are supported, including Intel Sockets LGA 775/1156 (Core i5) and AMD Sockets 754/939/940/AM2/AM3.
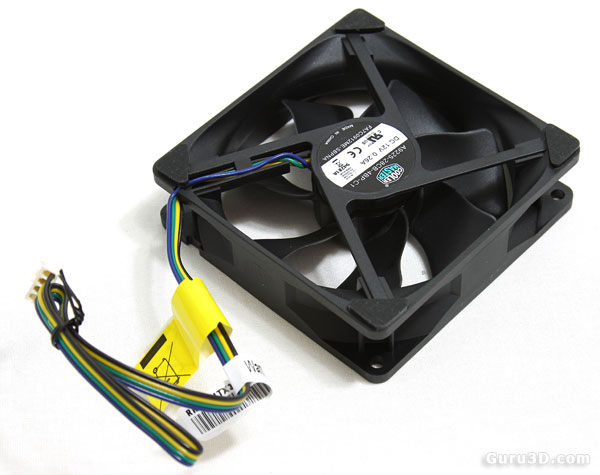
Here we have the 92 x 92 x 25 mm fan at 800 - 2800 RPM (PWM). See the little rubber patches in the corners? That prevents resonating, and dampens the sound. Simple yet very effective.
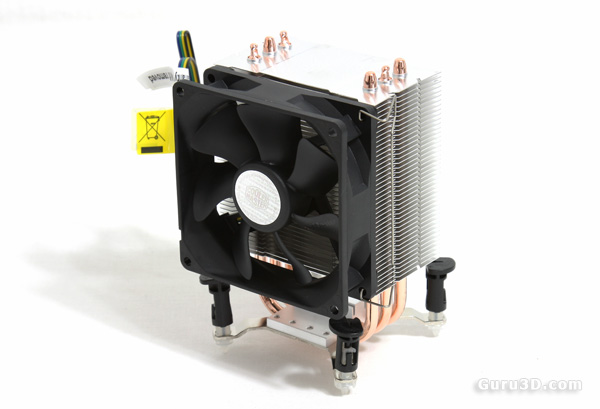
So a small hint, you want to mount the fan AFTER you've installed the cooler onto your motherboard, but this is what the end result will look like. Mind you, we had a small problem with the fan retention clips (well, iron wires), they were a little too big to fit properly, so I had to bend them a little in order to make it fit, no biggy though.
You'll receive two more fan retention clips as you can add another 92mm fan on the other side of the cooler for additional performance.
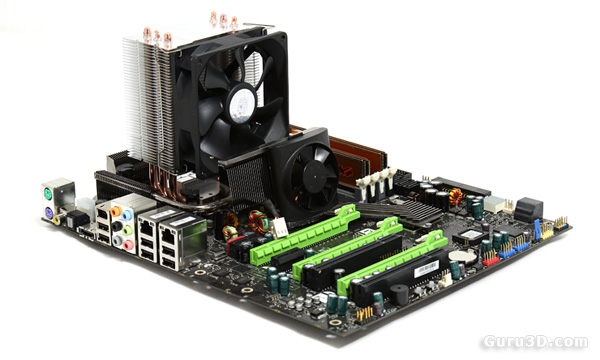
And once we've installed everything, this is what it looks like. Not bad for a heatpipe cooler in this price range. Let's start her up and check out some tests we did with the cooler.
