Product Showcase
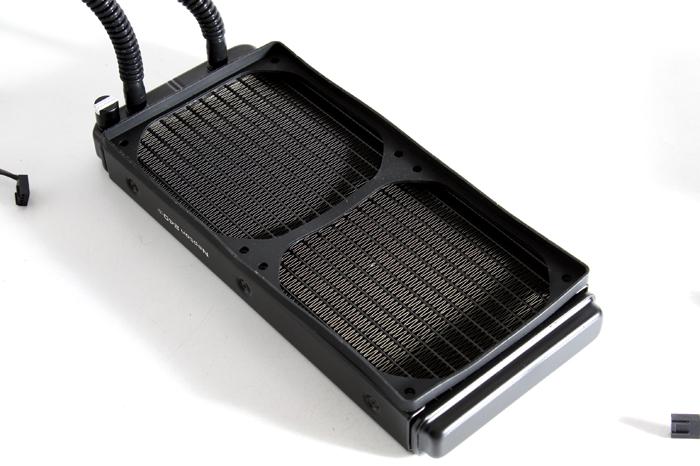
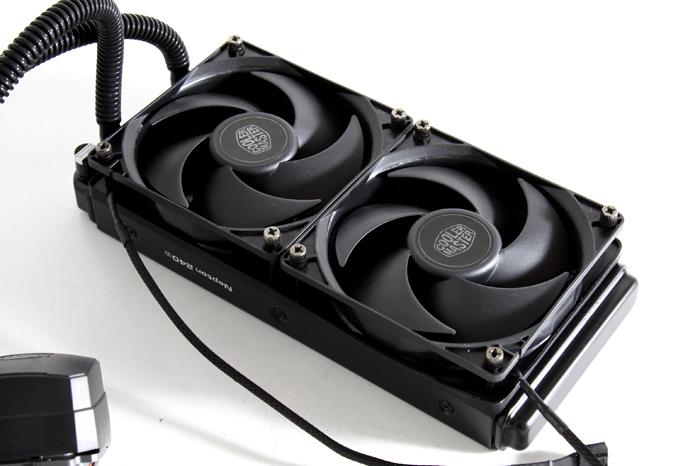
So here is the phase where we slowly start assembling a test setup. First we mount the two fans to the radiator, four screws each. Please do apply the rubber cover which will greatly help you out against resonating vibration of the fans, and thus result in lower noise levels.
Once done, you need to decide where you'll be positioning your radiator and how the tubing and wiring will be managed.
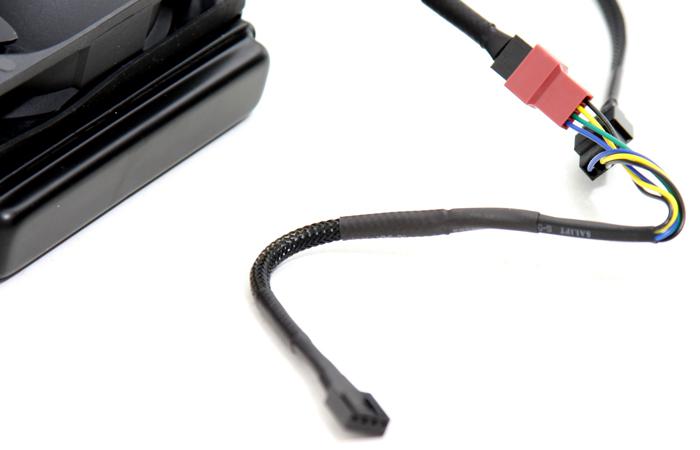
The two fans have connectors you can merge together with a y-splitter cable that is included and leads towards the CPU FAN header on your motherboard (or whatever source you like to control the fans from). For this kit please understand that the motherboard controls the PWM fans.
