Product Showcase
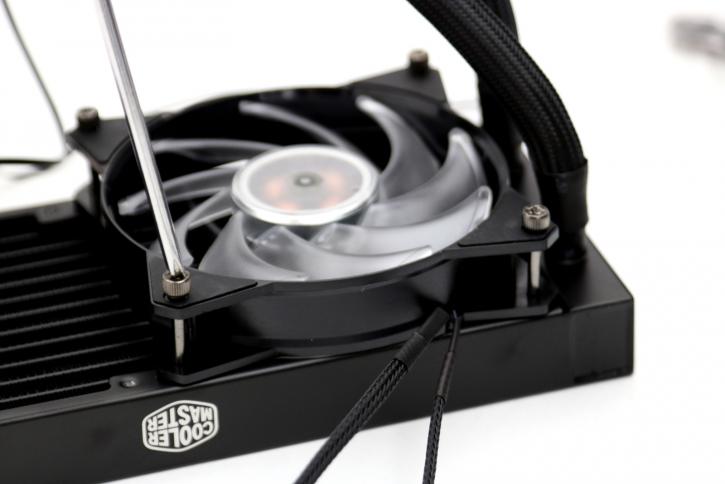
Let’s get the assembly part started. First up – mounting the fans on the radiator. Four screws per fan (no washer/spacer is provided) as the fans have rubberized layers on each side in the corners.
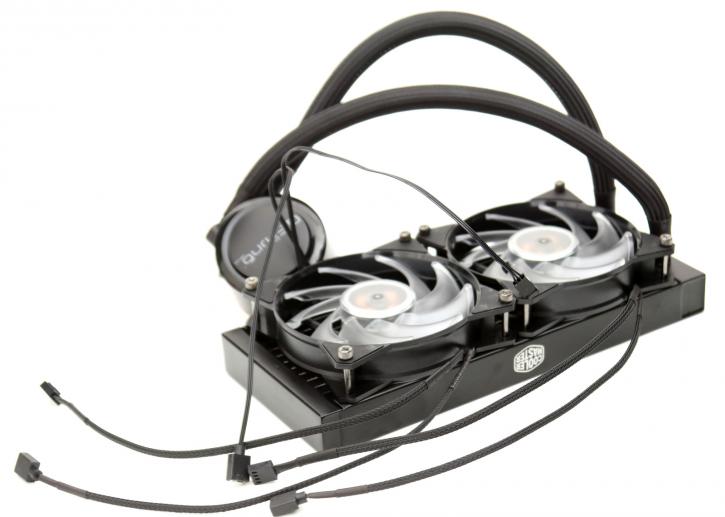
This is the moment when you decide on the tube/wire orientation. There are 2 cables going out from each fan; one for power (you can plug it into the Fan Hub) and one for RGB control. And yeah, we're going to have to deal with quite a lot of wires here.
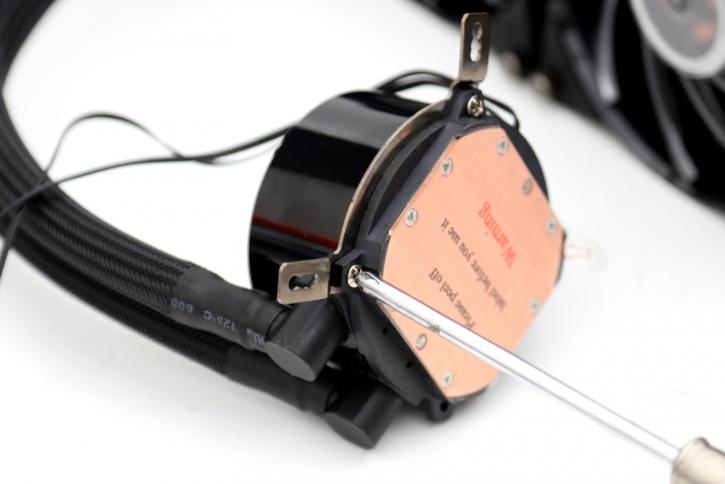
The CPU block also has two wires. One is plugged into the CPU fan header on the motherboard, and the second one is for RGB control. We first mount the retention slides with two screws each.
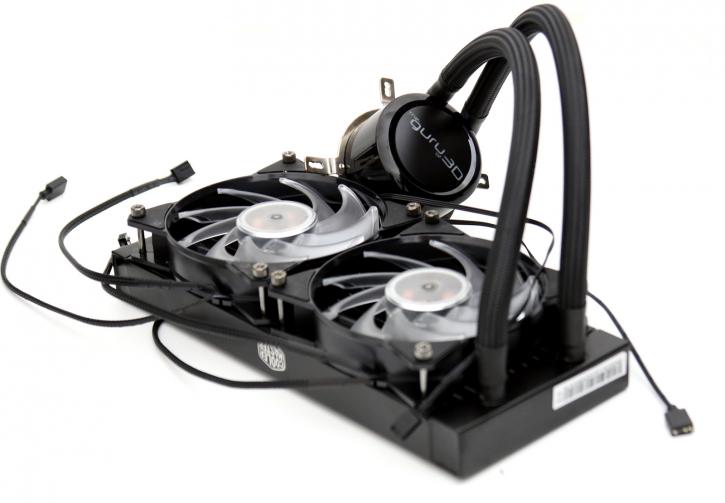
We now have the basics ready, we still have to mount the unit towards the motherboard/CPU, sort wiring and connect it towards that RGB controller of course.
