Product Showcase - Interior

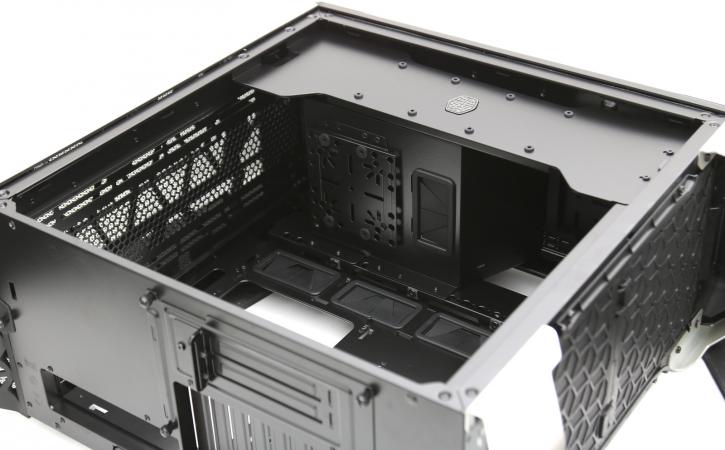
Once we strip away the two panels (secured with thumbnail) we can have a look at the interior. You will notice that the design is very different from what we are used too. At the bottom or top magic, there is no PSU, that's hidden away behind the right side dark shield, you can house HDDs there as well. You'll see nice grommet holes (rubberized) for cable routing, a proper motherboard tray gap and really, plenty of room to accomplish your build.
There are several grommet holes as well with rubber inlays and a big gaping hole so you can work properly at the backside on your motherboard to mount new cooling solutions. I mean THAT is a proper motherboard tray hole. You can mount radiators, but keep the restrictions as shown in the table above in mind.
Photographed from a weird angle, here we are looking at the front side, seen from the rear. That is the PSU and HDD/SSD bracket right here.
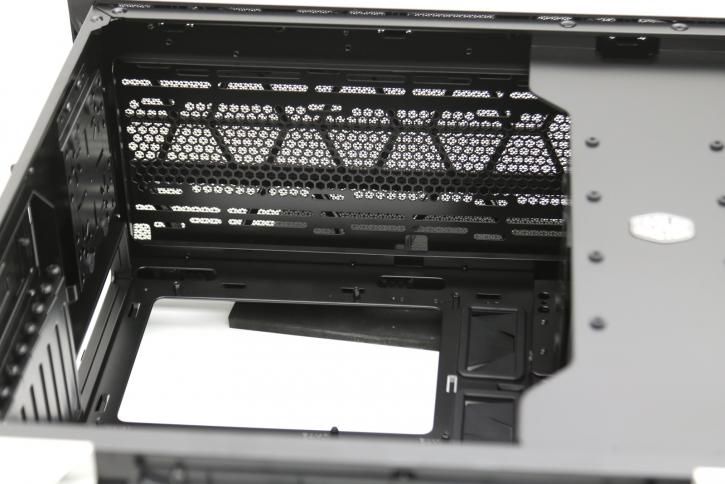
So this is the top side, you can mount more fans or radiator here. You will notice that the rear panel is closed as much as possible to further guide the (cool) air to the top and to avoid recycling of hot air back into the system.
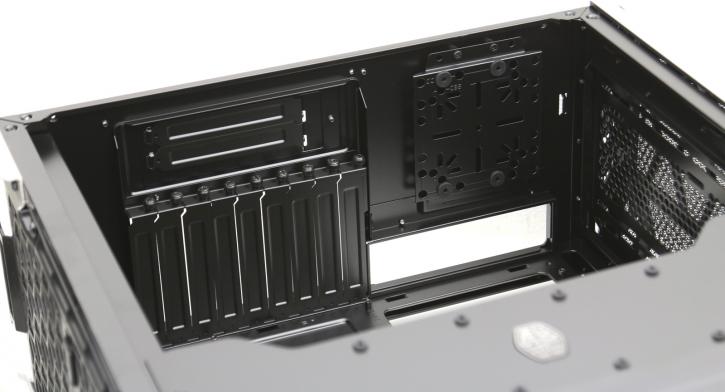
At the rear, we see 7+2 PCI card slots. Vertical mounting of the graphics card thus is possible (required an additional riser cable).

So the photo angle is a photo from taken from above, so the fans (200mm) you see there are seated at the bottom. So cold air is taken in at the bottom side and exhausted at the top side, hey that's nature as heat travels upwards, the chimney design. We like it.
