Product Showcase - The Build
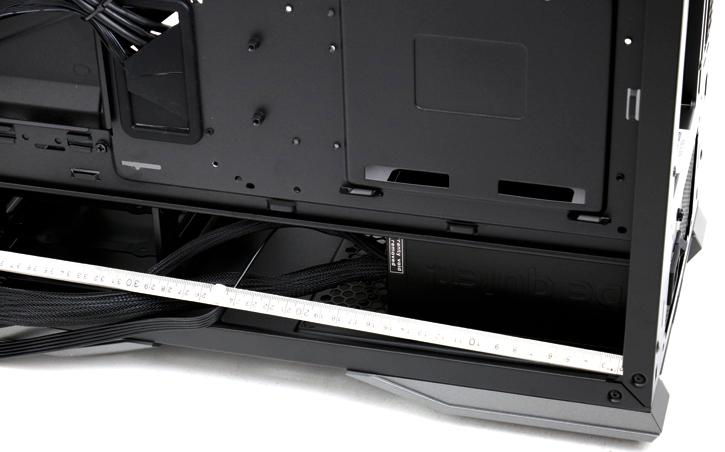
Right, it's time again to move into "Maker" mode. We start by selecting and installing a power supply and motherboard. Later on we'll add a LED strip inside the chassis as internally there is not a single LED active. As stated in this review, the power supply spacing is massive.
Since the H500P is black / silver you'd probably be best off with an all dark motherboard. We use our dummy setup, a simple dark black colored MSI motherboard with some red accents. The installation is fairly simple as you have a ton of space to work in. This is already starting to look nice. We'll add an RGB controller and keep the lighting in the color RED.
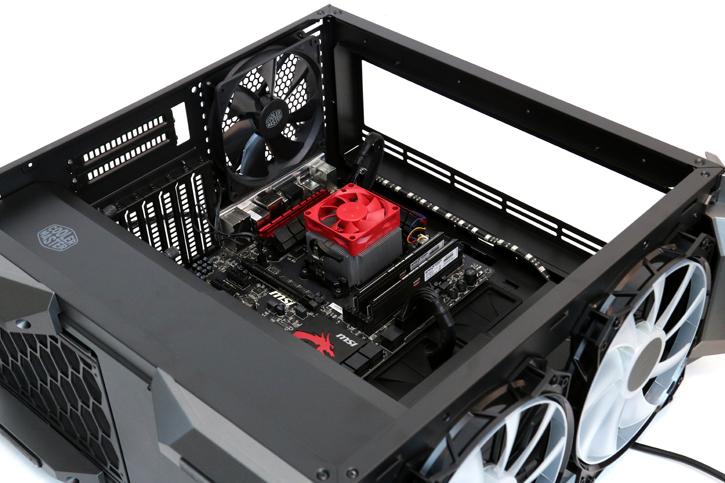
So I mounted a graphics card here for the sheer looks of it. Quite honestly, that will need some support as, when you move the chassis, the card is not hanging stably enough and would move around a little. If you'd like to go for a vertically mounted graphics card you will need to purchase a PCIe Gen 3.0 riser cable.
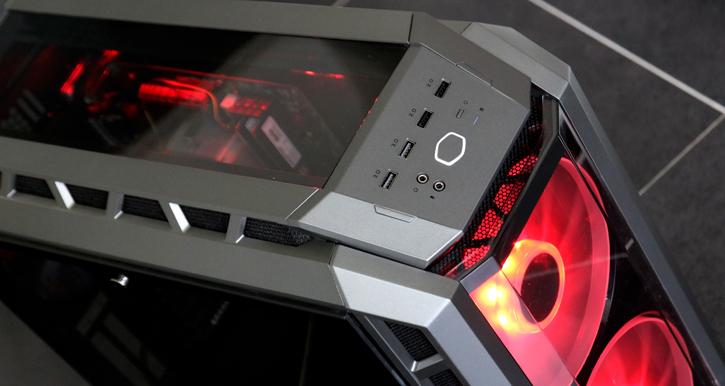
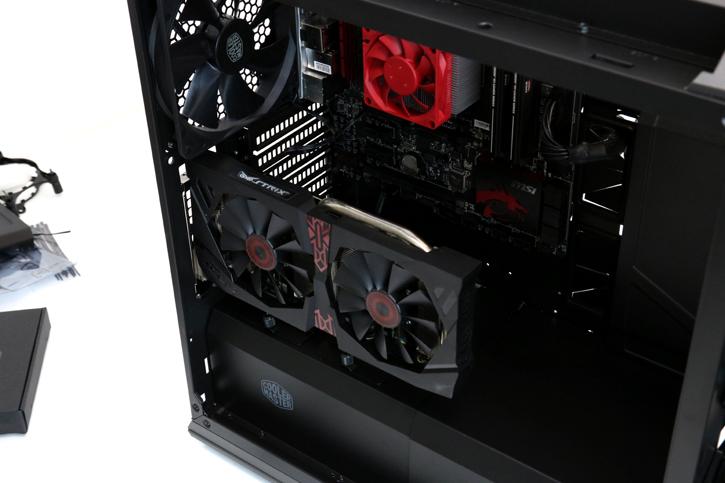
Once again, you will need some sort of RGB controller or to connect the front fans to a motherboard with RGB connector for them to be able to kick in. Once powered up, we opted for the color red. I also added a LED strip inside at the top for a little extra of that x-factor.
