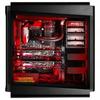
Product Showcase - Interior

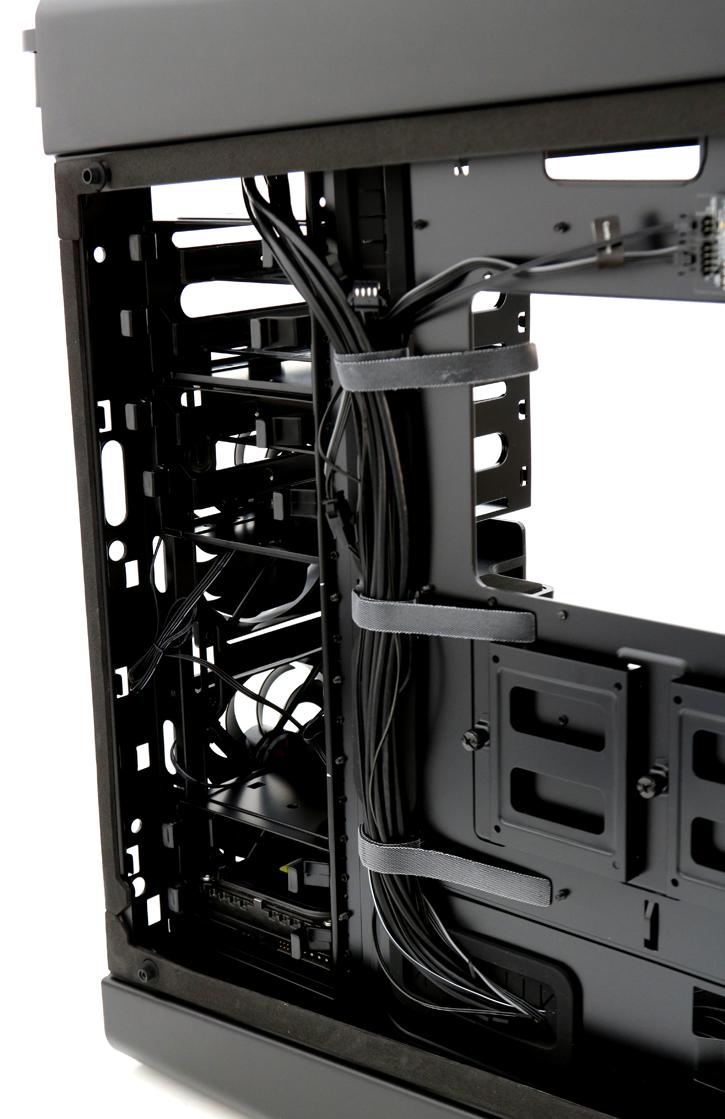
As you can see at the rear side, the Shogun is equipped with removable brackets. Everything is tidied up with Velcro straps, you can see the dual SSD mount and at the top the RGB LED controller.
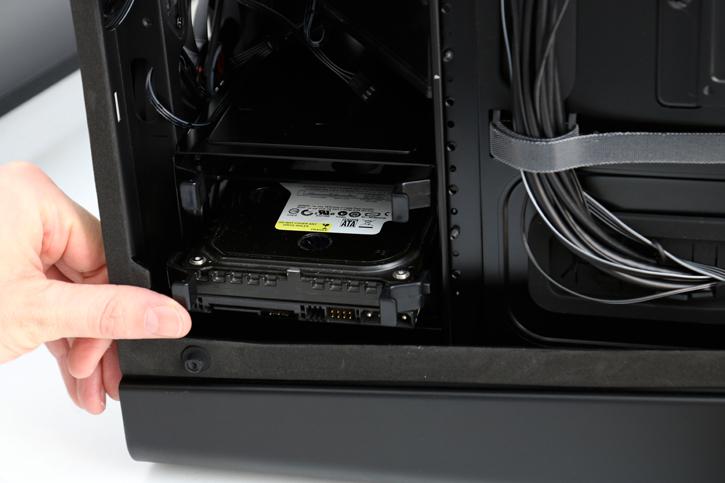
To your lower left, mounting place for HDDs. I already seated one, so let's zoom in on that process for a second.
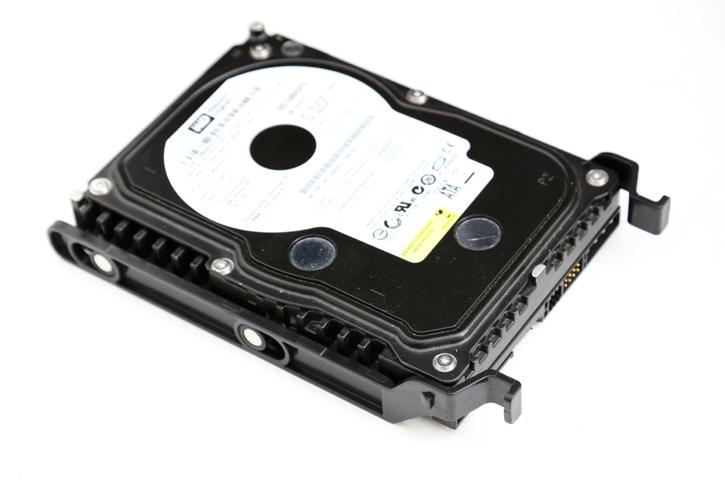
You'll find tool-less drive trays that will support 3.5" drives ready to be inserted into the chassis. Installation of the HDDs is really easy. You secure the HDD and mount it onto the tray as shown below. No tools are required you just pop it in there.
So your HDD(s) will be out of sight and the wiring nicely tucked at the backside. There is enough room for cable routing BTW.

Cable routing is a strong point for this chassis series BTW, we'll demonstrate that in the next few pages as well. Bot on the backside a good 2~3cm of clearance is at your disposal.

Let me quickly move towards the backside motherboard tray again, here you can mount the SSDs in a similar fashion like the HDDs, these will be in sight, cables can be routed to the back. You may mount two of these.
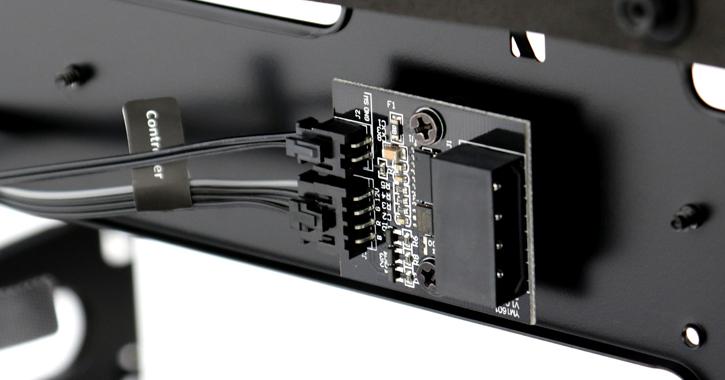
And above the included LED controller. A simple unit, you can select all primary colors and one animated (fade) mode. You can also disconnect here and lead the wiring towards an RGB controller on your motherboard or a software programmable dedicated controller. But the basics are covered alright.
