Product Showcase - Interior
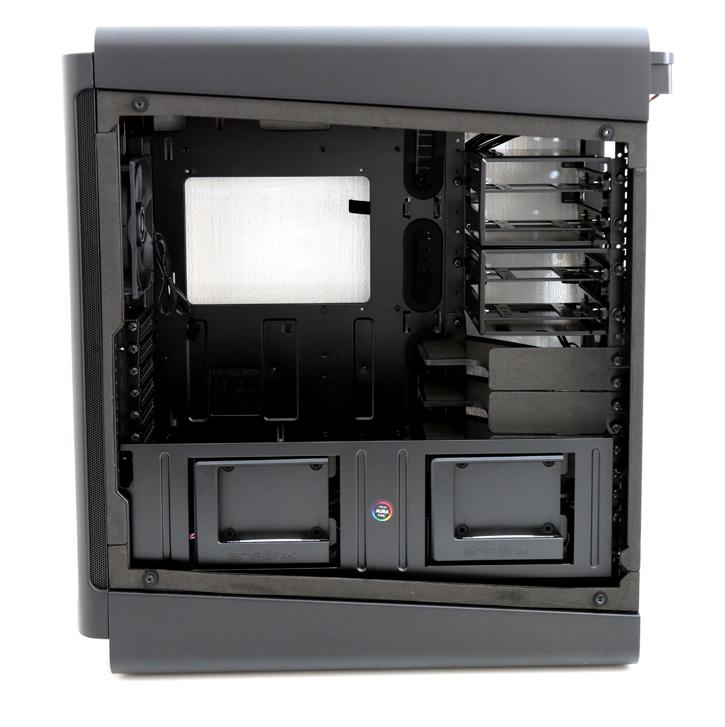
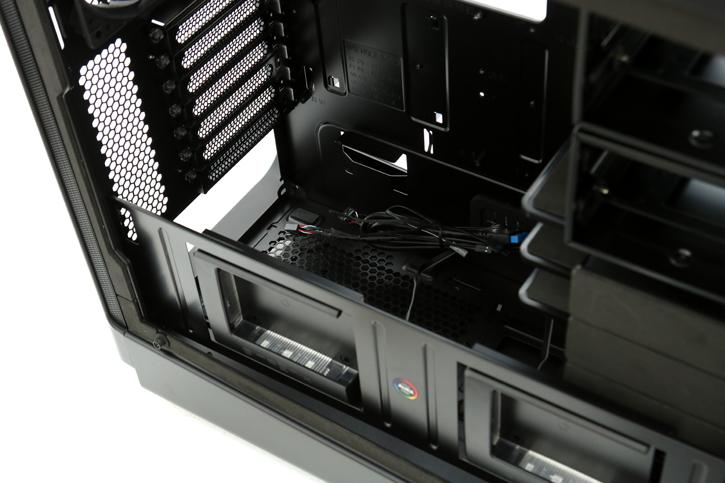
Once we strip away the side panels, we can have a better look at the interior. You will notice that the design is a bit different from what we are used to with that all new top bottom compartment and see through design. That lower plate can house two SSDs. These are LED (RGB) activated. You can use the internal LED controller, you can also connect the unit to your ASUS AURA SYNC motherboard and control it with their software. Realistically most brands will be compatible as these RGB connectors share 99% similar DNA. So we'd expect this works on a MSI/ASUS/Gigabyte motherboard with RGB LED connector just as well. That entire lower RGB panel btw, can also be removed. Just unscrew a few thumbscrews, disconnect it and all of the sudden your PSU would be visible through that gorgeous tempered glass. Totally you call to make of course.
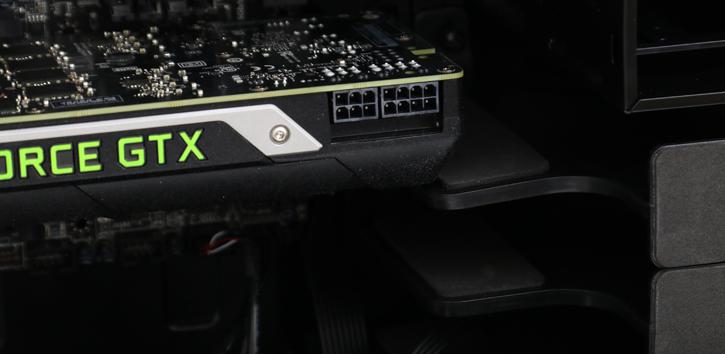
Now if you are wondering what the weird looking latches are ? Well these can be used (but also removed) to rest your graphics card onto. Graphics card can reach 30cm these days, at 1 KG each they could bend a little or put pressure on your PCI-Slots. With this simply yet innovative solution that problem is tackled and solved.
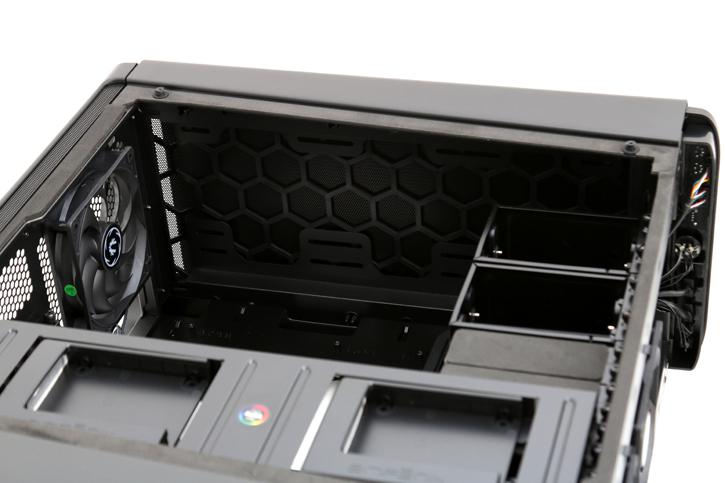
At the top you can see a the big honey grating, it serves as airflow that exhausts towards the meshes. Alternatively you may mount an up-to 360 rad (or combination) there. Airflow, while not bad is not very optimal either for this chassis. The front, bottom and top sides however have a proper design and functions properly as intake and exhaust. We do not for-see airflow issues unless you would be dumping huge amounts of hot air inside the chassis. Cable routing is just not a problem with this chassis. Holes, gaps and rubberized spaces can be found anywhere. Mind you that the front-panel USB 3.0 connectors must be connected to the proprietary Intel USB 3.0 header on the motherboard.
Located just under the rear fan we spot 7 PCI card slots and all the way at the bottom space for a PSU. Again there are are many grommet holes and a HUGE gaping holes so you can work properly at the backside on your motherboard to mount new cooling solutions.
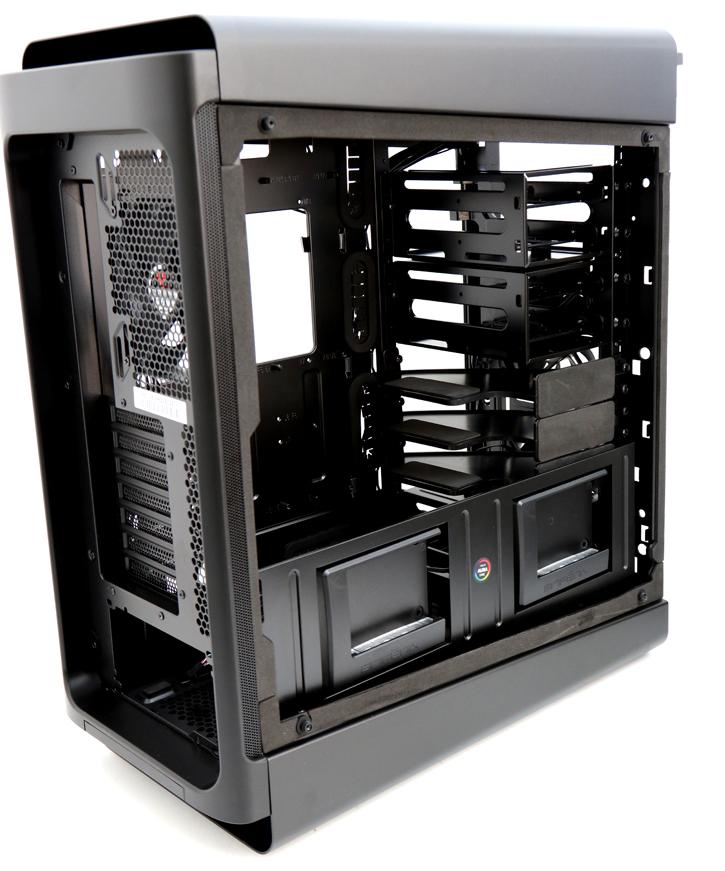
At the front-side You can install two SSDs with the cabling leading though the backside. There is plenty reach and space to access the motherboard and you can fit pretty big components. The Shogun supports graphic cards up to 410mm and for the CPU cooler up to 175 mm (CPU die surface to side panel). As you can see all bays, trays and panels have been secured with thumbscrews. You can swap, move and take out pretty much anything at your disposal and preference.
