Product Showcase
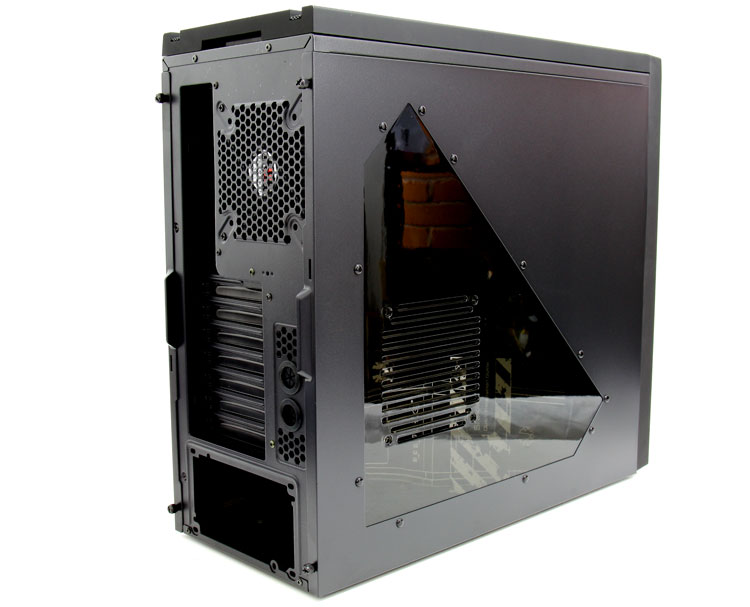
When we flip around the unit we can see the side panel a little better. Behind the panel you can install an additional fan. There are a total of 7 fan slots up to seven 120mm or two 140mm fans can be installed . Two fans have been pre-installed.
The panel can be removed be removing two thumbnails at the back and then slide it to the left a little and then pull it towards you, it is the old traditional way of chassis panel removal. The size of the chassis by the way is is chassis is 205 x 460 x 490 mm (ATX Mid Tower) with a Net weight roughly 7 kg.
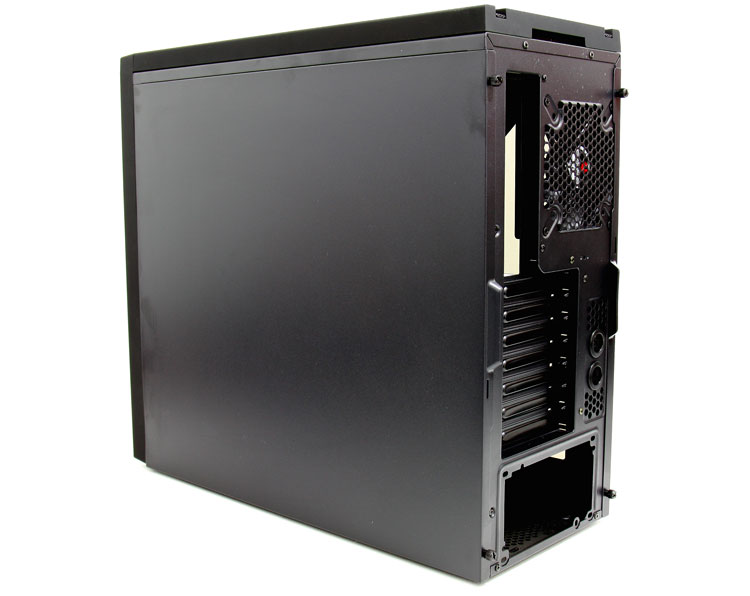
The backside then. Next to the rear IO we spot a 120mm fan. All two fans in this chassis can be PWM fan controlled. The chassis has 7 card slots and next to them we spot two grommet holes, these could be used for some sort of external liquid cooling.
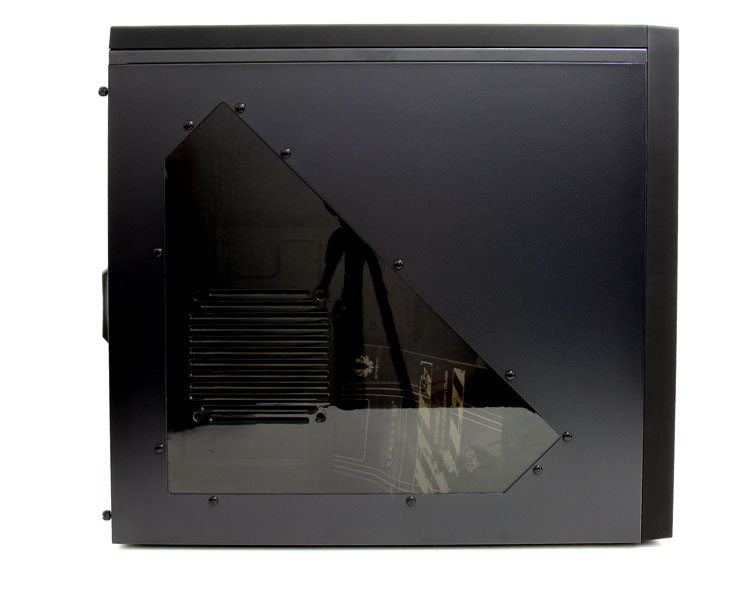
Here we can see the left side panel, with the same locking mechanism. Two thumbscrews at the rear secure it down. The matte black paintjob is very sensitive to fingerprints by the way you can see that a little already here.
On top we see a very decent mesh which helps for ventilation, the Shinobi unfortunately does not have a fan pre-installed there. Obviously you can go nuts with other fans here as well as installing a LCS (liquid cooling system) radiator. A dual 120mm radiator would be able to install in there, though space wise... you might want to opt a big-tower instead of a mid tower.
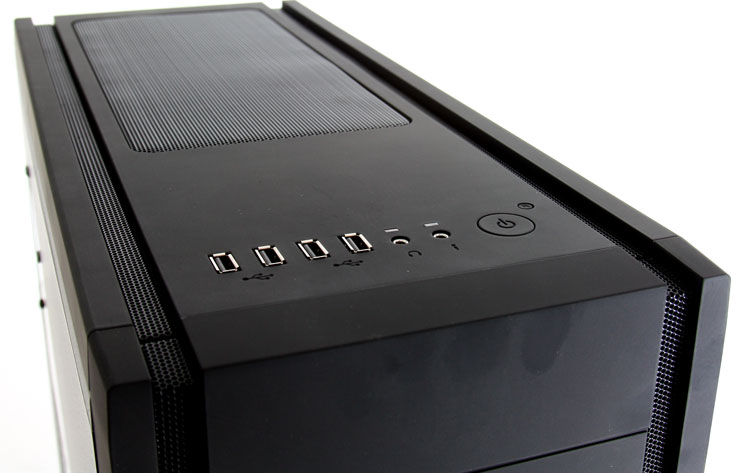
Front panel connectors, You'll have plenty of them including MIC/Headphones, a good four USB 2.0, lacking is a Firewire and/or eSATA connector. A big miss is the lack of USB 3.0 connectors.
Also here we have a power on/off button and reset switch. Below the frontpanel we spot three 5.25" drive bays. The entire front panel is removable with clip on fan slots. Let's rip 'r open.
