
Product Showcase (1)
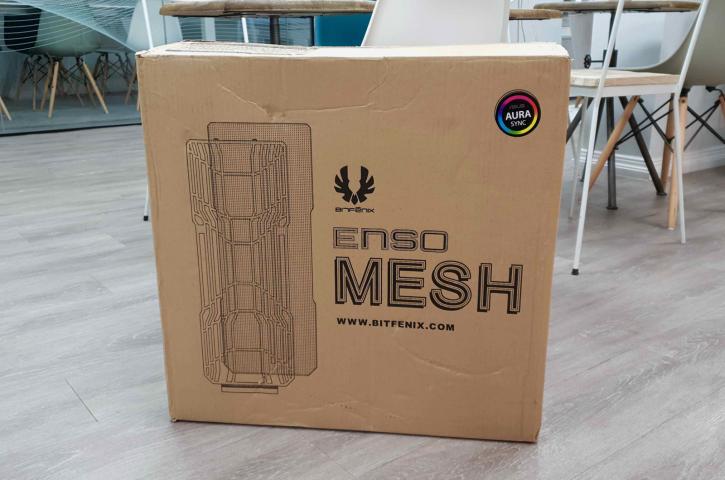
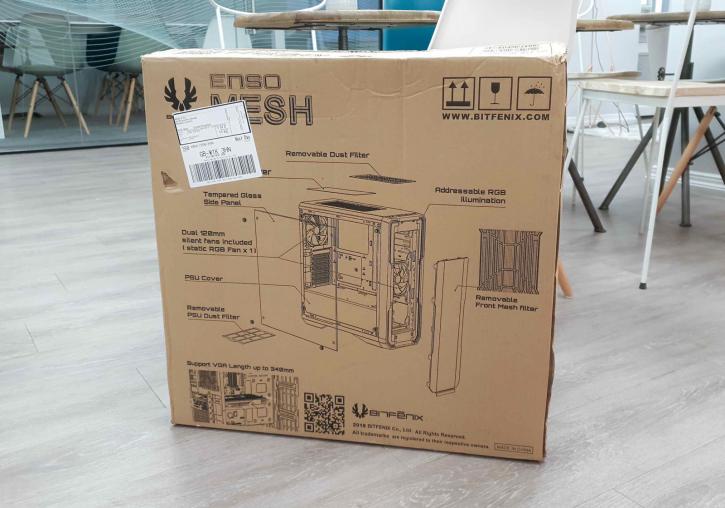
Starting from the top, we can unbox the case fully. We start with... well, the box. I mean, aside from it actually being in what I assume was either Mandarin or Taiwanese, the box features everything you would expect. A prominent black/white 'picture' of the case's front, and some basic features on the back in a small breakdown. That's basically it for the outside.
Opening the box up, and we see the Enso is - thankfully - well protected. First by two large styrofoam blocks, as well as a plastic wrapping. Again, it did a good job of protecting the case from the potential perils of a commute home on London's No. 14 bus. There really isn't much more to say here. The tempered glass panel was protected from both sides by two plastic sheets. Yes, I took great joy in 'That Peeling Feeling.'
Fully unwrapping the case, and we get a first real look at what is still an exceptionally sleek chassis. The mesh front, in my view, takes nothing away from the very clean aesthetic of the original Enso. Moving around the glass side panel, and - hallelujah - we see thumb screws. I really shouldn't be that excited, but as much as I like my Corsair 275R, the fact I need a damned hex-wrench to undo the four screws is a bit of an annoyance. The four screws on the Enso aren't captive, however, so you'll need three arms or a flat surface to have a hope of tightening it down properly. The glass itself features a dark-ish tint, which is the perfect solution. No tint at all I don't like, and too dark of a tint means you'll need a literal rave inside your PC to actually see anything.
Moving around to the back, and we can note several things. First up, you get that fairly standard 120mm rear fan mount. As one should expect for nearly 100 USD, the PCIe brackets are removed via screws, and also have a cover plate (likely to be instantly lost by whoever is assembling the case). The PSU is sans bracket, meaning that installation will be done 'side on', preferably with any modular cables already attached to make your life 100x easier come time to plug everything in.

The cases' backside features plenty of space behind the motherboard tray, as well as a plethora of cable tie down points. You have your little RGB fan/controller hub tacked to the case as well. It's perhaps a little bit of a shame that this isn't a little smarter (perhaps with a cover or something of that nature), but I once this part of the build is managed and the side panel is closed, I really couldn't care less.
Spinning the case around to look at the front IO, and it's fairly standard here as well. Power, reset, headphone/microphone, and 2x USB 3.0 ports. Good to see Bitfenix not skimping on front IO, but for 100 USD, I should hope not.
Opening the case up, and we see a pleasingly spacious main area in which to work. It's good to see that a smaller chassis doesn't necessarily equate to having less space to work in. That may sound like a paradoxical statement, but there is a major difference in just making a small case, and making one well enough so that the builder doesn't feel overly hampered when building the system. This could be especially useful for those with larger hands, like me.
