
Product Showcase - Interior
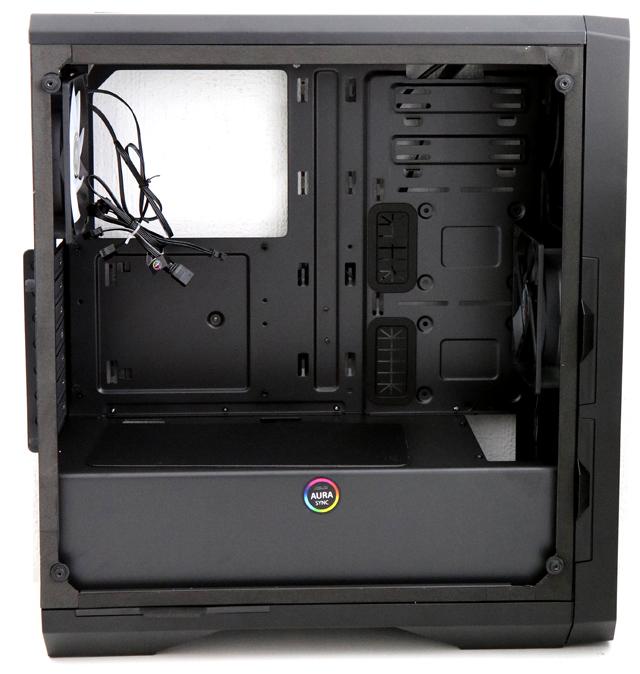
Once we strip away the side panels, we can have a better look at the interior. You will notice that the design is a bit different from what we are used to with that all-new top / bottom compartment and see-through design. You can use the internal LED controller, you can also connect the unit to your ASUS AURA SYNC motherboard and control it with their software. Realistically most brands will be compatible as these RGB connectors share 99% similar DNA. So we'd expect this works on an MSI/ASUS/Gigabyte motherboard with RGB LED connector just as well.
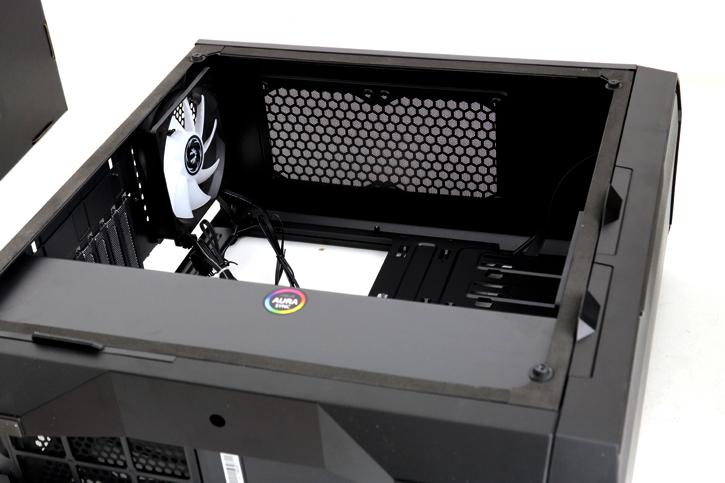
At the top you can see the big honeycomb grating, it serves as airflow that exhausts towards the meshes. Alternatively, you may mount an up-to 280mm rad (or combination) there, however, you are restricted to a 35mm clearance only (which is very tight). Airflow, while not bad is not very optimal either for this chassis. The front, bottom, and top sides have a proper design and these function properly as intake and exhaust. Cable routing is not a problem with this chassis. Holes, gaps, and rubberized spaces can be found anywhere. Keep in mind that the front-panel USB 3.0 connectors must be connected to the proprietary Intel USB 3.0 header on the motherboard.
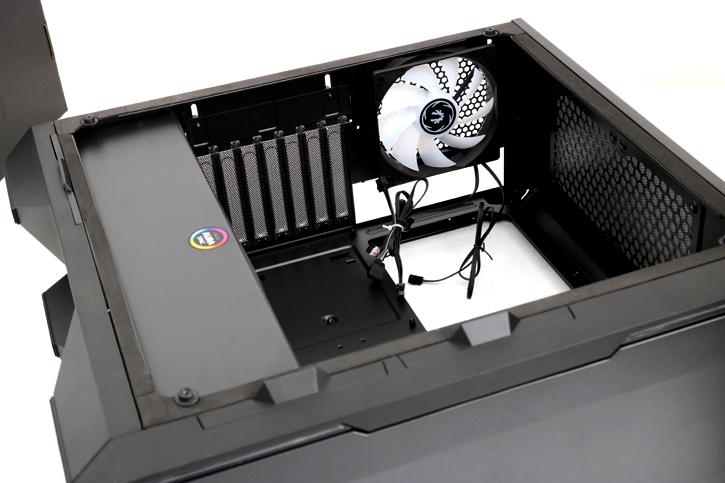
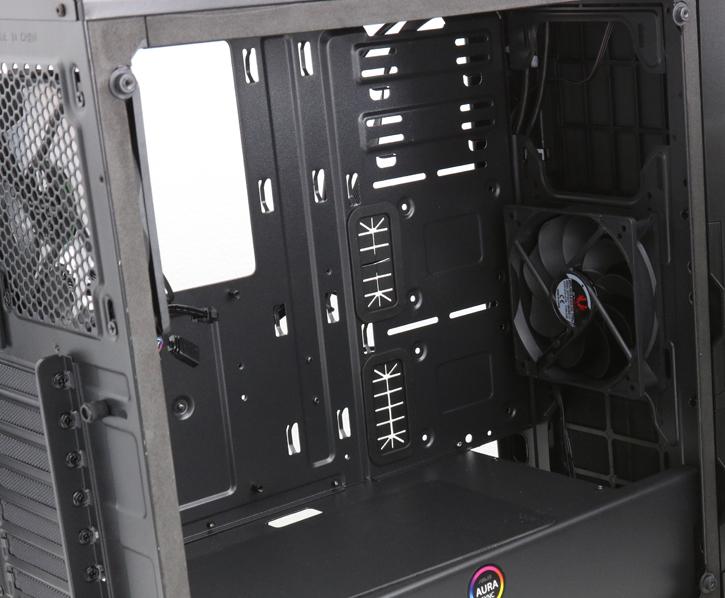
Located just under the included rear fan we spot 7 PCI card slots and, all the way at the bottom, space for a PSU. Again, there are are many grommet holes and gaping holes so you can work properly at the backside of your motherboard to mount new cooling solutions.
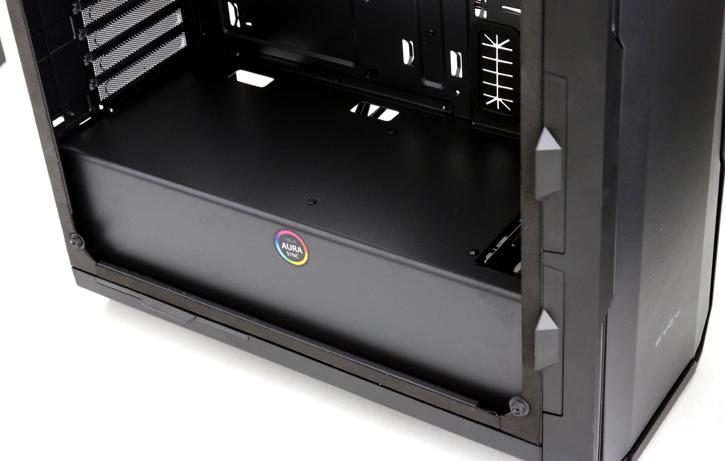
At the bottom, you stumble into a shroud, which holds your power supply. Here again, a clearance issue; do not use a PSU larger than 16cm as you will need some reserve for your cables. We'll show you that later on in the article though.
The frontside holds a fan as well as the option to mount a secondary fan or radiator.
