Product Installation
Product Installation
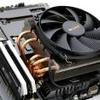
It is time to install the cooler, the installation has a twist, which I'll explain below. So here is the phase where we slowly start assembling a test setup. Included is all you need.
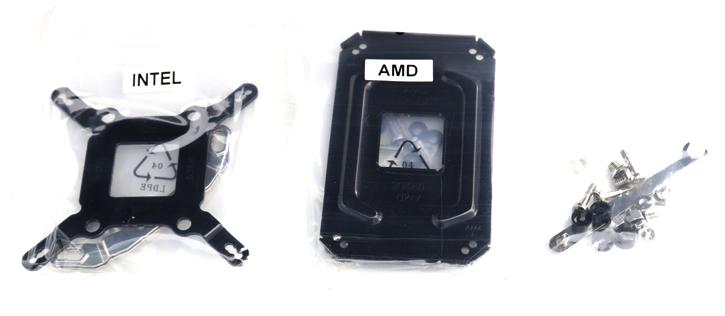
The mounting kit is sturdy, and easy enough to install however you will run out of space to work with fast, ergo the cooler is secured from the backside. We recommend that the motherboard needs to come out of the chassis unless you have a chassis with a back-plate cutout and more patience then I have. Now you first prepare and insert the back plate Socket 115x in our case. Just make sure the three gaps/holes are aligned with the motherboard socket holes and push through the mounting pins.
You can apply a drop of thermal paste of your own, but the cooler has some applied already. Place the black plastic risers/standoffs over the screws, that secure the back-plate sturdy and in place.
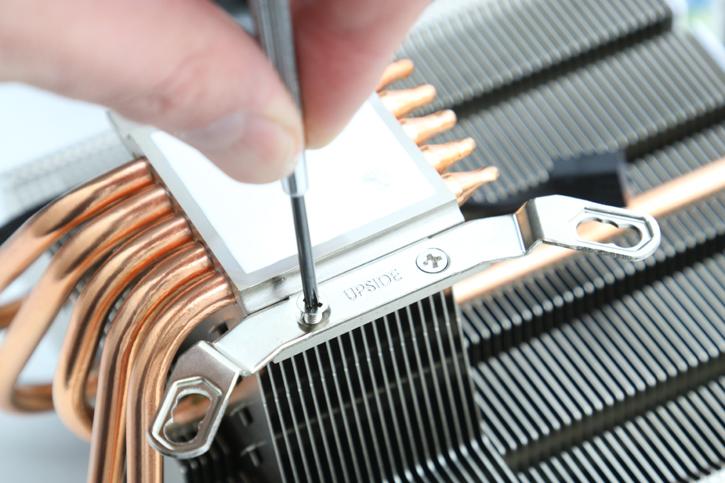
Two horizontal mounting brackets we need to secure on the block, each with two screws. Fairly simple.
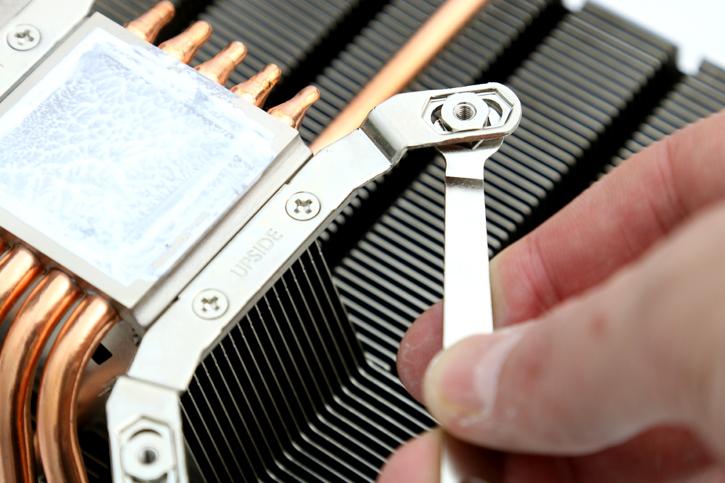
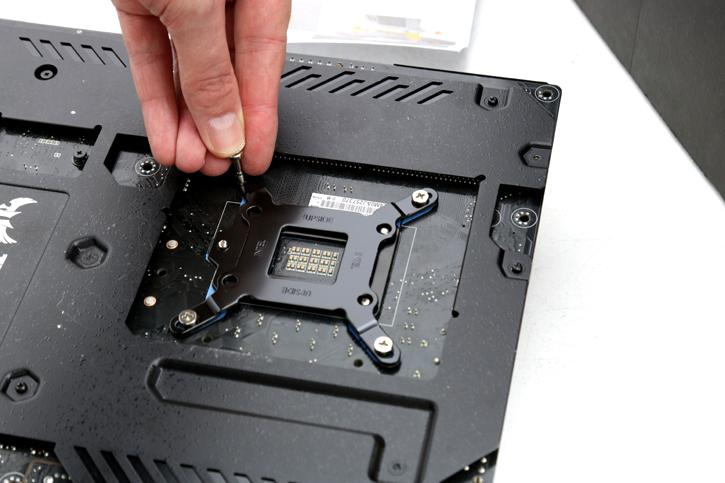
Now secure the nuts and bolts onto these mounting brackets. See the cooler is so wide, you cannot secure it from the top side. You need to secure it at the backplate-side screws. be quiet! inserts a small wrench to tighten these.
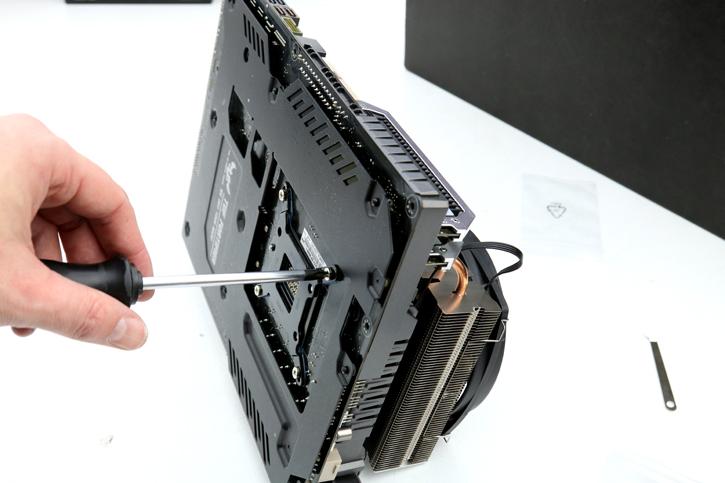
So here you can see that simply put the cooler in place, and then on the rear side you secure it with the four screws that you pushed through the backplate. It's a bit unusual but works really well.
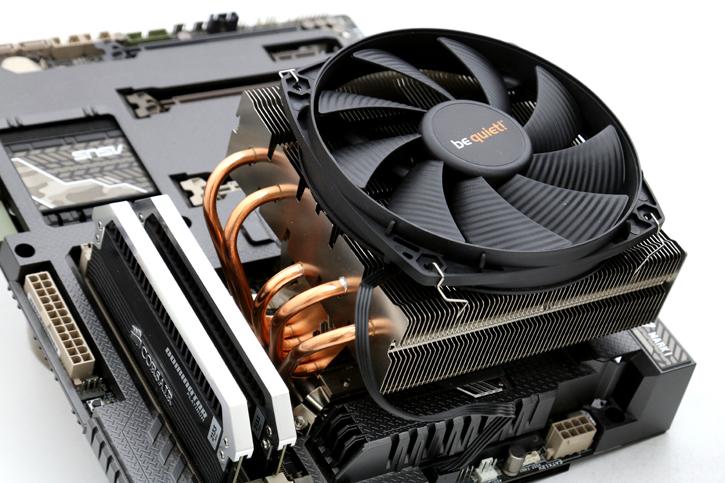
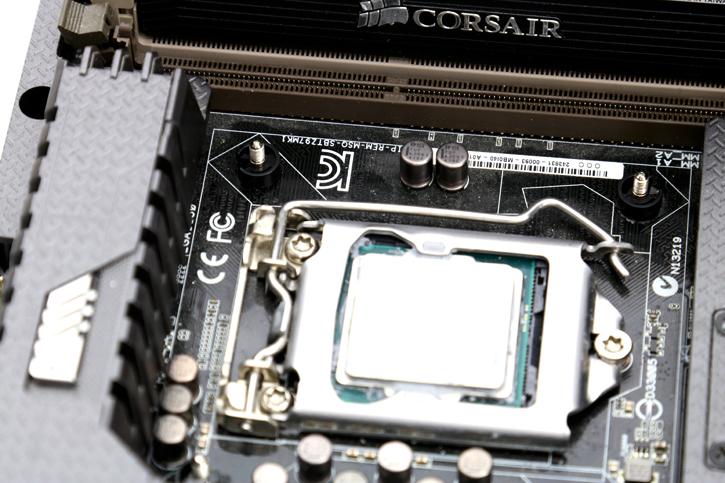
You can now plug in the fan cable connector towards the FAN header on your motherboard and you're good to go.
