Product Installation
Product Installation
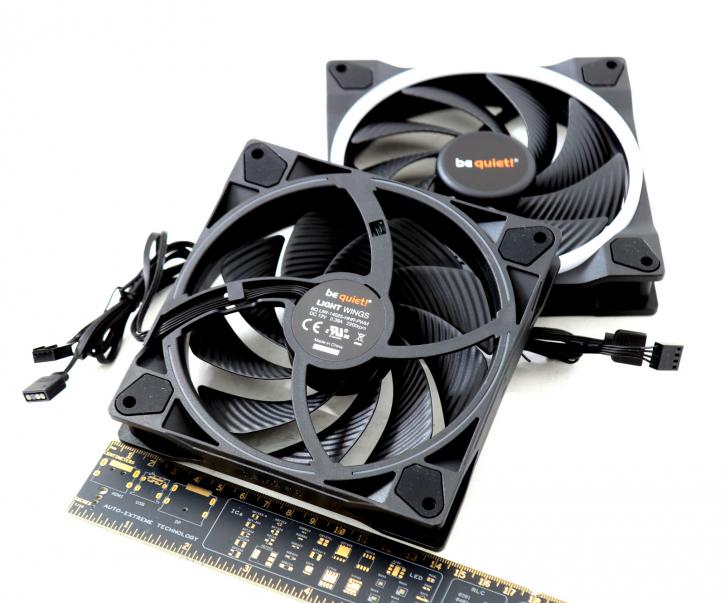
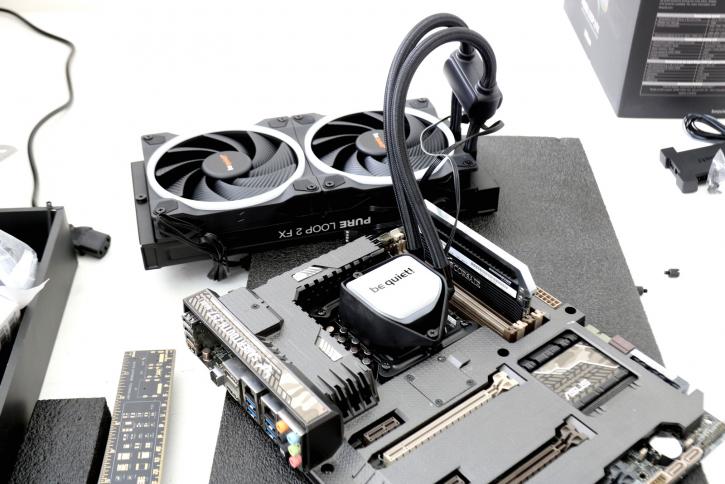
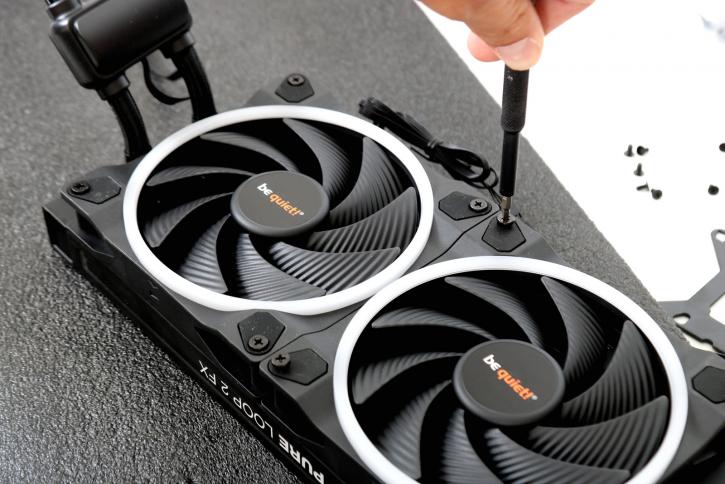
The unit is making use of two 140mm Light Wings PWM fans. ARGB lighting is provided at the front and back of the Light Wings 140mm PWM. The backlit ring, paired with the bright one in front, creates a stunning effect from any aspect. 20 ARGB LEDs provide several chances to personalize your PC design. So here is the phase where we slowly start assembling a test setup. First, we mount the fans to the radiator, four screws each, it is as easy as that.
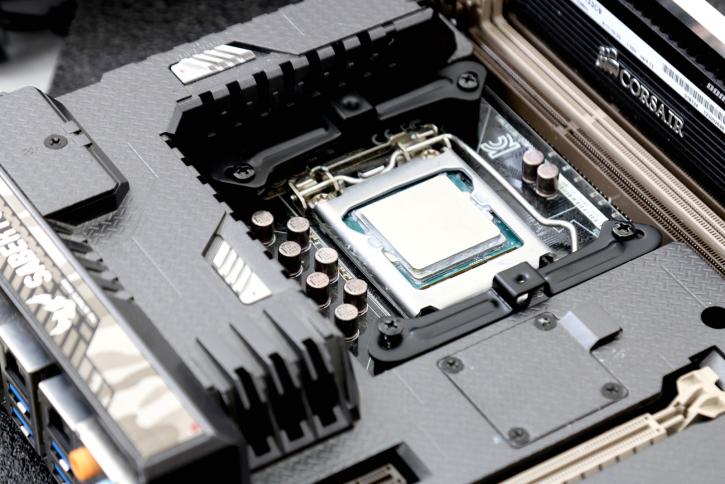
The fans have connectors you can merge with the HUB. Then just one cable leads to the CPU FAN header on your motherboard. For this kit please understand that the motherboard should control (partially) the PWM fans. You can also use an automated modus from your motherboard BIOS. Mounting the cooler is a relatively easy thing to do, though the motherboard needs to come out of the chassis unless you have a chassis with a mainboard cutout for CPU cooling.
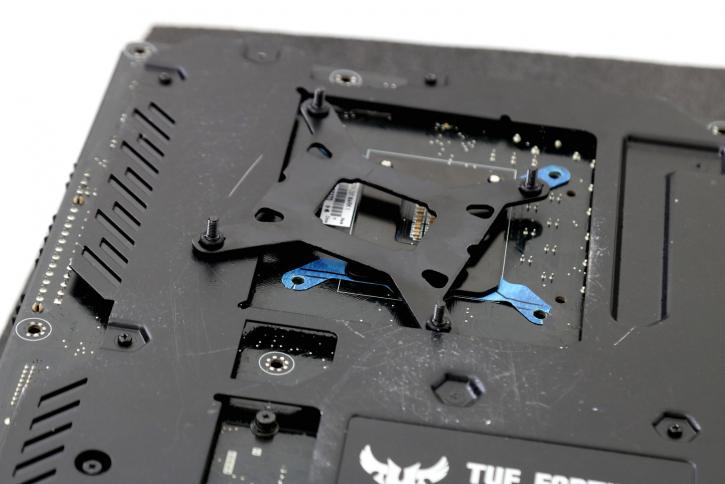
Now you first prepare the back plate. We first apply the back-plate we line up and install at the motherboard's backside. Just push it through there. The back-plate is a bit wobbly to install, though as the retention pins do not pass deep through the motherboard holes.
We install four standoff screws to the back-plate and secure two bracket plates. We'll place the CPU block on top of this all.
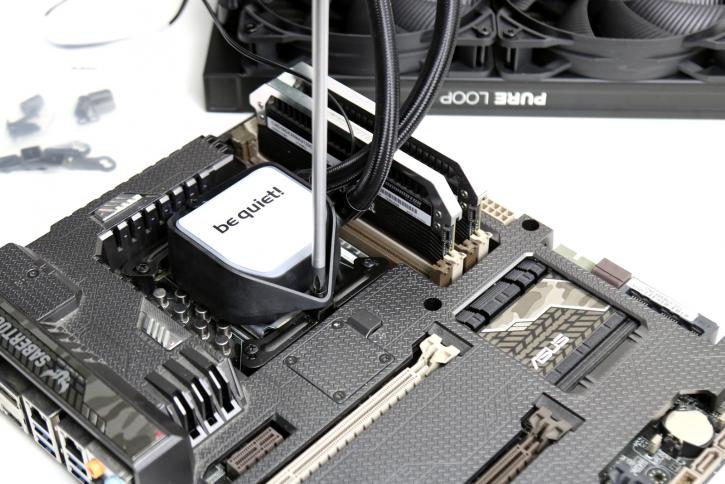
You are now almost there as the one thing left to do will be to mount the CPU block. Secure the two as shown in the photo above.