Product Installation
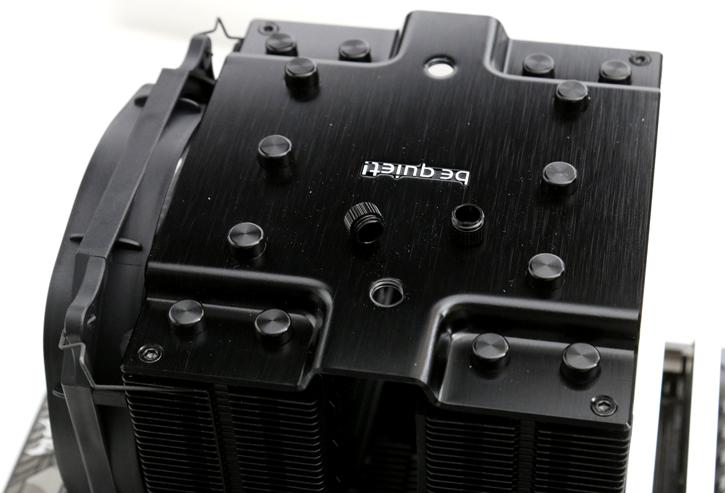
Once you place the cooler into its mounting position, we'll need to screw secure a linear mounting bracket. You will, however, notice that a screwdriver cannot reach the screws located at the bottom, the motherboard. Please look above, I have removed the two caps linear towards the screw positions at the bottom
We can now position the cooler with in the lower middle a bracket, remove the two top covers and you can use the included screwdriver to secure the two screws onto the bracket.

Once the cooler has been mounted, you can install the middle fan again, tie it with the two metal clips and at the top plate, screw back the two caps.
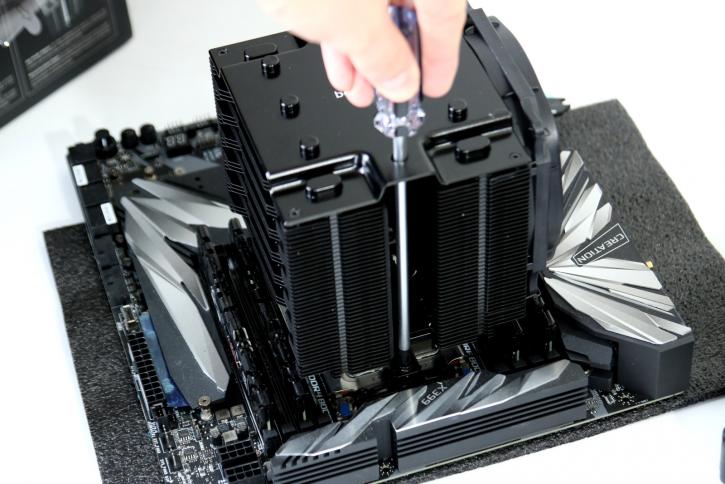
With the cooler and fans in place, take the two fan cables, and connect them to the y-splitter, you can now plug in the fan cable connector towards the FAN header on your motherboard and you're good to go.
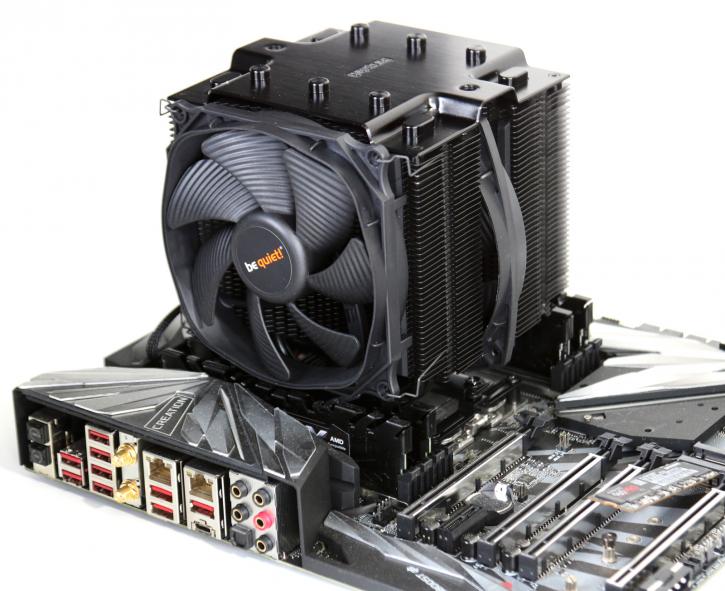
The four DIMMs will fit well, however as you can see I do not use really high-profile memory here, these are the FlareX Ryzen DIMMs from G.Skill.
