
Product Installation
Product Installation
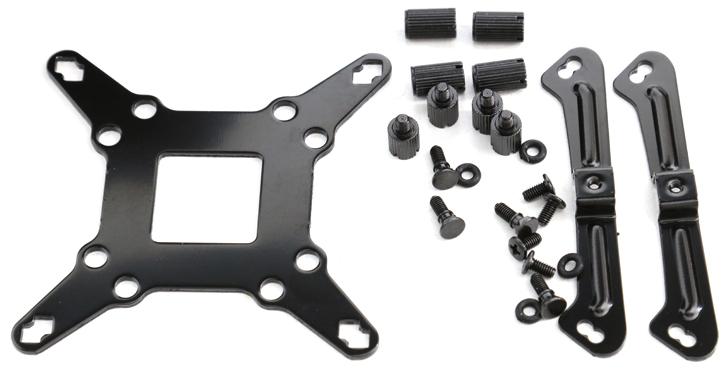
It is time to install the cooler, the installation has a twist, which I'll explain below. So here is the phase where we slowly start assembling a test setup. Included is all you need. Above the LGA 1150x mounting kit we need to install. Be quiet actually overhauled the mounting kit, so we'll go through that step-by-step.
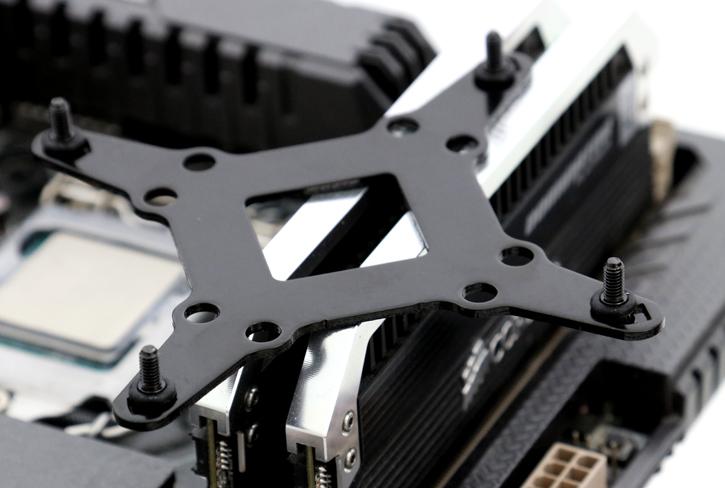
The first thing you need to do, insert four push pins screws through the backside mounting bracket, the lower position is for socket 115x, the upper .. well not :) Please do not forget to apply a rubber washer as demonstrated above.
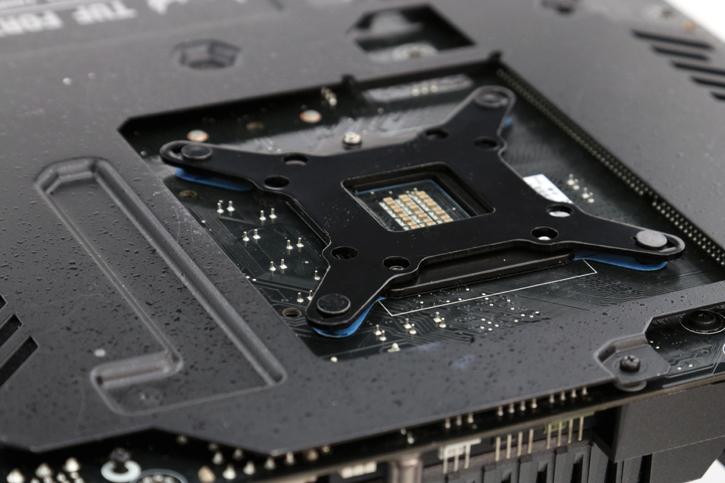
We recommend that the motherboard needs to come out of the chassis unless you have a chassis with a back-plate cutout and more patience then I have. Now you insert the back plate Socket 115x. Just make sure the two gaps/holes are aligned with the motherboard socket screws and push through the mounting pins.
Here we now mount four risers/ standoffs screws, that secure the back-plate sturdy and in place.
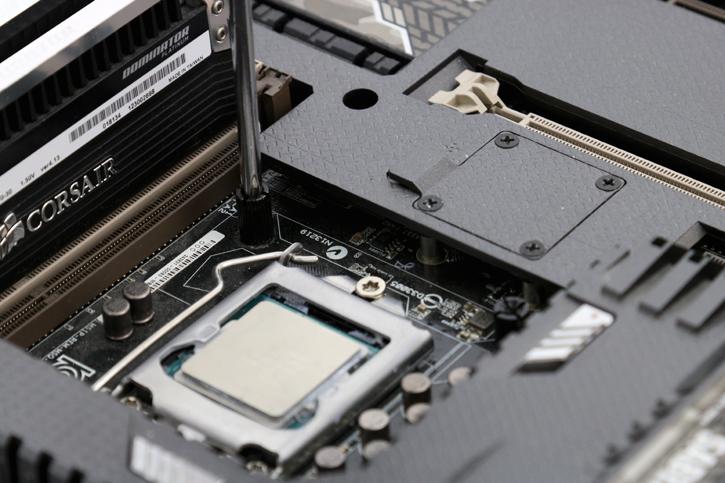
Now two horizontal mounting brackets we need to secure on the block, each with two screws. Fairly simple, as shown above.
