Product Showcase
The cover is blocking the view of the PSU (mission accomplished!), but inside that cover the PSU will sit on four rubberized pads, to ensure that no vibrations/noise passes on to the Dark Base 900 frame. The power supply is then mounted to a bracket internally, I am not a fan of the design tbh, I mentioned this with the original review and I'll say it here again - mounting the cover unit as well as the PSU is a mildly annoying process and I just do not see the added value and/or benefit of the PSU being further inwards inside the chassis.
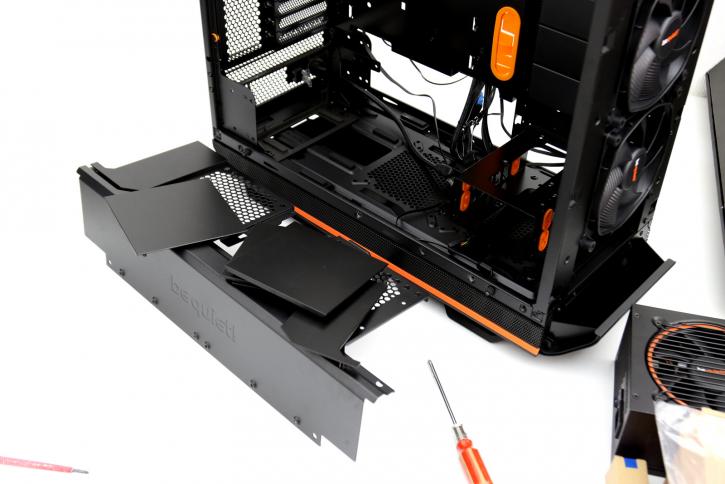
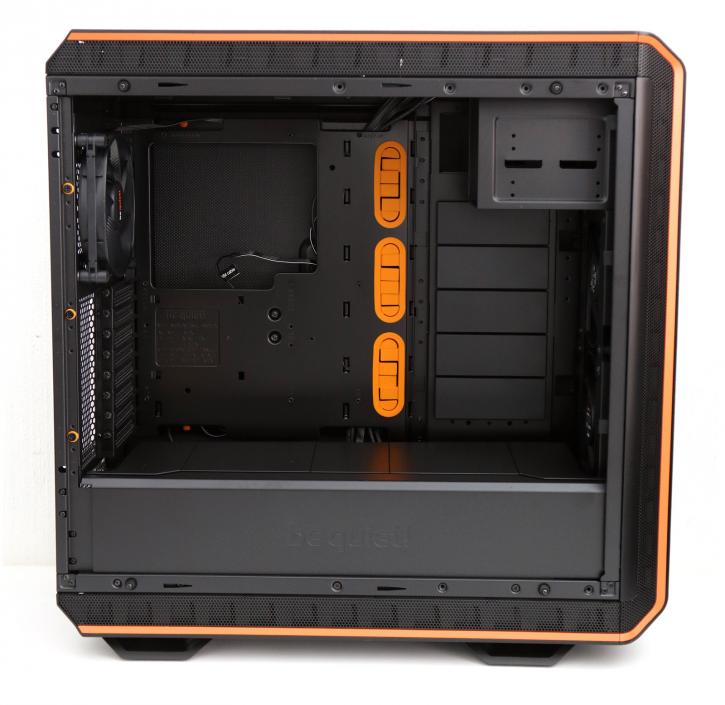
The cover itself has plastic inserts at the top. once removed you can mount your LCS, fans or whatever there. BTW removal of the PSU cover again is annoying. Two screws at the front side, two at the back in rather weird positions. I honestly do not see why the complication is needed. It, however, is what it is. Luckily once you seated your PSU and wiring, chances are you don't have to open it up again for years.
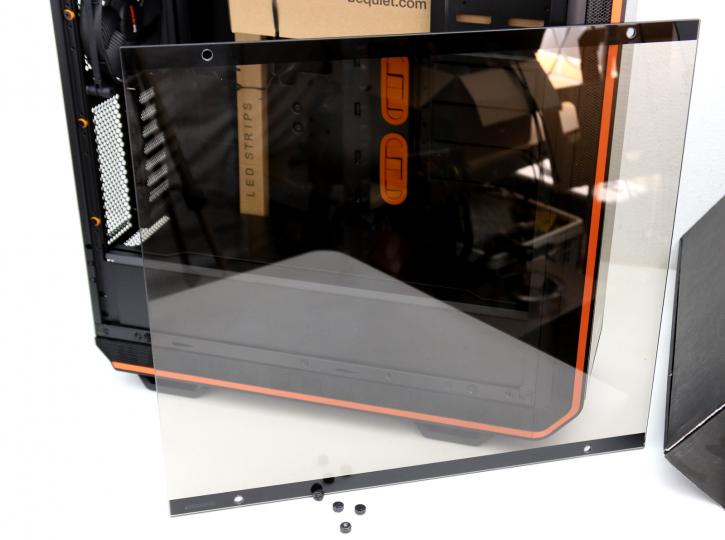
A photo of that tempered glass side panel, I wanted to show you that specifically, the color coating still is pure black, but a little bit black/brownish. Now, the photo does make it look worse than it really is. Overall, once mounted shut, you can hardly see that color. And in a dimmed room it actually works really well. I'll show you that in the photo shoot of the build later on. And yes, it's incredibly glossy and reflective (as you can see).
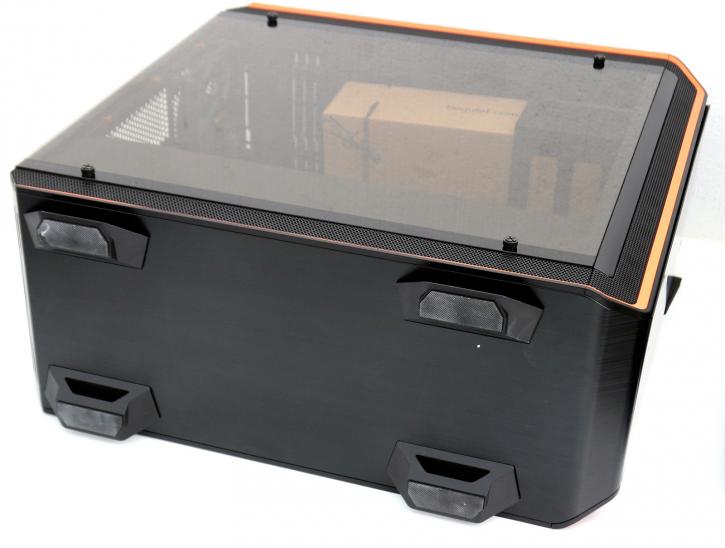
The four feet have been updated to a bit of a new design, these are rubberized giving more grip to the surface and again preventing resonating noises escaping from the PC. The tempered glass is mounted onto rubberized risers and then secured with four screws. There's enough clearance on the glass so there aren't any tension issues or anything.
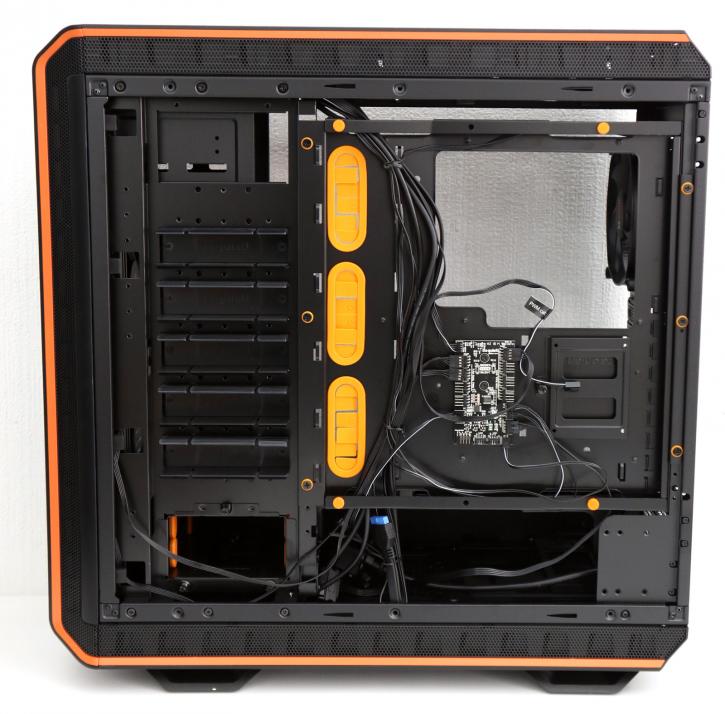
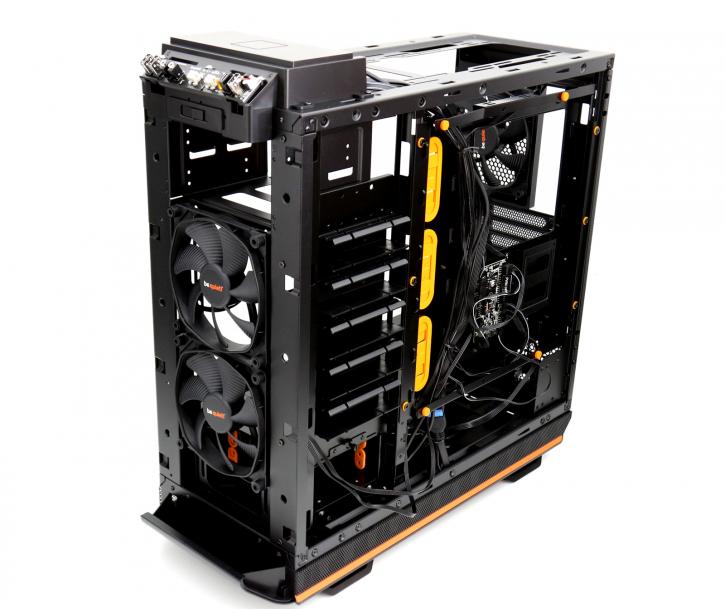
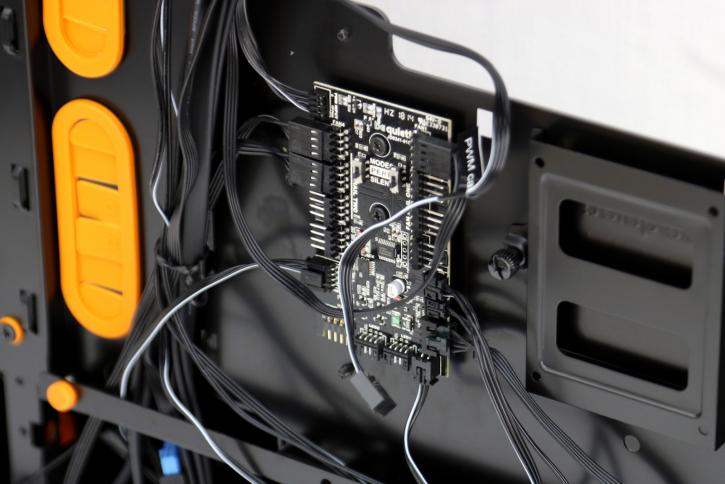
In the above photo, we have removed the back (right) side panel, rubber grommet inserts line the holes for cable management, the CPU motherboard cutout plate and an extra SSD mounts reveal themselves as well as the FAN and LED lighting HUB.
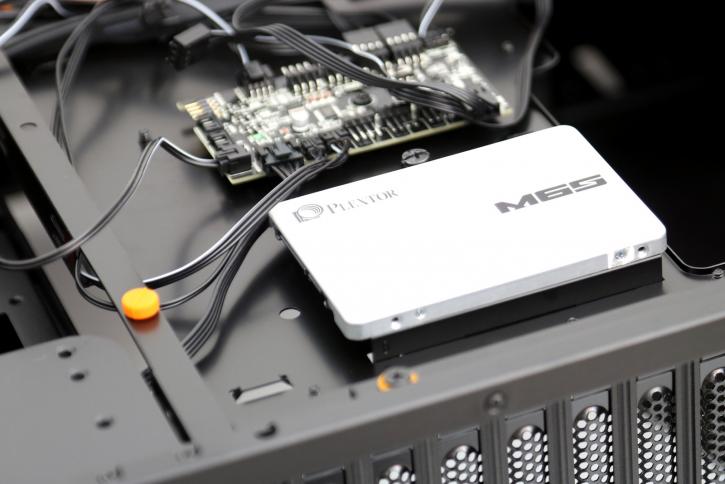
SSD wise you take out a back-plate with a thumbscrew like so. Then screw the SSD to the back-plate, and reinsert it and re-secure the unit with the thumbscrew. We'll talk about that PCB slash controller more in-depth on the next page.
One last note, look to the left and you can see the individual HDD cages, each secured with three thumb screws, Easy to remove and install individually. Alternatively, if you'd only use the backside SSD slot you could remove the entire tray system altogether, all part of a modular design.