Installation is the practical aspect of the project.
Installation
Let's get started with the assembly process. It's really simple, and the directions provided by Backforce plenty comprehensive. All of the pieces that are included are specified, and you are guided step by step through the full construction process. This simplifies the process of creating the gaming chair, basically, it's six screws.
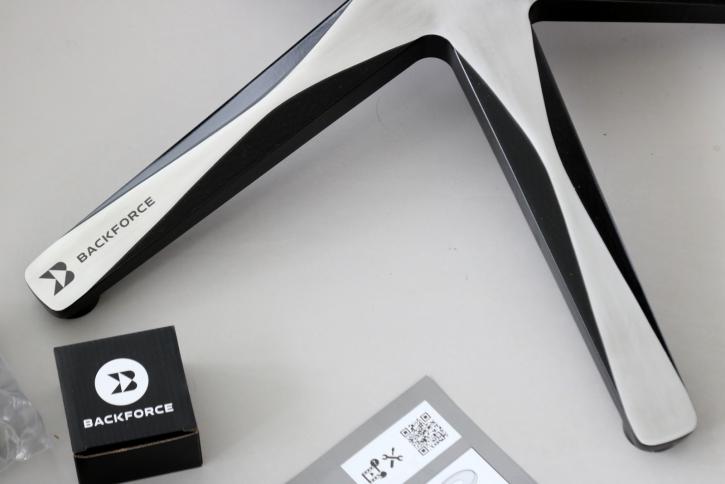
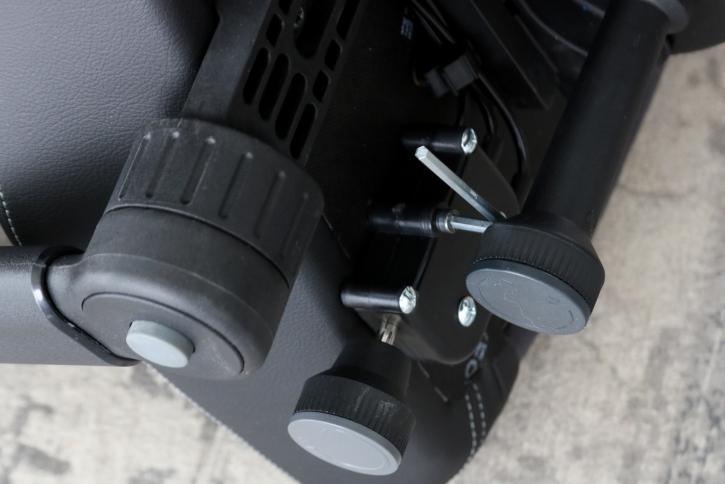
After everything has been removed from and taken out of the cardboard boxes, bags, and bubble wrap, follow the directions on the next page. The only item you'll need is an Allen wrench, which is provided in the package. Despite the fact that Backforce suggests assembling with a second person's assistance, I was able to do the task by myself (but, you know, I've got long arms, some power, and so on).
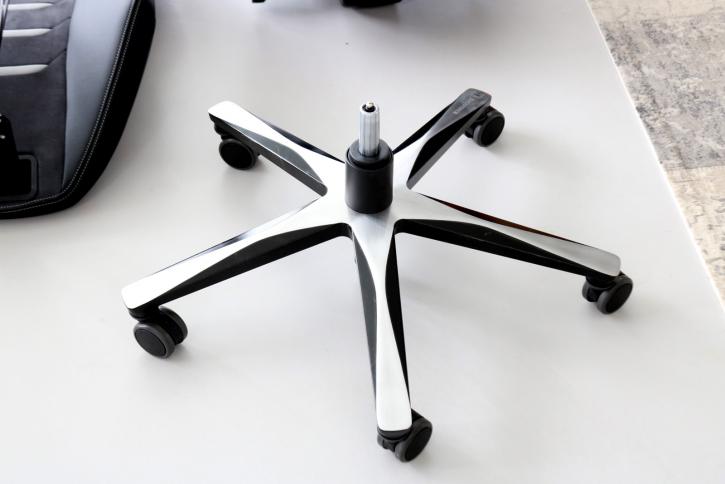
Fit washers on the wheels, then insert and push them in, followed by placing the hydraulic spring in place. You can see some screenshots of the installation procedure in the next section.
When done by myself, the process took approximately 30 minutes. The Allen wrench head that comes with the kit accomplishes the job well. As a general rule, if you have some previous experience putting together furniture, such as that purchased from a well-known Swedish retail store, you should be alright.
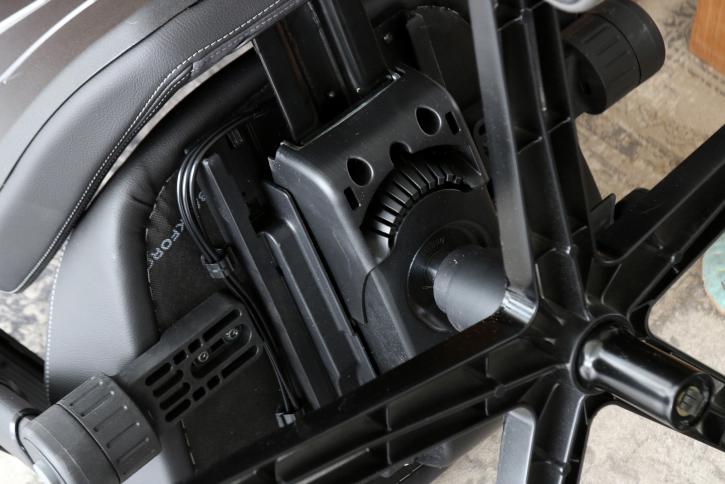
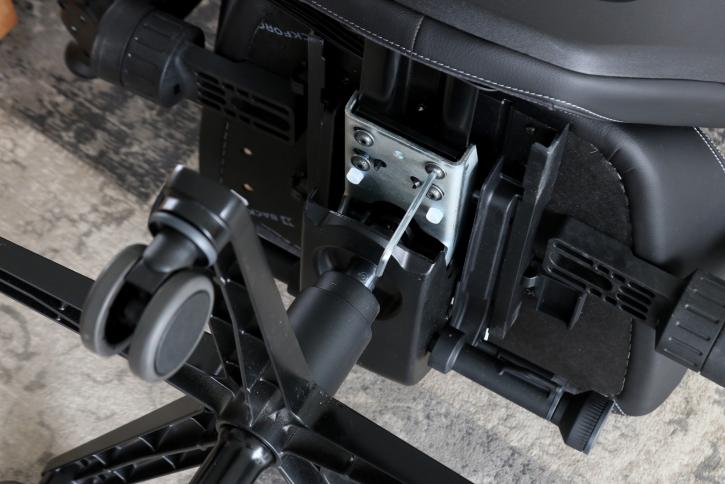
The connection between the backrest and the base, on the other hand, maybe the sole genuine source of the difficulty. All of the pieces are well-matched; nothing is soiled, so there will be no stains on your hands or clothes. Just slide the rest in, on top of the plastic insert, and secure with four screws.
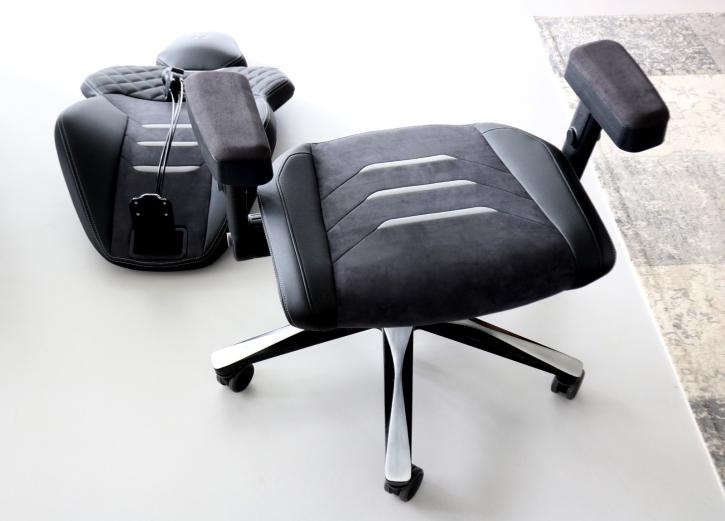
Please go to the following page for images of the assembled products as well as practical impressions of the products.
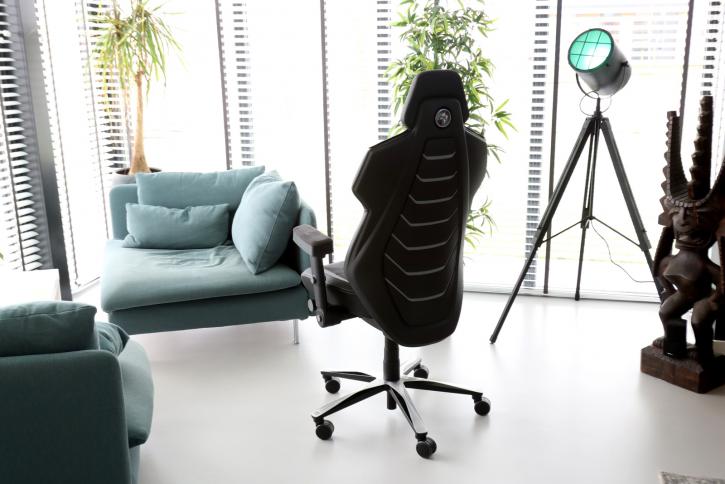
And below the final product. 30 minutes installation tops, really it ain't difficult. For smaller and lightweight persons I recommend some help, as that base is really on the heavy side.