Product Gallery

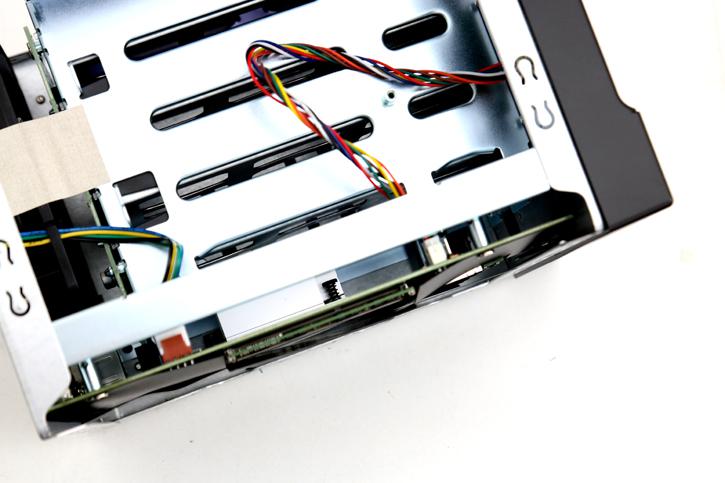
To install the storage units you need to remove three screws at the backside. You then push the shell up and backwards and it can now be removed.
Located at the left side you can see the actual motherboard PCB. Nothing much is going on there aside from the fact you can see a heat-sink that cools the Celeron processor. It's clearly passive and thus makes use of the cooling fan housed in the back of the NAS.
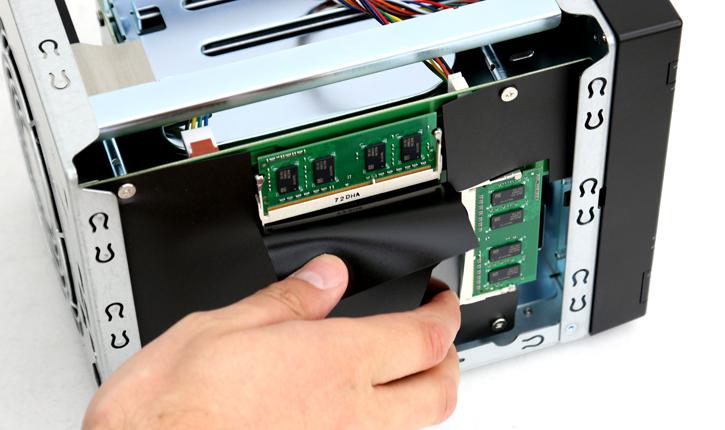
Zooming in on the plastic protected PCB, that would be DDR3L SODIMM RAM system memory chips, Samsung chips. This unit holds 8 GB and it is set up in dual-channel for that extra bandwidth. 8 GB is the maximum, so you cannot upgrade to, say, 16 GB.
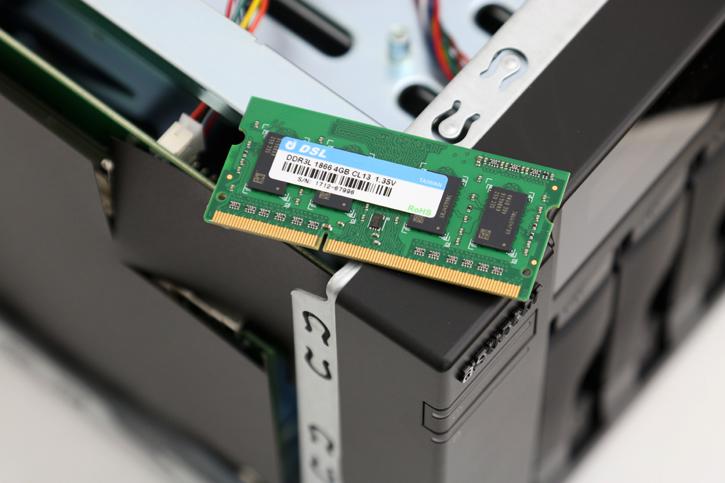
So a total of 2x 4 GB DDR3L SODIMM is already present to get that 8 GB in dual-channel rocking.
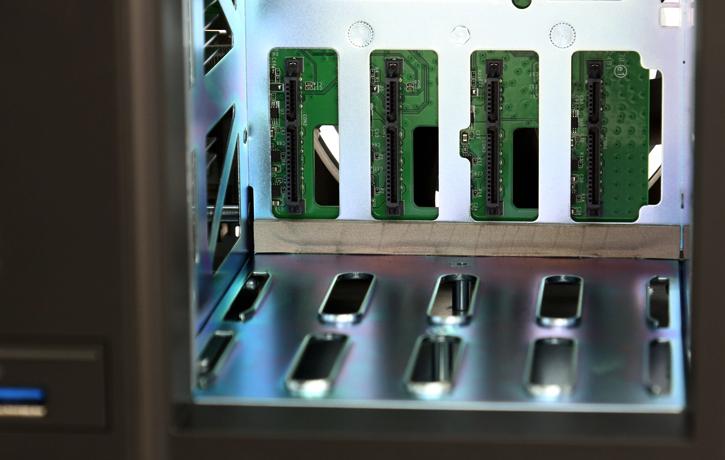
Here you can see the SATA3 bridges, just slide in a 3.5" HDD and then tray. The NAS rests on rubber feet which will help against resonating noises. The NAS itself is reasonably silent. For our testing we are mounting an SSD as well as a RAID5 setup.
