Product Showcase
Product Showcase
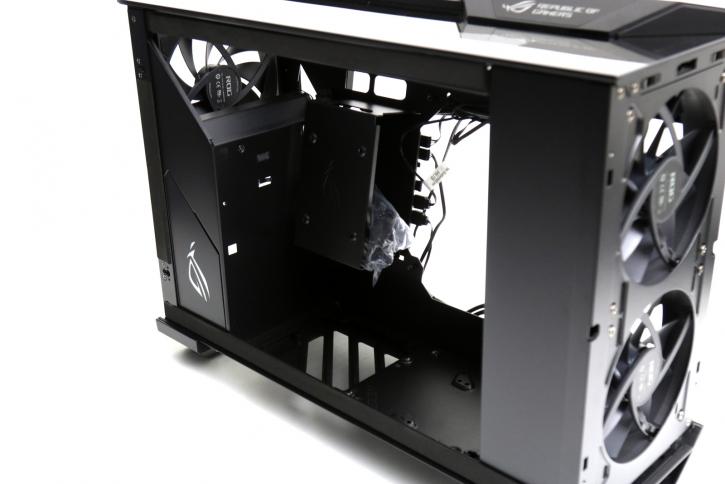
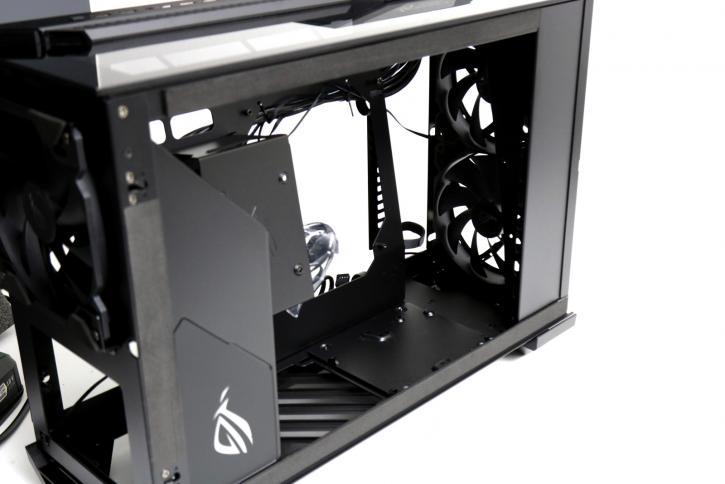
So to the far left bottom at the ROG RGB lit logo, you can mount the PSU. We'll get into that later, as it turns out, that's a Chinese finger trap to install. Above it one of the three 140mm fans, two of them reside at the front side.
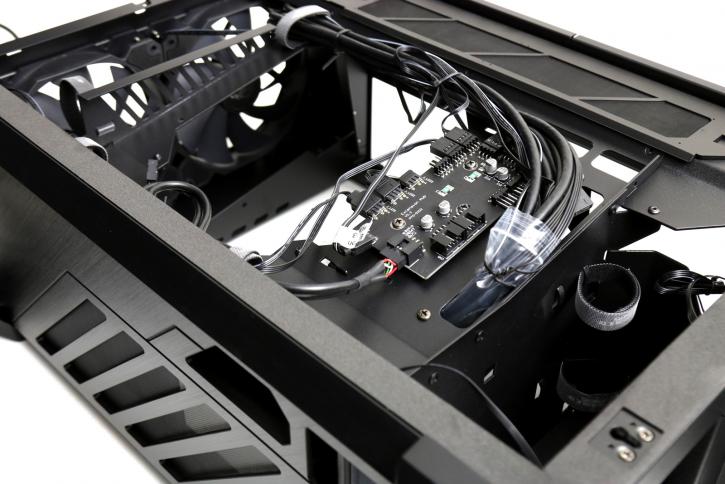
Moving the 'rear' we can see a PCB. Now, remember, the motherboard rear IO does not reach the rear of the chassis. Ergo some of the cables will need to be routed through the chassis, and that is the weirdest thing ever. So to visualize, even your WIFI antennas would sit inside the chassis (which by the way is HORRIBLE for WIFI, the cage of Farraday folks ... cage of Farraday. Some elements you can route through that HUb you see, towards the top panel (USB/RGB etc).
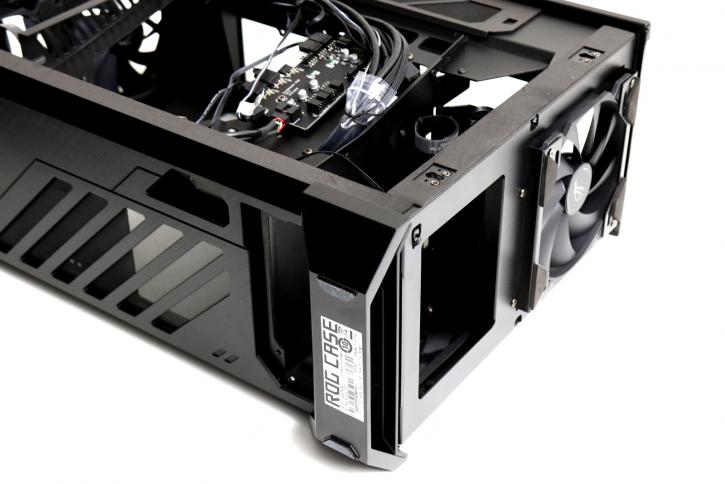
Um rear ports? What bout HDMI or Display port connector you might ask? Well, do you see that big-ass hole at the bottom, yup .. that's it.
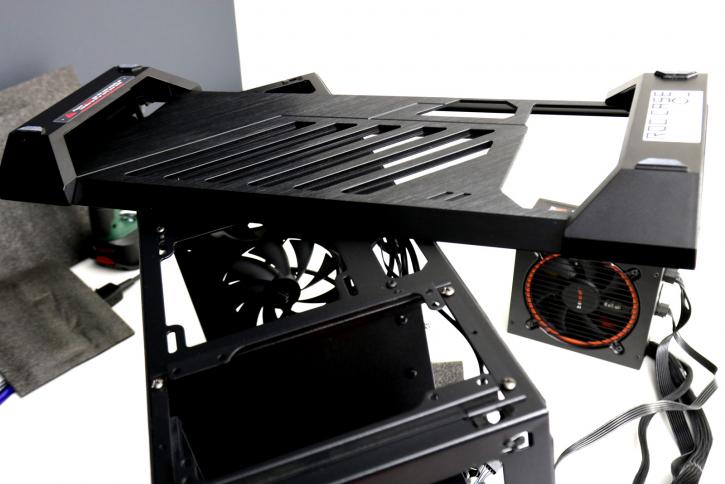
So, the second we wanted to install the power supply, we could not reach the PSU bay. For that to happen, the bottom frame and feet need to be removed. It took me five minutes to figure out (yeah I'm the guy that never reads manuals) but on the inside of the chassis, there s thumbscrew securing it. Remove the screw, and then with some force pull the bracket loose. You can now reach the PSU bay, which quite frankly is a little cramped spacing wise.