Product Showcase
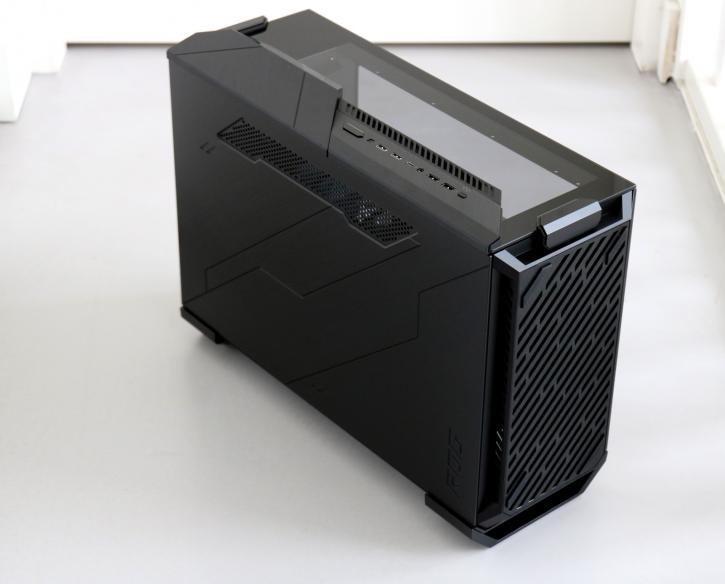
When we flip around the unit we can see the side panels a little better. A simple mesh can be spotted for ventilation and we see the top-panel connectors. We'll zoom in and explain that later on though.
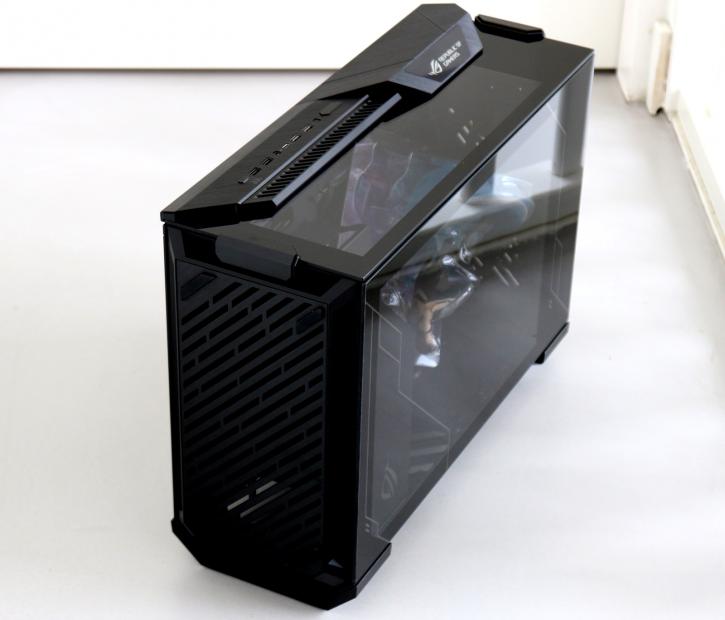
When we slide the unit to the left we get a bit of a voyeur feel, I really do like the sheer looks. At the front side, a mesh with a removable dust filter can be spotted. The front (and rear, which is the same) open up easily. The side panels however secured with screws and then can be pulled out. BTW, here you are looking at the backside. and Yes that is a thing as the mini-ITX motherboard resides deep inside the chassis. You will not easily reach the rear IO connectors. Once we open up the chassis this will be further explained.
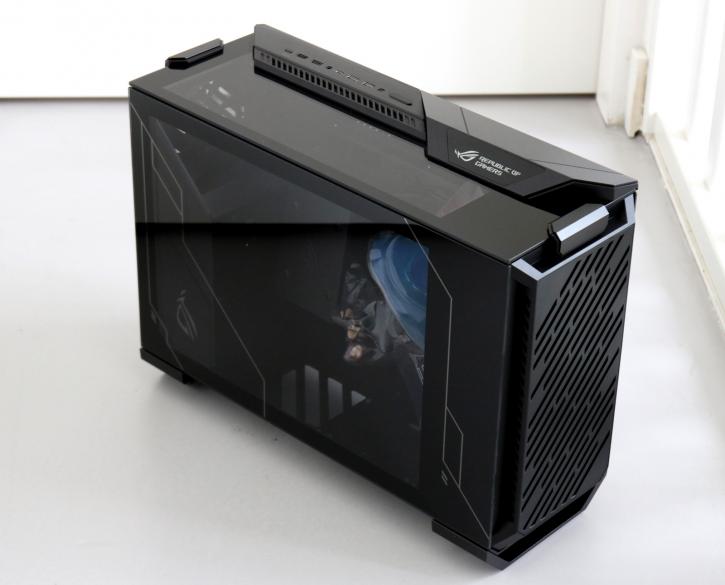
These front/back panels have been lined with filtered intakes on each side panels and both sides of the base. At the front reside two 140mm fans, and one in the rear creating near-perfect airflow.
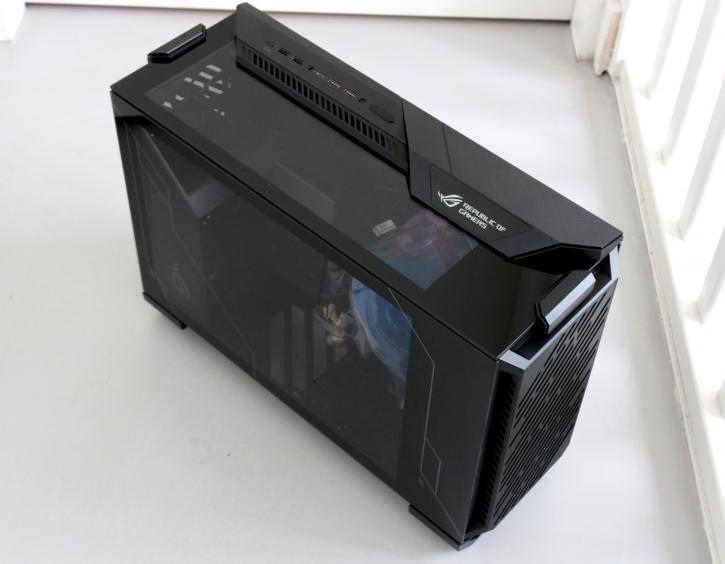
The outer finish is based on metal and alu finish and really, is classy.
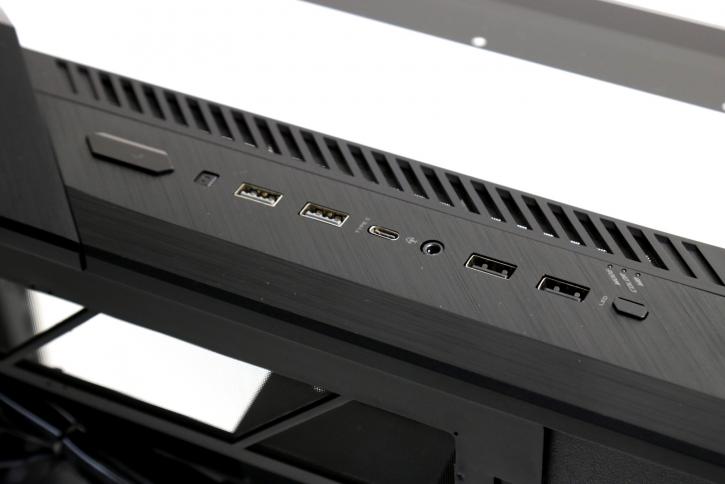
At the top panel you'll run into power and reset buttons, a pair of USB 3.2 Gen1 Type-A ports (USB 3.0), a USB 3.2 Gen2 Type-C port, a headphone/mic combo jack, another pair of USB-A (2.0) ports, and a button for controlling the lights. Logos wise, the ROG logos are lit and can be controlled here, or hooked into the RGB setup of your ASUSD motherboard, and regulated with ASYS SYNC software.
