Product Showcase
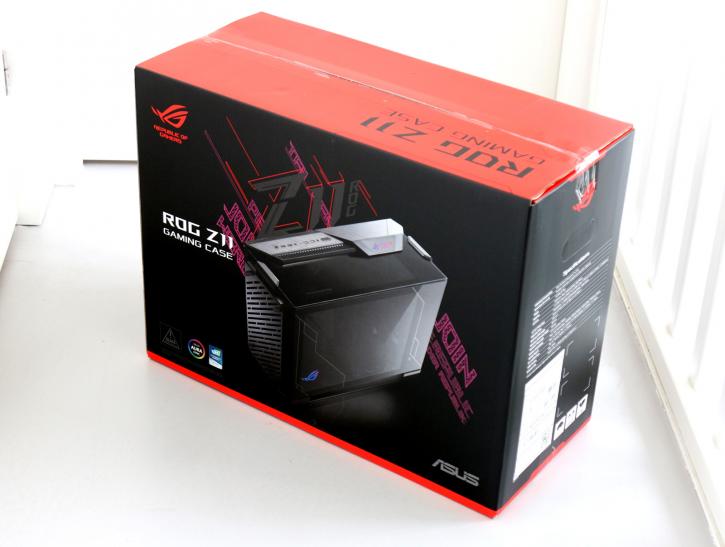
Right then, let's start off with the review. As always we begin with the packaging. It's a simple yet informative thing to show as when you purchase a chassis, honestly, you do not want any defects and scratches on it. The Z11 is packaged in cardboard.
The one thing you are going to realize is that everything is premium, including the cardboard top cover all ROG styled.
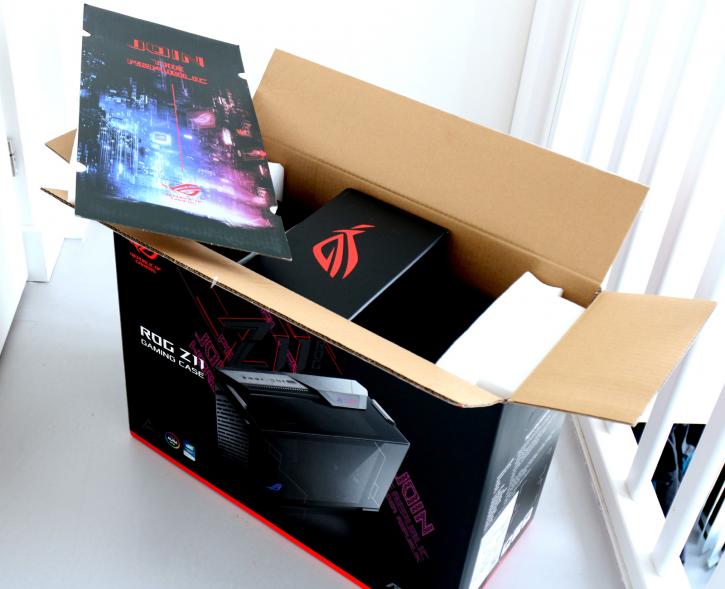
The packaging was done decently, the risk of damage is fairly minimal. The chassis itself is packaged in a black ROG logo stamped bag. I mean, jeez, even that looks gorgeous the way it is right?
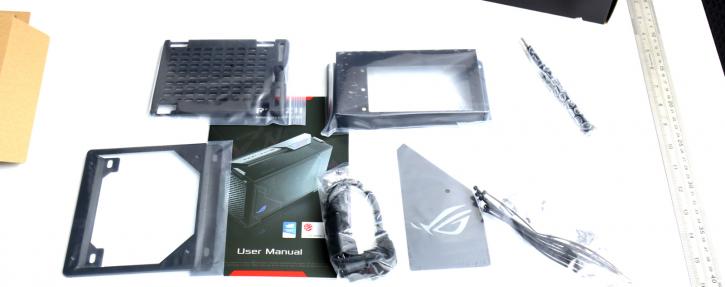
Included in the bundle is the standard gear like screws, standoffs and zip-ties, and of course the top cover. However, wait Dave, there's more. You also get an ROG-branded screwdriver, brackets for mounting SFX or standard ATX power supplies, a baseplate for mounting a reservoir for liquid cooling, two plates for the PSU shroud (RGB-lit ROG eye logo can be positioned horizontal or vertical) depending on how you put the case on your desk. There’s also an L-shaped power adapter, which is essentially mandatory if you want your system to sit horizontally on your desk.
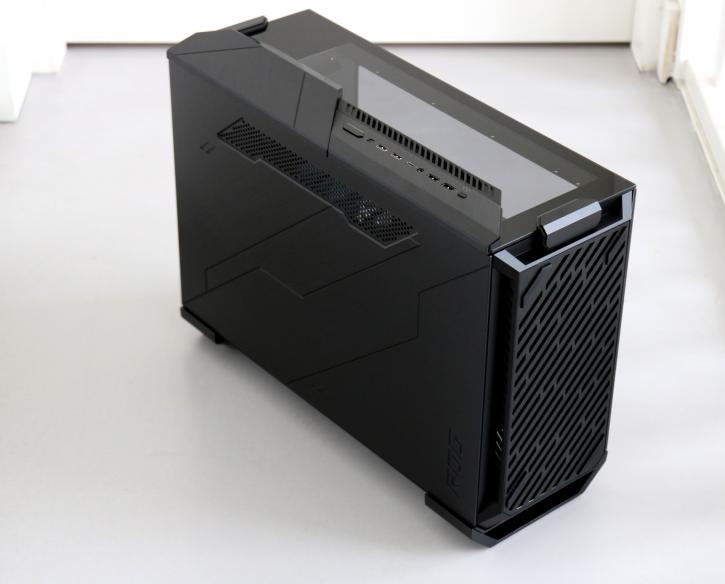
Once you take the unit out of the cardboard box you'll notice two layers of foam protecting the unit will reveal itself. Okay look at the photo above, we'll call this landscape mode. Now the photo below:
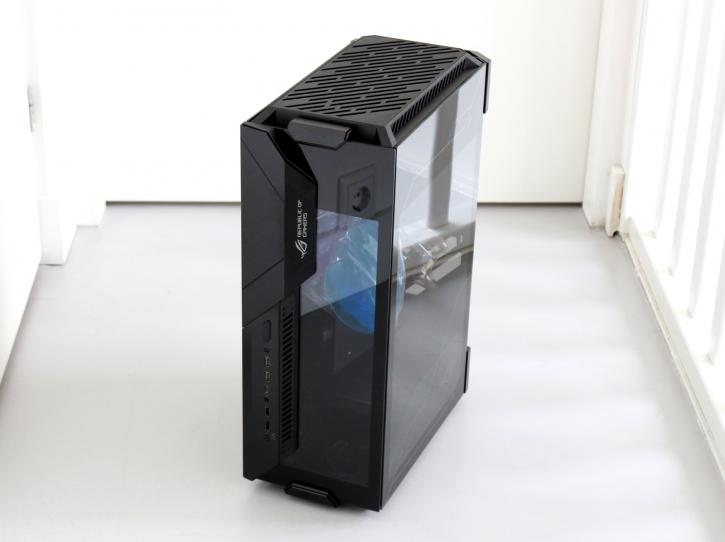
Yep, portrait mode. Confused? Hey, this is an option with the chassis. You can place it in two modes. Whichever one you like bro. The tempered glass to the right will show your installed mobo + GPU + components. To the front side due to vertical placement, you can see the GPU from the front side when installed. No worries, we'll show it all, and yes we know .. confusing (but pretty cool).
