Page 8 - Installation - The Processor #2
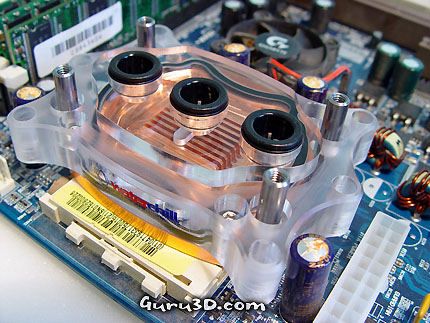
Flip the board around once more and we can see the four guides. We now place the CPU cooling block on the guides where it's nicely nested. Of course don't forget to apply a little thermal compound (delivered with this kit).
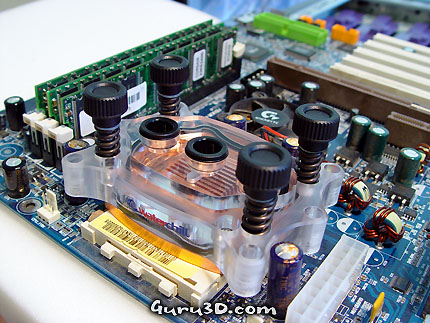
The next step is to place 4 springs over the guides, then place 5 washers over it and then secure the cooler with thumbscrews. Really easy stuff. Just do not screw it tight all the way down. When you feel tensions on the springs, turn it about 5 more times and it's secure.
That is all there is to it... When you look at the pipes you'll notice three of them. The middle one is the inward flow. It is basically in the middle because it is aimed at the core of the silicon. Cold water goes straight for the core. The two pipes on the outside are responsible for removing the heated water, we connect these two towards a supplied Y-Fitting with the help of tubing.
