Page 7 - Installation - The Processor
Installation
We'll start off with the CPU cooler. Basically before buying you need to check if your mainboard is compatible. Almost all are yet I've see a few nForce2 mainboards from NVIDIA that are not. For AMD based systems you need to check to see if there are 4 drill-holes in your mainboard. Pentium 4 mainboards are good all the way as you can use the pins that connect the standard P4 cooler.
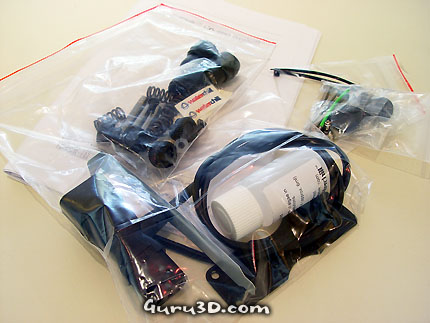
Don't get confused by all the parts, bits and pieces. Once you get your gear together, just take it one step at a time. Installation is simple, yet delicate.
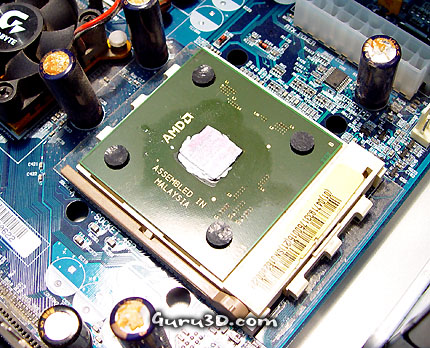
Basically since this is our first watercooling project I decided to use an older mainboard with an old CPU. This my friends system, it is a Gigabyte 7DX-R, a few years old, has leaking capacitors, yet still is rock stable. As you can see we have an Athlon XP 2000+ mounted on it. If you look at bit better at the mainboard you can see the 4 drilling holes that are so important. This clamps the waterblock.
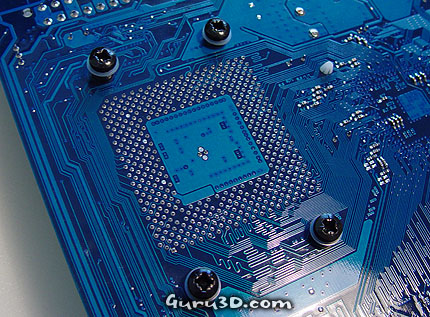
When we flip the mainboard around we place a plastic washer on the holes and insert 4 metal guides through the mainboard.
