Page 8
Clamshell assembly, we now need to prep the "cooling block". A rather irritating thing to do and I found it disappointing that Asetek delivers this pre-fabricated.
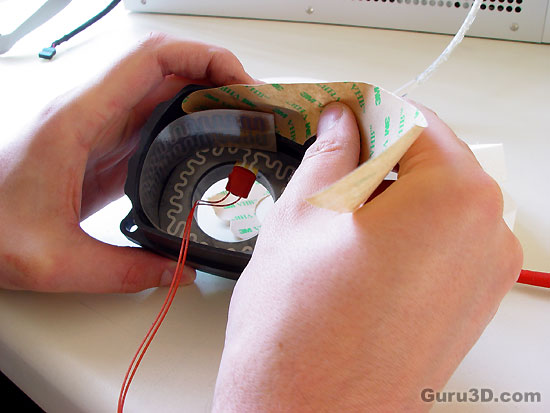
You'll notice that the plastic shell needs a heater. As explained before, the heaters used are to prevent condensation. So pretty much the sub-zero cooling process should be kept inside the cooling block. A pretty tricky job, installing that heater as you have to tape it into the shell.

Almost done ... do not forget to pull the heater wiring to the outside.
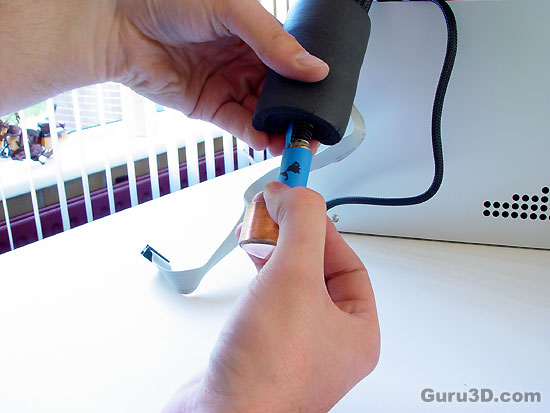
Now we grab the capillary tube, pull back the insulation from the evaporator head, then insert the head through the top opening in the clamshell. You'll need to pull back the insulation a good 2-3 inches to get enough space for the next step. We now place the two included styrofoam inserts over the evaporator. Wrap the Clamshell Heat Element around the Clamshell Inserts. Finally, push the Inserts and the Clamshell Heat Element into the Clamshell.
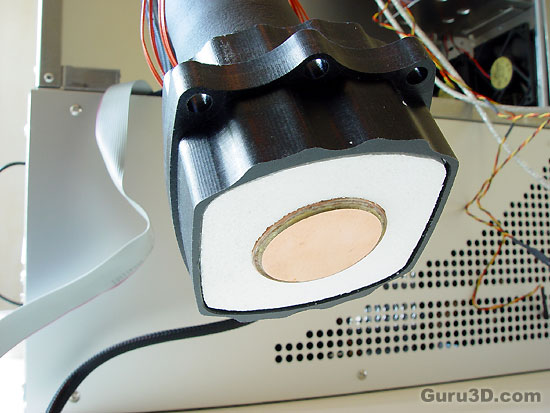
The end result. The LS transmits its cold to the evaporator head which contacts the CPU through a much improved mounting mechanism. The Clamshell is now assembled and ready to be installed on the Mainboard/CPU. But first we have the prep the mainboard also. You need to have your mainboard removed from your casing for this as we need to access the backside of it.
