Product Installation
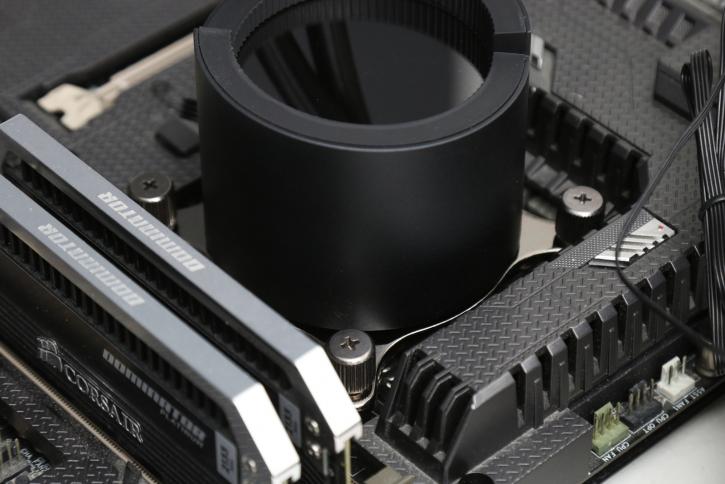
Mounting the cooler is a relatively easy thing to do, though the motherboard needs to come out of the chassis unless you have a chassis with a mainboard cutout for CPU cooling. First, prepare the backplate. We first apply four long retention screws to the backplate which we then line up and install at the backside of the motherboard. Just push is through there. You now mount it with four thumbnail screws. No need to apply thermal paste, it's already on the cooling block. Yeah done.
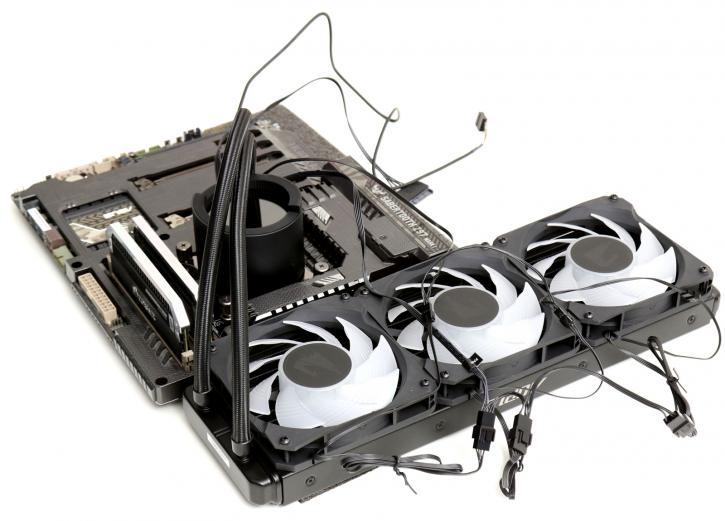
Of course, then you'll need to connect all wiring, and that is a lot of it. 3x FAN cables and 3x RGB header cables as well as one USB cable and a SATA3 power cable.
Here I tucked away from the cabling a bit as once you are done with cable management the looks obviously will be much cleaner.
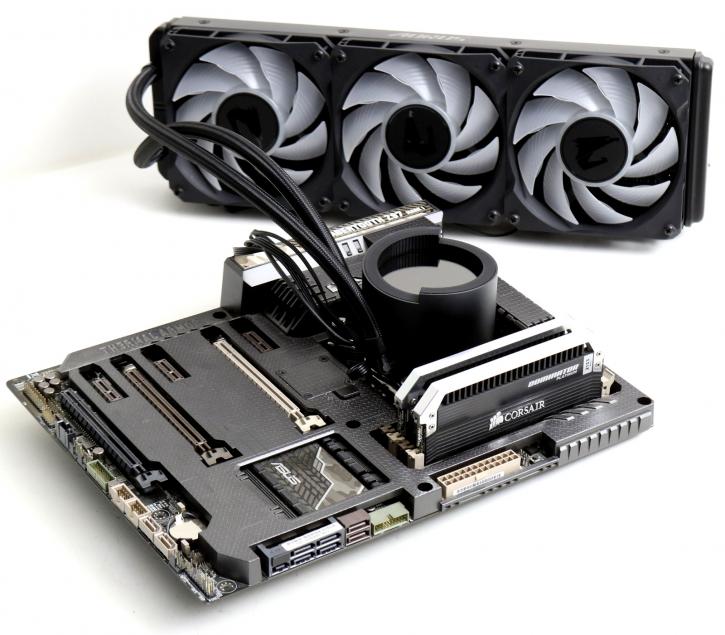
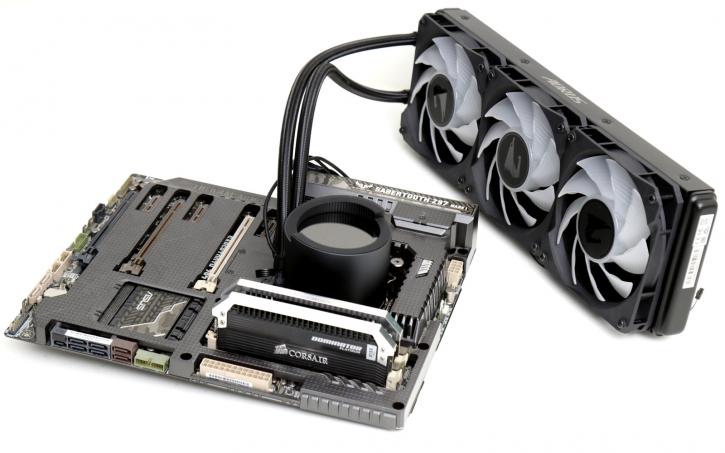
Once seated you can secure and connect the pump. Of course, connect the RGB setup as well. Once the motherboard is out this all takes like 15 minutes of work tops, we positioned the cooler and are ready for the first test run.
