Product Showcase
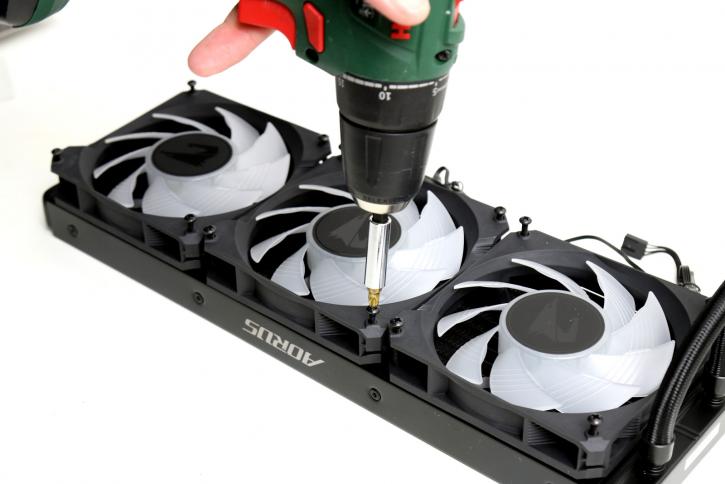
So here is the phase where we slowly start assembling a test setup. First, we mount the fans on the radiator, four screws each. The fan corners do not have rubber dampeners, so that is hard plastic which could resonate.
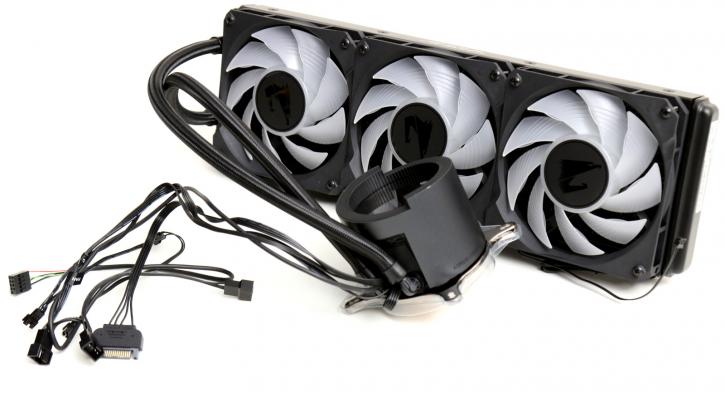
Once done, this is what the unit looks like. You need to decide where you'll be positioning your radiator and how the tubing and wiring will be managed.
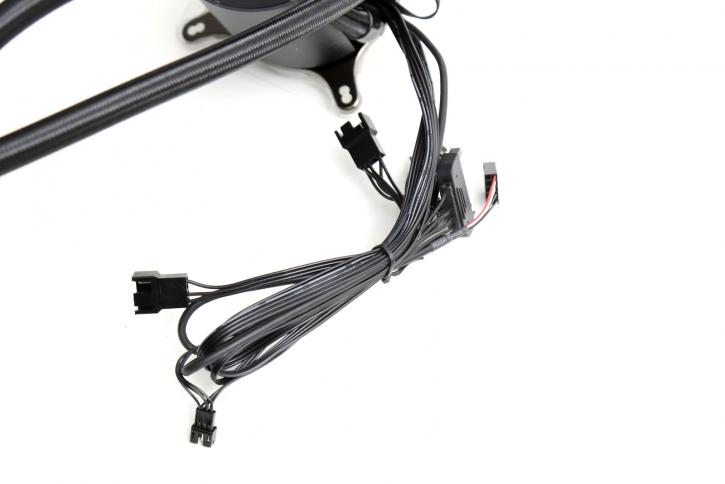
All cables are connected to the wires leading out of the pump, you'll also need a free SATA3 power connector to juice up the unit.
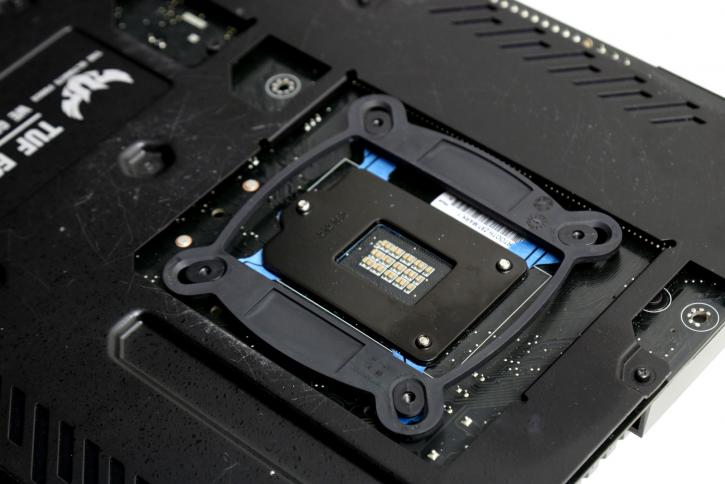
At the backside, we position the bracket ..
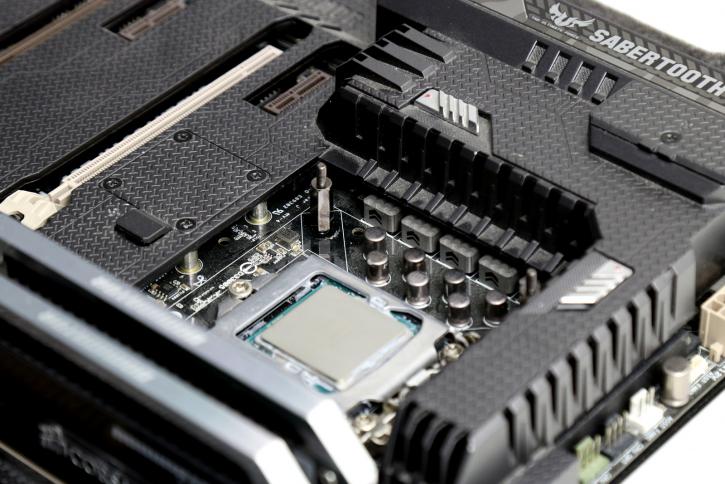
Then at the front side we now insert the four riser screws, ... on which inevitably we mound the CPU cooler.
