Product Showcase - Ryzen processor & Installation
Product Showcase
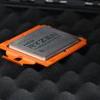
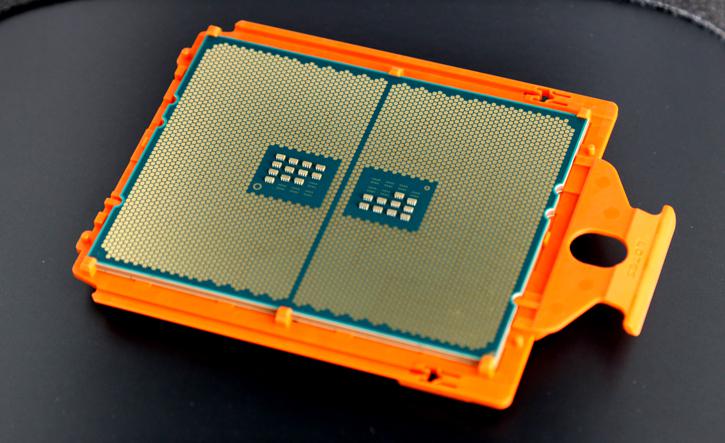
Alright, it's time for some photos. Once you have one in your hand you realize these puppies are a little heavy. They should be, with up-to sixteen active and physical cores.
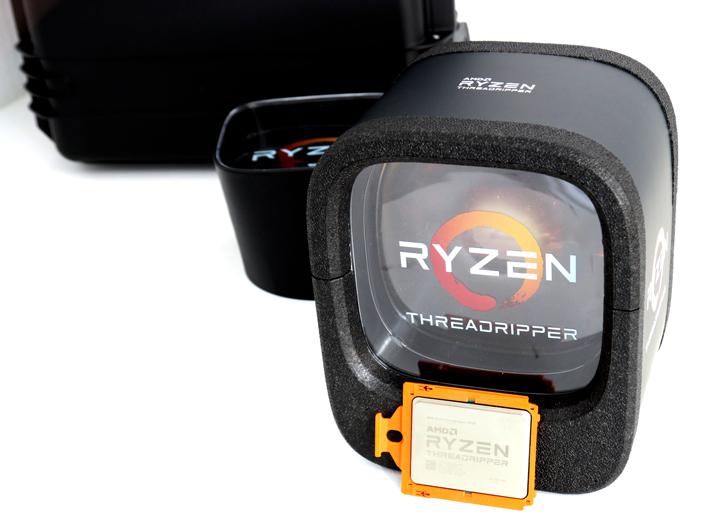
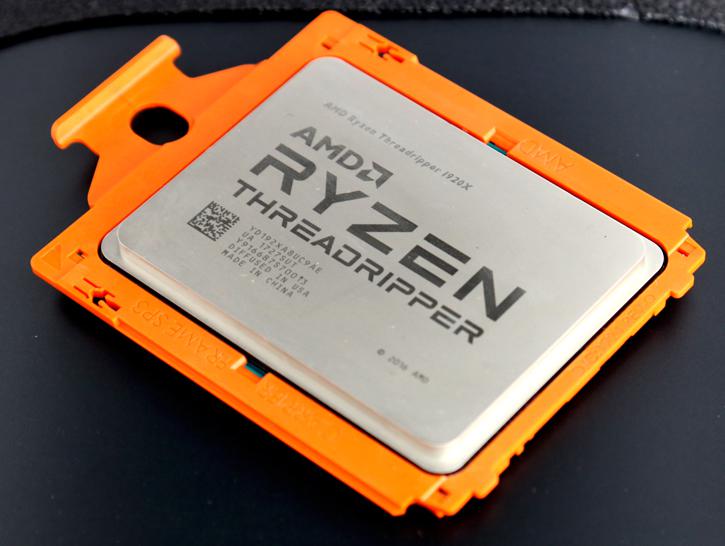
AMD is launching three Threadripper processors. In the first week of the launch the 12-core 1920X and the beast to rule them all, the 16-core 1950X. Double the numbers up as all these procs are SMT and thus hyper-threaded. We already talked about the two announced models. These puppies are fully unlocked and seat themselves onto the new Socket TR4 / SP3 (4094 pins!).
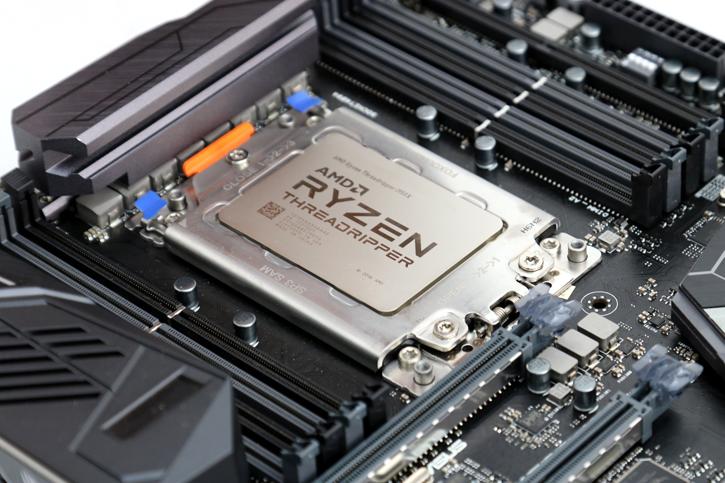
Ryzen Threadripper 1950X, a 16-core product that will get a 3.4 GHz base frequency with the ability to precision boost to 4.0 GHz. These processors are SMT, thus ‘hyper-threaded’ towards 32 threads.
Given it's an 16-core architecture, AMD is really nicely managing that clock frequency as the proc can Turbo to 4.0 GHz with either a 3.4 or 3.5 GHz base clock frequency.
Cooling will be a bit of a thing with that surface area. Many core processors have a higher TDP and obviously will run hotter when all of them are in use. Noctua will be among the first to release a cooler. Also expect other brands and coolers to be released soon, we would really recommend LCS or a really good brand heatpipe cooler though.

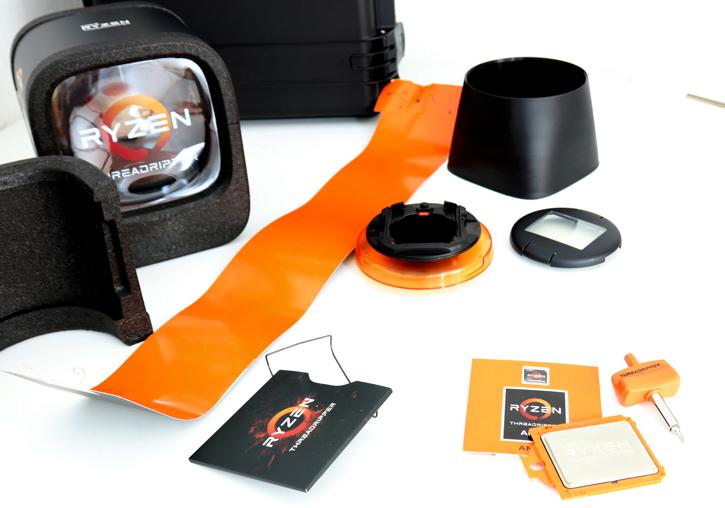
Included with the AMD kit (and retail kits) is a torx tool / wrench. It is very easy to use and prevents you from over applying force while securing the Threadripper processor.
I have posted a quick installation video on how you can safely install a Threadripper processor. See above.
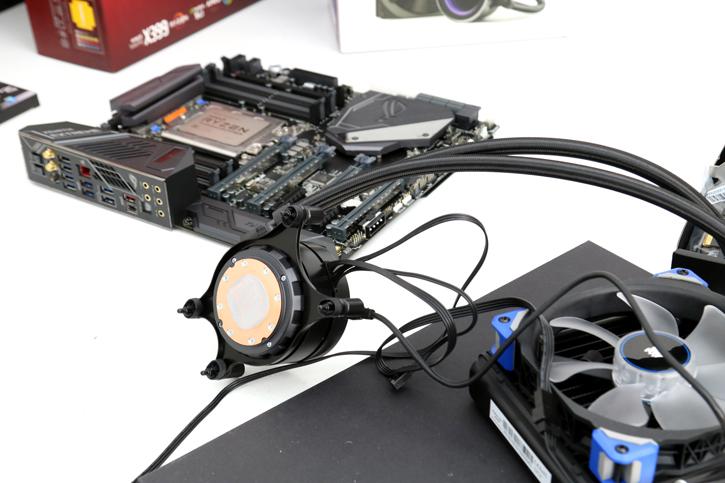
Once seated you obviously want to apply some cooling. You can grab an included mounting bracket for Asetek based liquid cooling kits as explained on page one. This is included in the CPU kit by default.
The installation is very simple actually. Just rotate the mounting bracket 20 degrees C, take it off, insert the new one (as shown above).
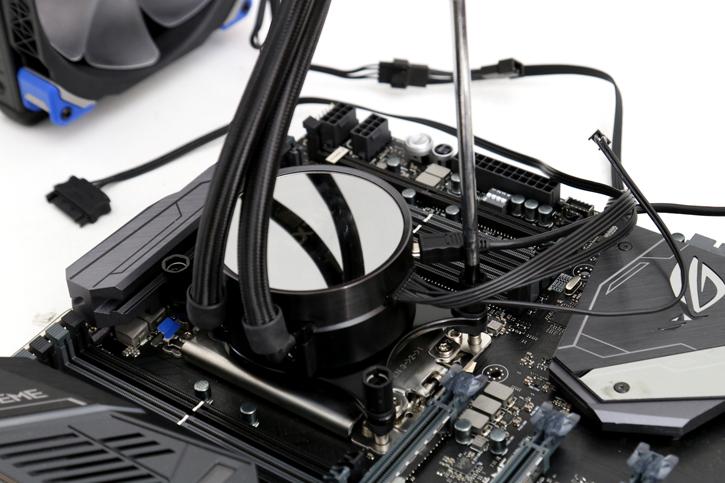
You can now safely mount the cooler on that big socket. Above we use the NZXT Kraken X series, but for final testing we reverted to something dual-rad, a Corsair Hydro H105 does the job fine. Secure four screws and you are done (do not forget thermal paste btw).
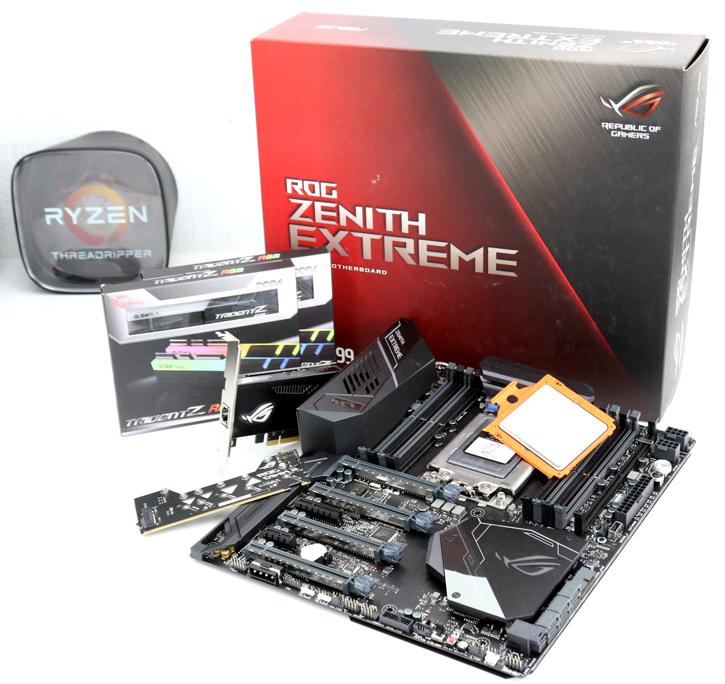
The X399 motherboard used today is the ROG Zenith Extreme from ASUS. We'll share more info on this motherboard in a separate article.
