Product gallery - Installation
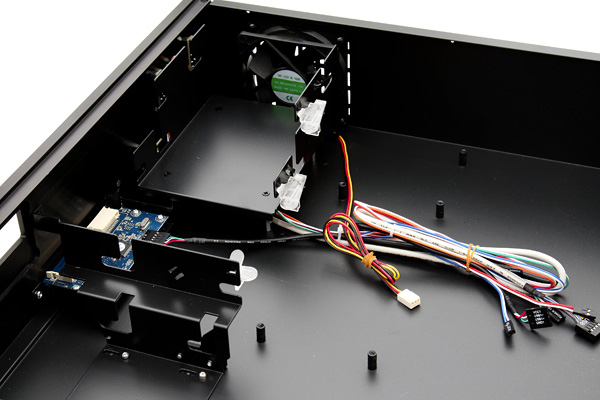
Here we can see the HDD bay, again installation is horribly simple... have a look at the next photo.
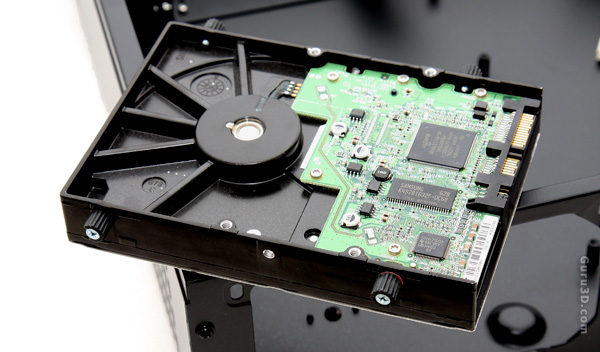
We tighten four screws with rubber isolation and we slide it into the chassis like so:

Now we pop up the plastic clip which secures the HDD in place and voilla it's installed... ten seconds work tops, without the chance of irritating resonating or vibration noises coming from the HDD.
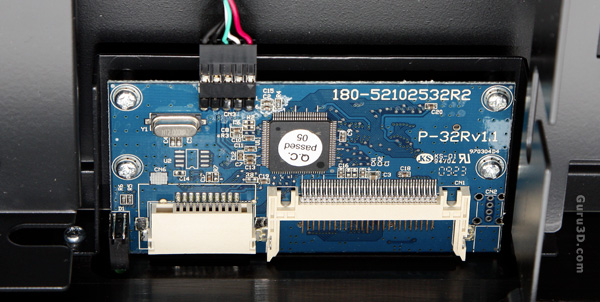
You probably already noticed the blue PCB in the photo above, this in fact is a run of the mill PCB + IC for your front panel memory cards.
