Software Installation
Software Installation
Opposed to typical NAS units (with web interface) you will need to install software to get the DAS unit recognized and configured. Pop in the supplied CD-Rom and install SmartNAVI.
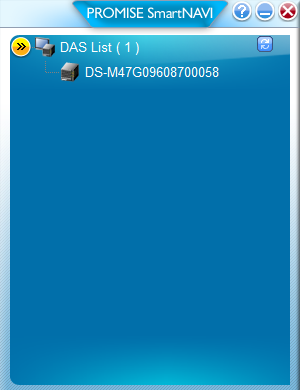
An small application will startup displaying an active DAS device, click on it twice and the SmartNAVI software will BIND the unit after which you can configure it.
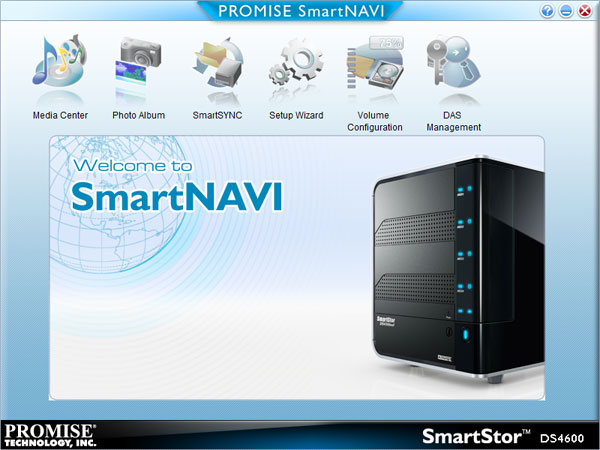
This is the SmartNAVI main screen. you get some extra options for Media Center and photo Album stuff -- You use the DAS interface which hooks into Windows Media Player to playback music or video's. But really 99% of us will not use this feature,
First thing we need to do is initialize our HDD. Thus we select the Setup Wizard.
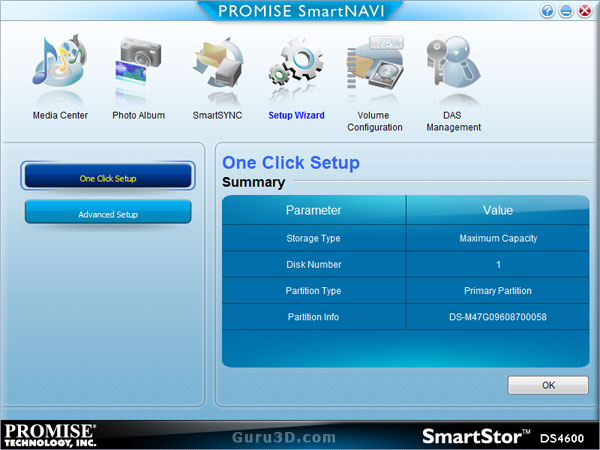
We can do an advanced setup, partitioning the device ourselves our simply hit the simple to use One Click Setup. Sounds good .. so we did that. The HDD is recognized, initialized and was then formatted. You'll spot a few preinstalled directories for the MediaCenter and Photoalbum stuff, but other than that you'll have a fully functional HDD added into your system like so:
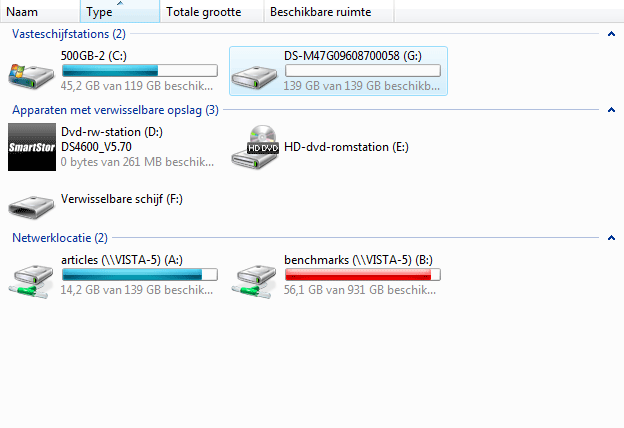
No network shared or removable storage unit, no, the DAS partition will be mounted as a fully functional and fetched HDD.
