Product Showcase
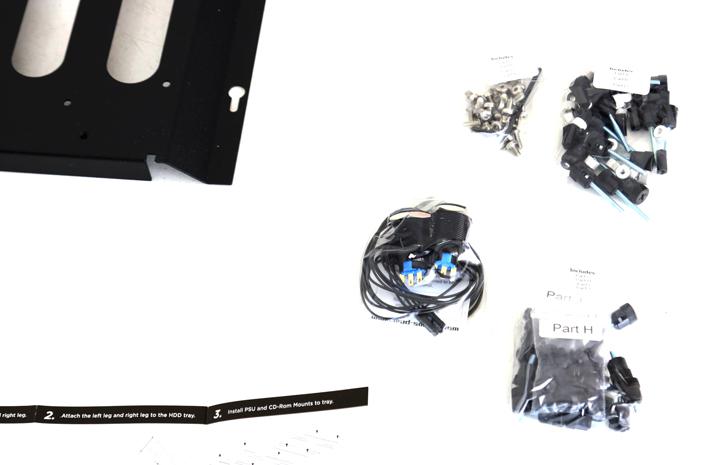
All nuts, bolt, risers, washers and standoff screws etc. come clearly labeled. A small manual will guide you through the process. Well, that and this article of course! You'll also receive a massive power and reset button. The unit does not have any LEDs for HDD/power etc.
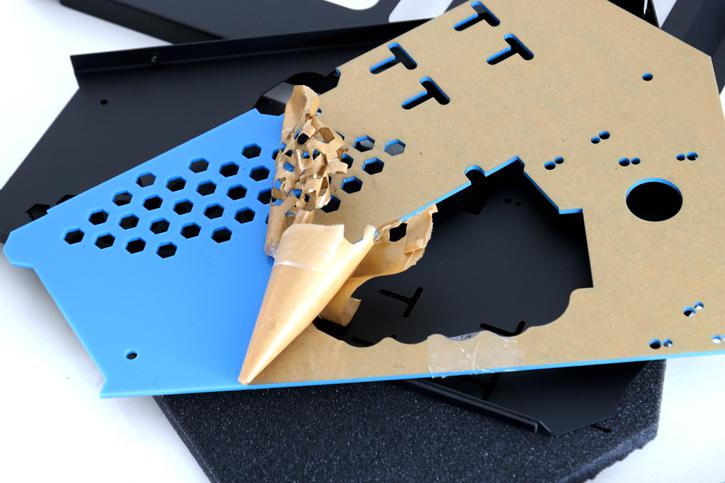
So I stated that the install would take like and hour, maybe two. You'll need roughly half an hour to unwrap the acrylic accent inserts. Holy moly!
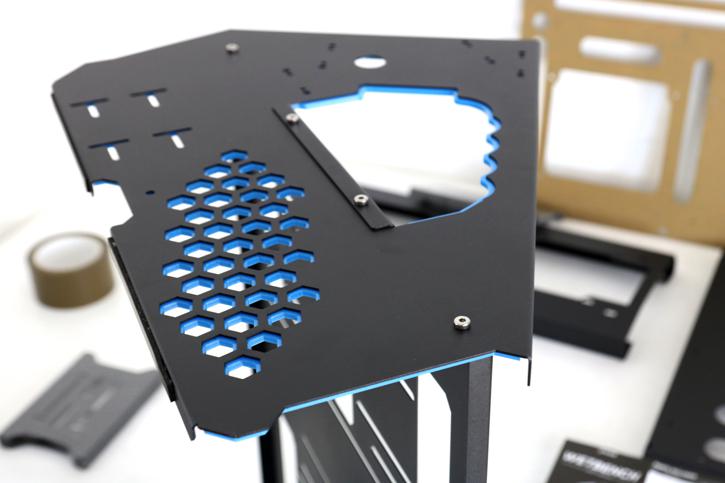
Right, with the first half hour in we can now place the blue acrylic accents inside the left and right panels. On these panels the unit will rest, the bottom side has rubbers to prevent resonance.
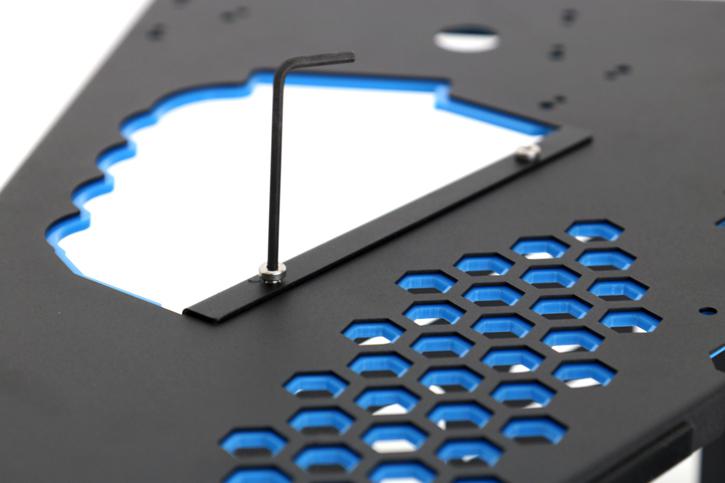
On this photo you can see that a bit better. We now take the middle HDD tray and simply secure this together with an Allen-key (included) and four 10mm screws.
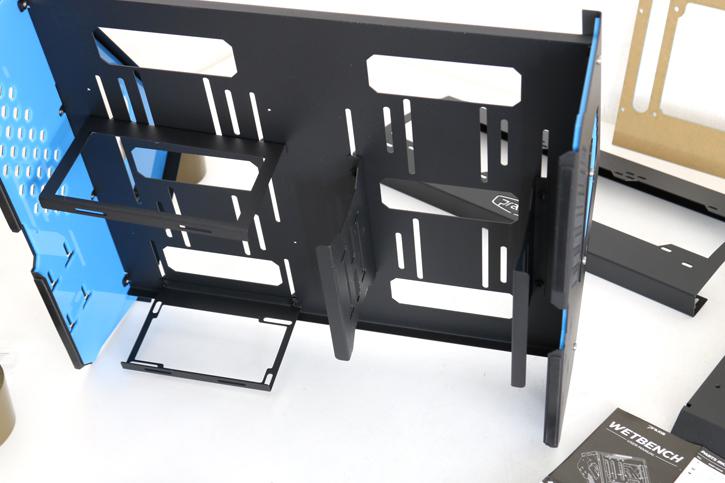
Once we have the left and right side panel secured we can mount the cages for power supply and optical storage. The middle tray btw can mount HDDs or an SSD. Also the spacing of the PSU is adjustable, hence any PSU will fit easily.
