5 - Photos - amBX (2)
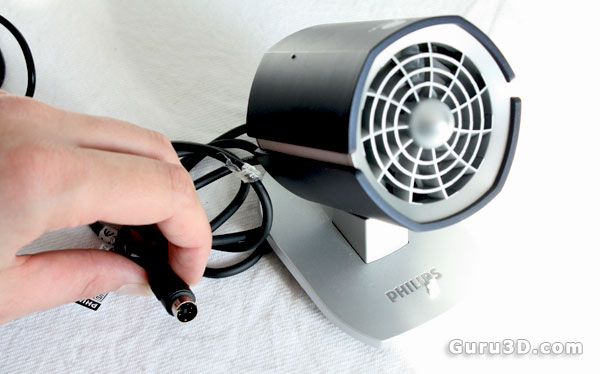
Included in this kit were two of these fans as well. They are 'stereo' meaning they operate independent from each other. If you strafe to the right, you'll feel air blowing into your face from the right, which is quite an original experience for the first time.
I mentioned this already a couple of times, I refer to it as the HUB. It's the amBX controller unit. All cables lead here. It's controlled by software installed on your PC and communicates through the USB port.
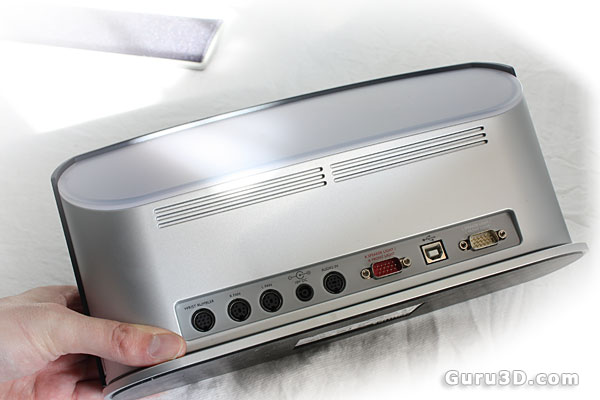
Fairly standard connectors are embedded, DIN plugs, and even a VGA connector (for sound and lighting). You'll realize once you spot this unit, there's quite a number of cables to be connected. Which is a bit of a downside. The HUB also has another function though, next photo please.
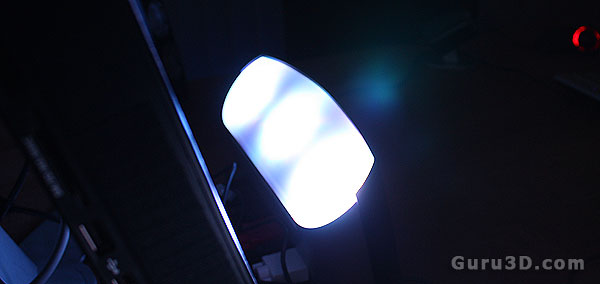
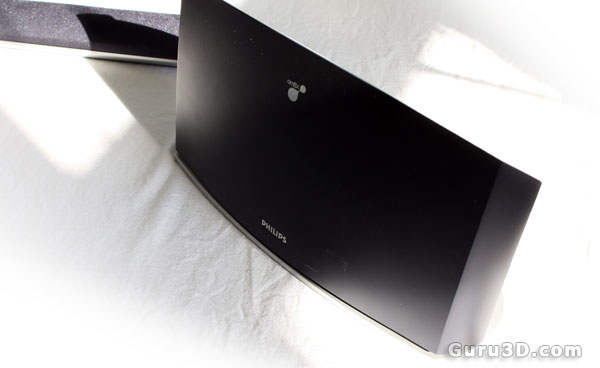
So you pretty much need to place the HUB aimed at the wall behind you monitor. Three clusters of RGB LEDs are in there to illuminate the wall behind the monitor. It's one of the most important components of this kit and as you can spot from the photo already, we're not talking simple LEDs here, extremely bright and powerful lighting is what you'll get.
