Testing methodology and examples
Testing methodology - Profiles
In the BIOS you can do many things with the FAN connectors however the Kraken comes with its own software suite that you can use to regulate this cooling unit in a preference of choice.
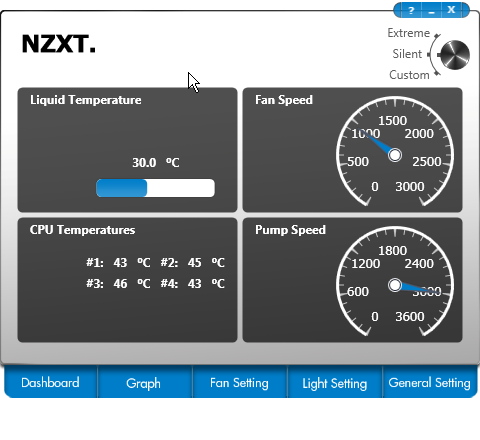
The dashboard shows your basics like core temps, pump and fan RPM levels. You'll notice that in the top right corner you can select your preferred presets, silent or Extreme. You may also configure your own custom profile and determine pump and fan speeds.
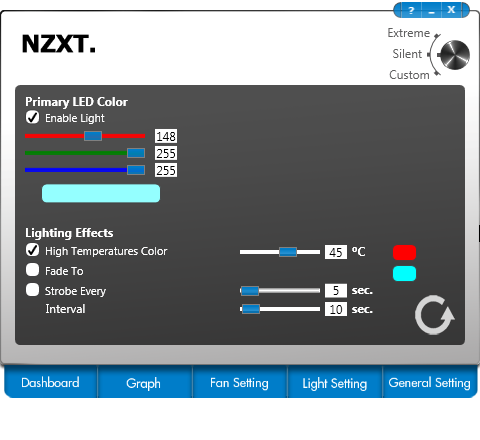
You'll notice the NZXT logo at the top of the cooling block light up, you may select any color of preference with RGB setting, the light can also strobe and fade if you want that.
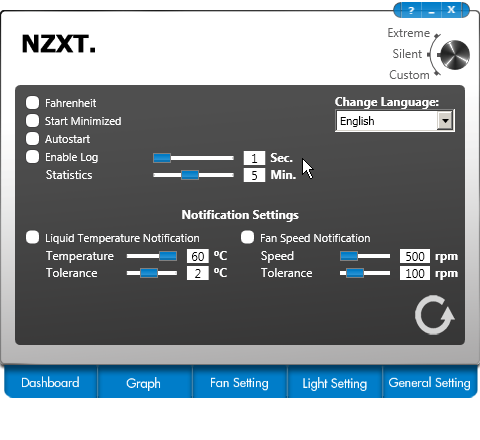
Here's your default generic settings like Celsius / Fahrenheit, start with windows start-up and alarms.
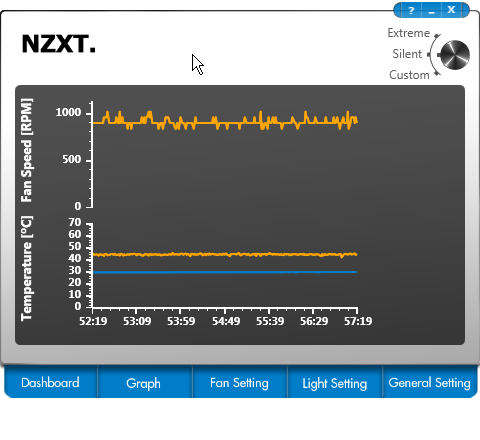
Monitoring is an ioption as well, you can check out the coolant temperature and CPU temperature as well as FAN speed activity measured in RPM.
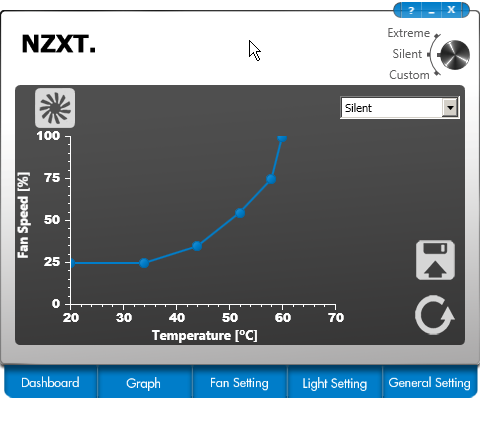
Last but not least, you can set a fan delta, fan speed versus temperatures - this way you can tweak performance and noise levels at your preference.
The CPU stresser
We test processor coolers following a strict protocol. We already have shown you the BIOS settings for the overclock. To stress the CPU we apply the stress modes (default/OC 1.2V /OC 1.3V) and have our stress software Prime95 finish a full run. If Prime95 returns an invalid result, the overclock failed. This did not happen. We did however have a security feature enabled, if a cooler reaches 98 Degrees C the system will power down to prevent it from damage.
Below a couple of examples of our test runs. We note down the package temperature, the per core temps as such can differ here and there. For LOAD testing we note down the MAXIMUM measured temperature after a full Prime95 run.
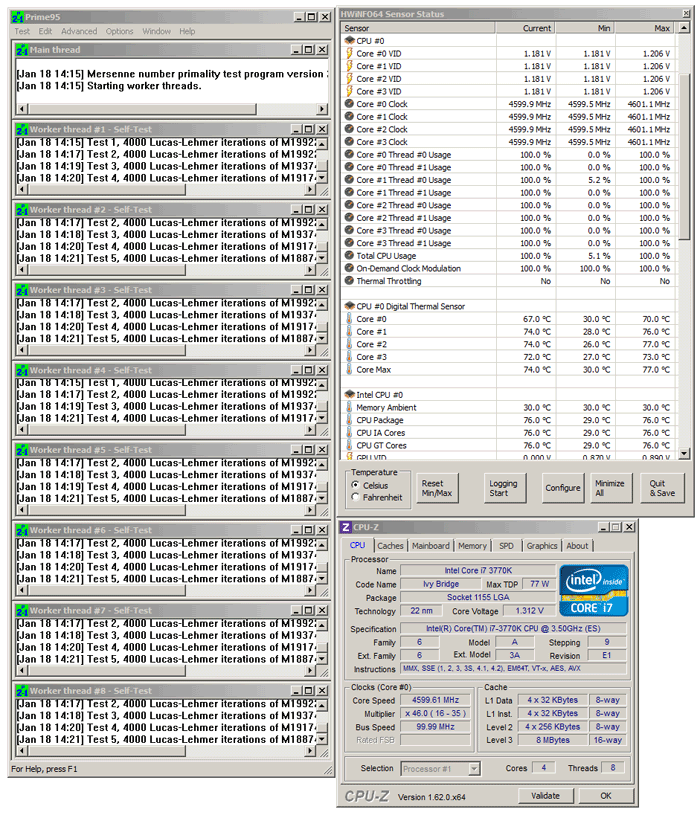
Above you can see the Kraken X40 under stress. In this example we use a clock setting of 4600 MHz on all CPU cores with a stricky 1.3 Volts on the processor.
