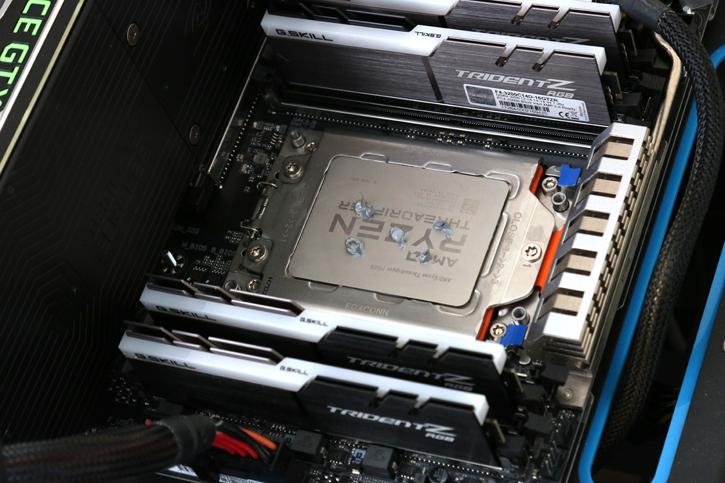
Product Installation
Product Installation
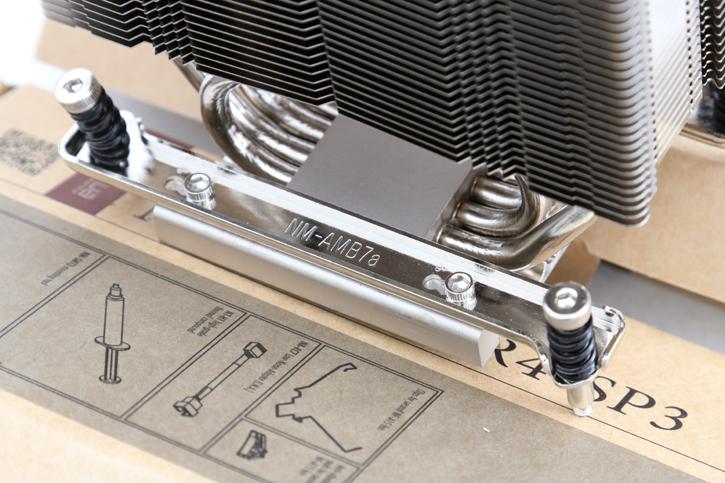
Mounting the cooler is a very easy thing to do, the secufirm mounting kit is sturdy, handy and incredibly easy to install. BTW if you wanted to (and we doubt it) you can adjust the position of the cooling plate relative to the mounting screws just a tiny bit. I did not even notice this until I removed the first cooler. The default is fine really.
Mind you that I still needed to clean up the TIM / Thermal paste here. Now, Noctua recommends tiny drops all over the heat spreader, AMD recommends as shown above. Rice drops on five positions, the four die, and center positions actually.
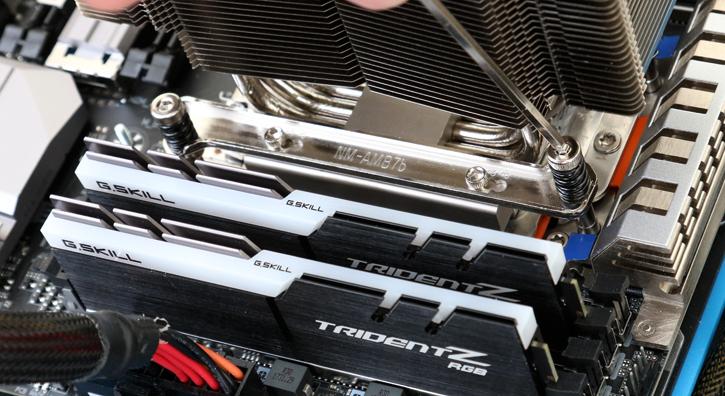
The cooler is now ready to be seated, just position it and screw it secure. Depending on the cooler model the fan may need to come off.
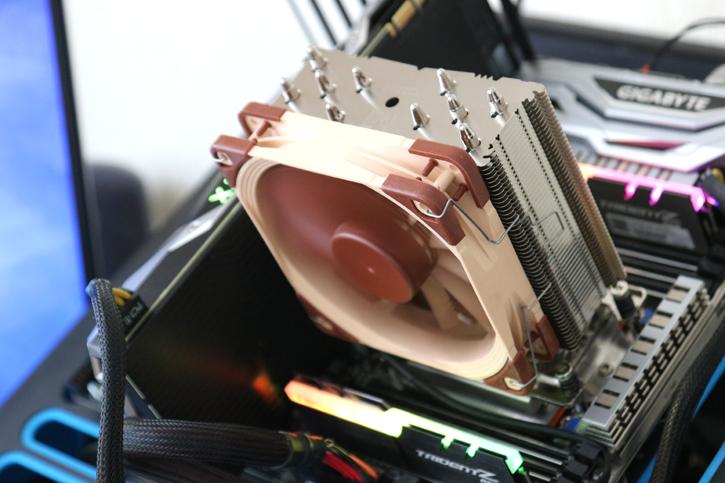
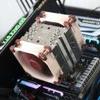
That's it, now connect the fan cable to the fan connector on the motherboard and you are good to go. A heat pipe cooling solution for Threadripper, 16 cores, and 32 threads - boy oh boy, would that ever work?

BTW after removing the cooler, you can see an even spread of thermal paste on the heat spreader. Look at the photo below:
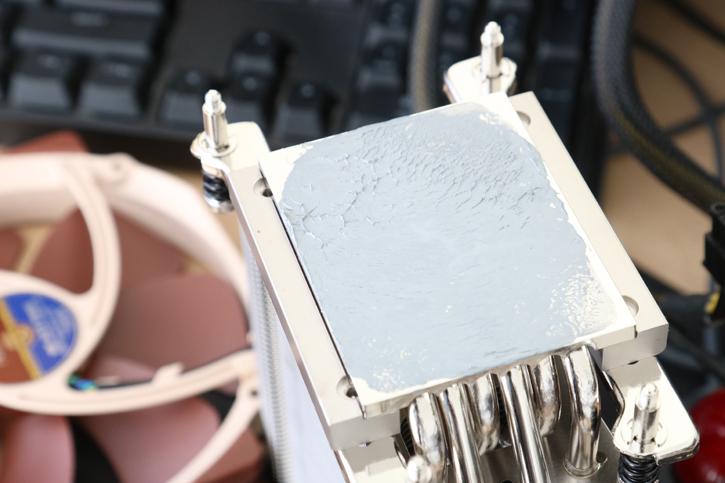
Amazing, just the five rice-drops methodology is used here. The corners could use a bit of TIM I guess, other than that. Lovely really.
