Page 5
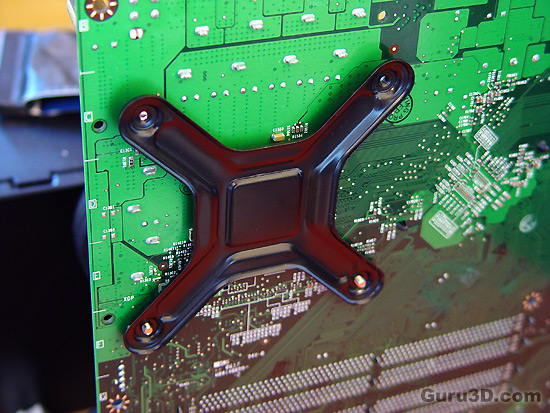
The first thing you'll need to do is remove your mainboard from your PC. The CPU cooler requires you to mount a seperate backplate.
Once the backplate has been seated, align two mounting brackets at the front of the mainboard. In-between this you can see a washer, please do not forget to use it. We mount the two brackets securely with four little screws and move onwards to the next step.
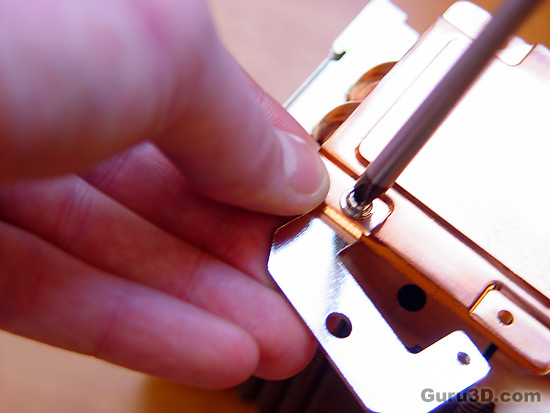
We now need to prepare the cooler with two mounting brackets as well. Since this differs per socket revision we need to do this manually.
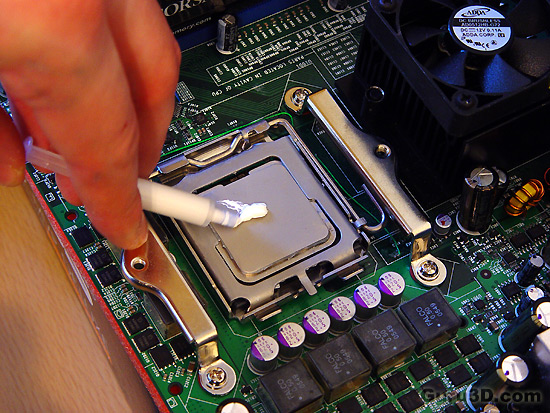
Never ever forget to apply a little thermal paste. It's supplied with this kit. A little drop is enough and make sure you smear it out over the CPU properly.
