Product Showcase Interior

At the backside of the chassis we notice the big-ass gaping hole in the motherboard tray. This is a CPU backplate cutout which allows you to remove and install a new CPU cooler much easier. Typically you'd need to take out the motherboard to install a new cooler, now you can access it from both sides without that unpleasant experience of removing a motherboard from the chassis. There is space for cable routing here, but not heaps of it. You should be able to get most stuff routed properly though. Obviously the grommet holes have rubber inserts to hide away cabling, that's a nice detail.
Cable routing is okay, it looks rather scarse from this photo but really you have roughly the space of a thick finger at the backside.
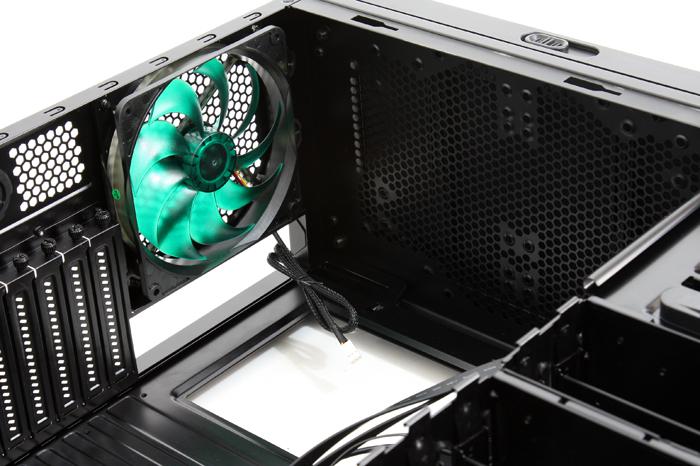
At the left top side we can see the 140mm fan, these are included and installed for you already. In the upper mesh you'll notice that there is space for dual 120mm fans or a radiator, so yes this a chassis would be able to take in LCS. The space in there allows up to 280 mm radiators to fit.
Interestingly enough by not using any of the HDD-cages you could house yet another 240 mm radiator behind the front cover behind the front mounted 120 mm fans. Depending on the motherboard standard, the additional mounting frame can be used to accommodate two or three HDD's.
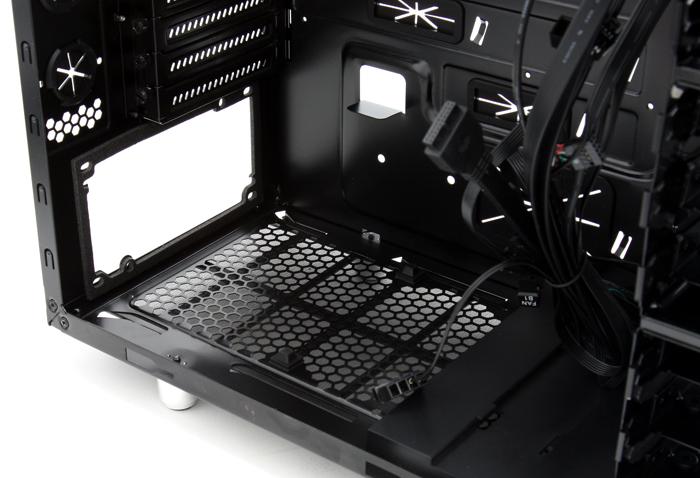
You'll get eight PCI slots to play around with so in theory you can house up-to four graphics cards in here, two or three I'd recommend as maximum as space wise you can very easily run into problems. At the bottom side we can see the mounting area for the PSU, underneath it a ventilation mesh, which has dust protection with the help of a filter.
The PSU rests on rubber pads, again for sound dampening.
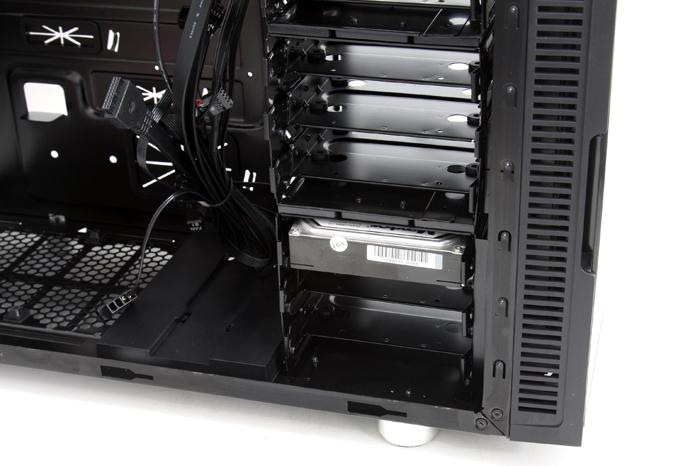
The hard drives are installed in mounting carriages, which are designed to accommodate both 2.5" HDD / SSD as well as 3.5" HDD.
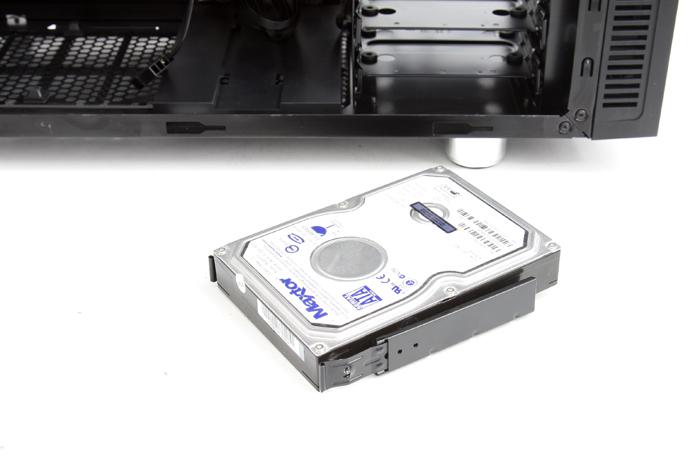
Mounting a HDD is easy but requires tools. Take a drive bay bracket (has silicon inserts to prevent resonating noises from the HDD, use four screws and screw them in at the bottom side them in) and slide the unit into the drive bay until you hear a click.

I nicked this photo, but screws with rubber suspension are used to hold the drives in place. Once again this is for sound dampening.
